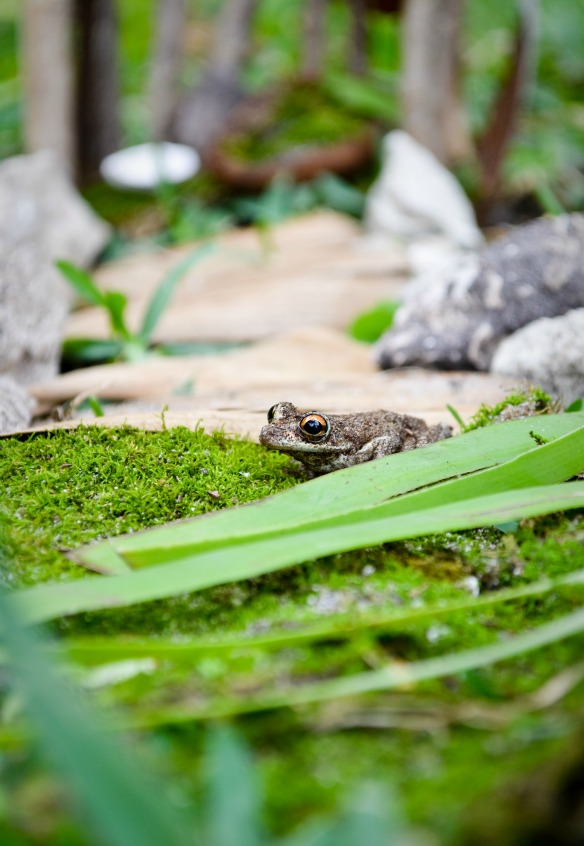
 On any given day, you will find my children covered in dirt and grime. I really would like not to bathe them everyday, but that’s pretty much impossible around here. Once we are done with school, they make a beeline for the backyard. They are forever hunting down lizards, snails, frogs, worms, spiders, and the list goes on. I was summoned to the backyard yesterday where they proudly showed off the flies they fed a spider. Well…that’s not really my thang, but I’m sure the spider was appreciative of their efforts. They build these little forts for their creatures…usually out of twigs, leaves, and rocks…pretty much whatever they can get their hands on. I do love their imaginations and the way they love nature. …
Halloween
Bat Mobile…
Halloween is less than a week away and I just put out our first decoration. Ha. Well, it’s an improvement from last year, when I didn’t put anything out until Halloween night. I used to be so on top of this stuff. Times…they did a change! Also, I find it funny how my tastes have changed since having kids. Pre-kid I would have much preferred store bought decor, but now, I prefer homemade all the way. Maybe it’s because I’m a homemade type of gal..I dunno. There is always something so charming about homemade, that store bought could never replicate.
I picked up a bunch of vintage hangers for $1 at a thrift store a few weeks back. I wasn’t really sure what plans I had for them, but I liked their shape and there’s the whole $1 thing. So, I bought them and do what I always do. Toss it in my never ending “to do” craft pile and wait for inspiration to strike.
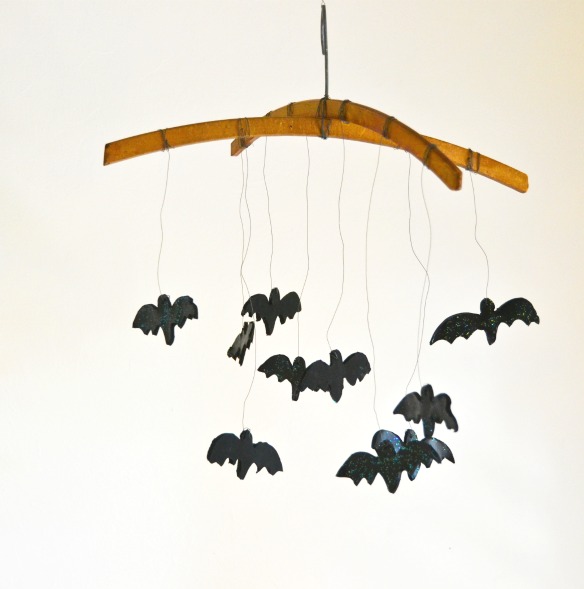
Inspiration struck today and I decided we needed some Halloween decor. I busted out the craft supplies and we made this little bat mobile. I do love it!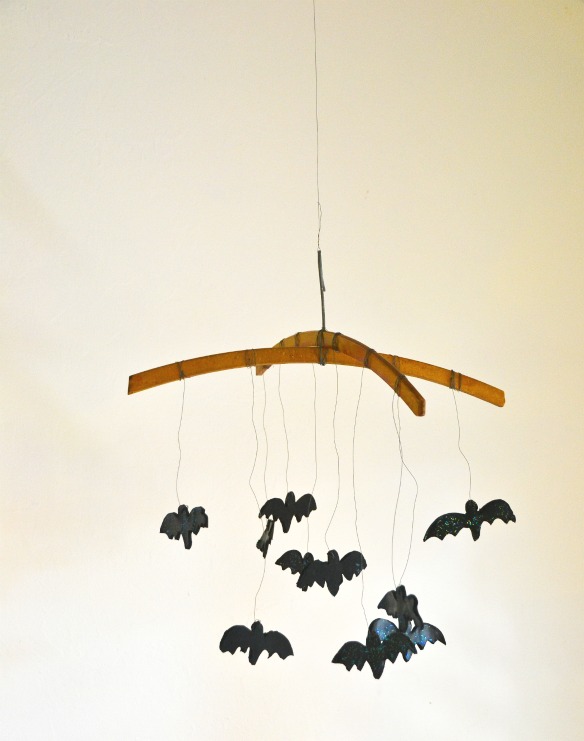
 Gather your supplies:
Sculpey oven bake clay
Toothpicks
Acrylic glitter paint
Bat template
Floral wire
Rolling pinHangers or dowel rods
Drill
Instructions:
Roll out clay to approximately 1/8 in thickness.
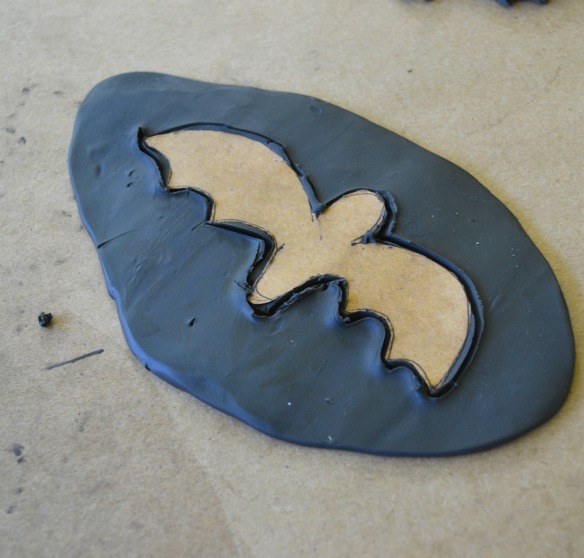
Place bat template onto clay.
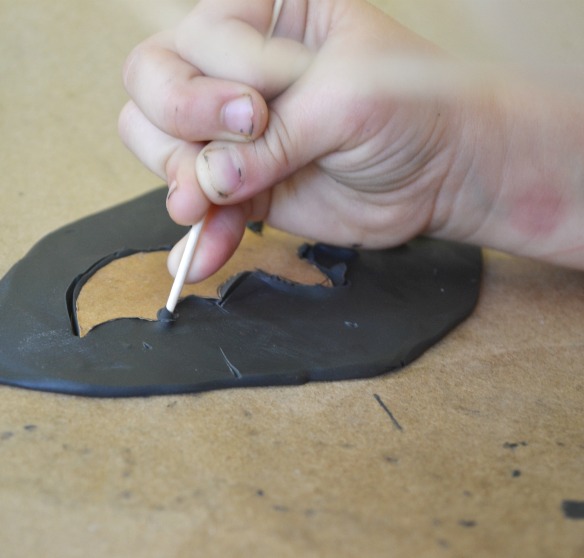
With a toothpick cut around template.
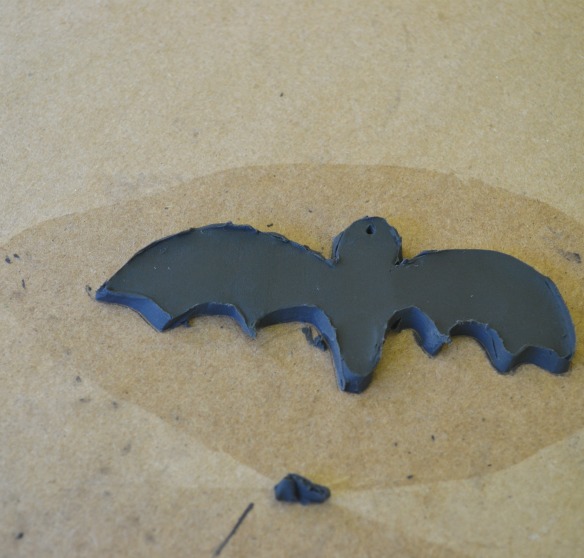
Remove excess clay and template.
Make a hole in center of head with toothpick.
Bake according to directions.
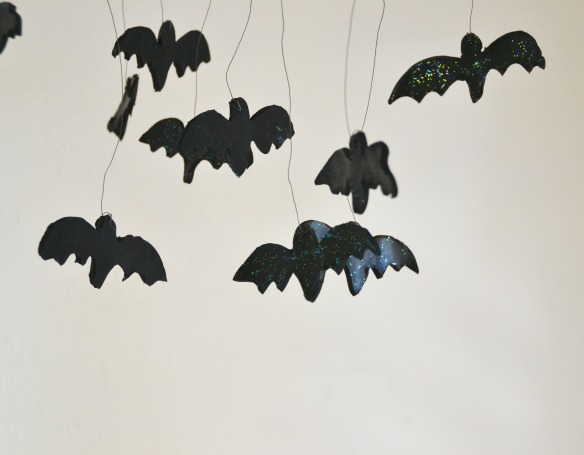
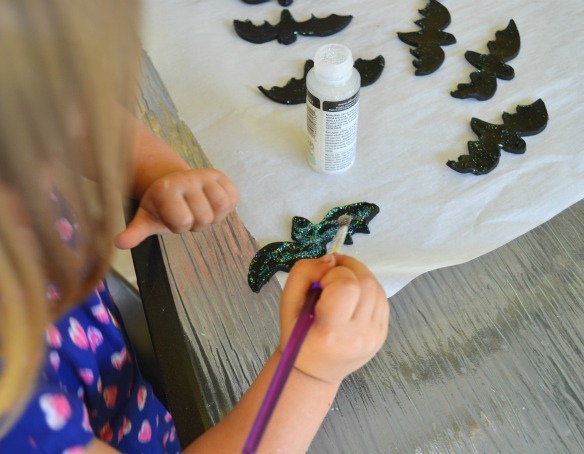
Once cooled, coat with glitter paint and let dry.
Thread bats with floral wire and attach to hangers or dowel rods.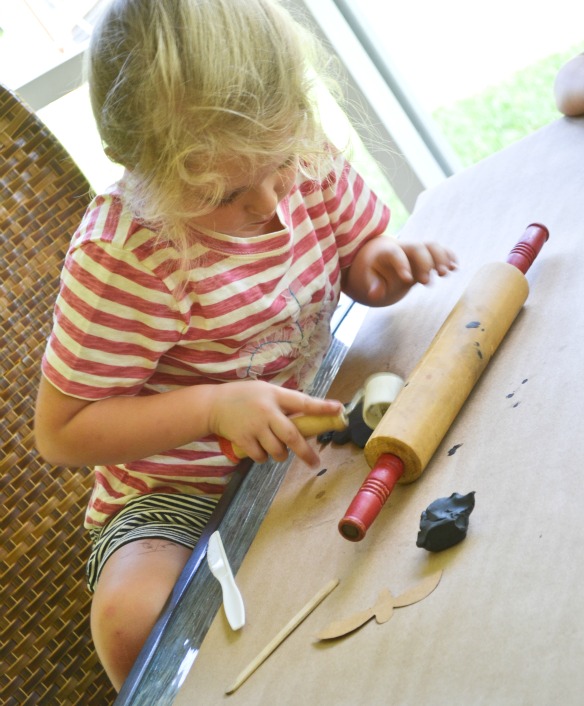

 For the hangers, I had my husband remove one of the metal hanger part things. Then, he straightened the remaining hanger and threaded it through the the bottom of the other hanger. Next, he bent it back into a hook shape. After he drilled holes, I wrapped some floral wire around the center of the hangers to keep them in position. If you don’t have any wooden hangers, wooden dowel rods would work just as well. You can get those from any craft or hardware store.
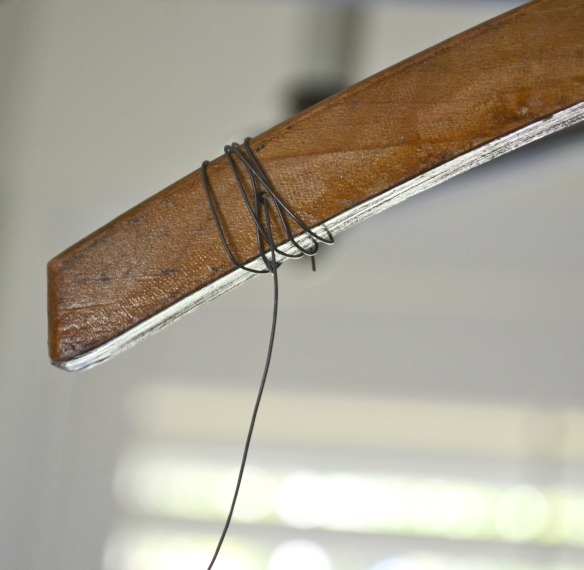 All that’s left to do is to hang your bat mobile. We hung ours right under an air vent…to help the bats fly a little.
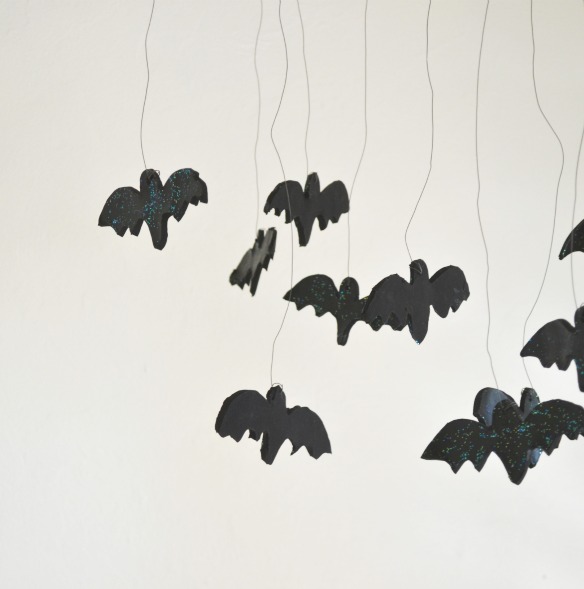
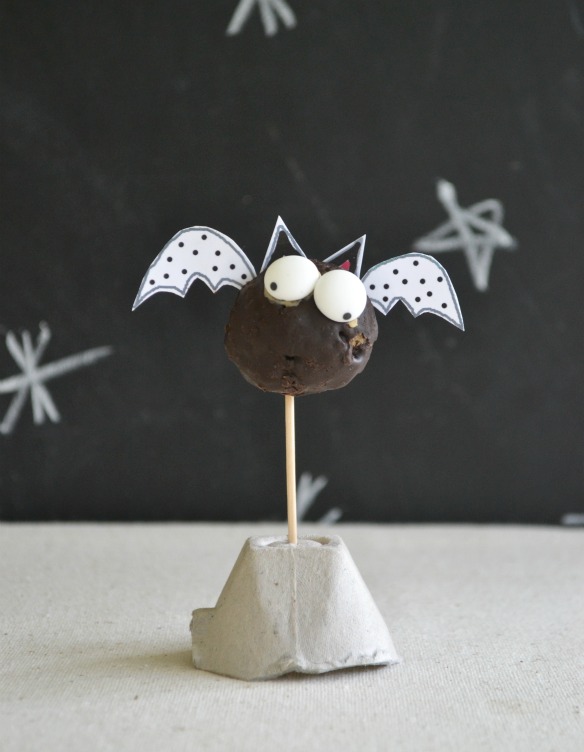
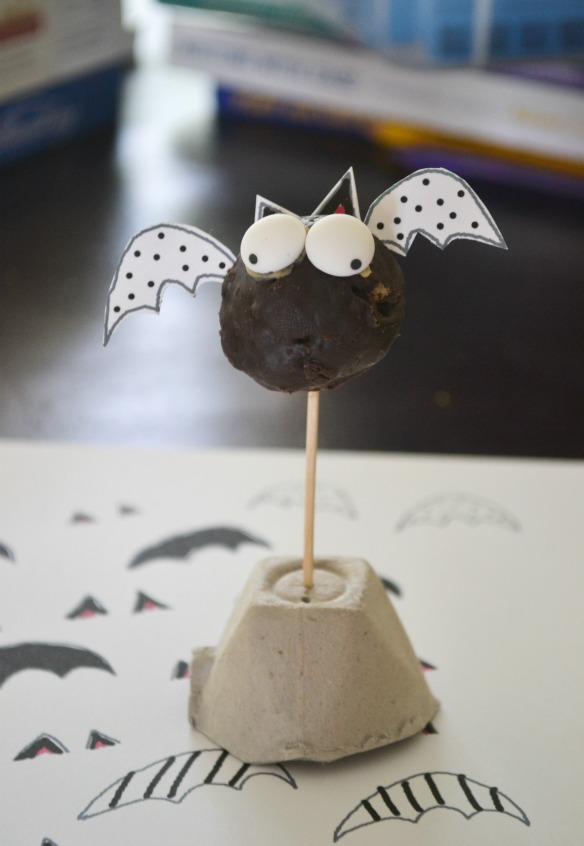
Ding Bat Donuts…
For my birthday this year, I got this really cool tablet I’ve been obsessing over for a while. The #1 reason I wanted this was so I could do drawings or doodles and implement them into my blog or crafts. I adore doodles! They are so fun and carefree. Totally not stuck up!
Anyway, I was playing around with it last night and started drawing Halloween doodles. Then, I started drawing bat body parts. Though I was a little skeptical at first about my technique, I ended up loving it. It just works…ya know? So, I’m sharing it. Don’t laugh.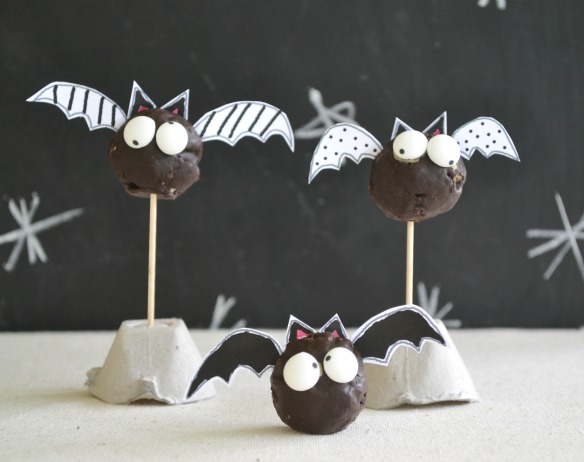
 Gather your supplies:
- Donut Holes
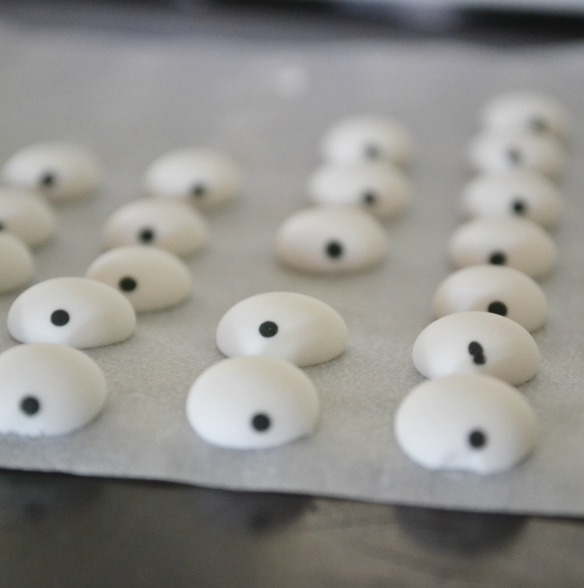
- Candy Eyeballs
- Toothpicks
- Peanut butter or frosting
- Ding Bat printable found at the end of this post
Instructions:
Rough cut wings and ears.
Leave a little “stem” on the ears for easy insertion into donut.
Place donut on toothpick or lollipop stick.
Insert wings and ears.
Dab peanut butter or frosting on the back of eyeballs and fix to donut.
I cut up an egg carton so I could stand the bats up on the toothpick. I was fresh out of floral foam. Somehow, trekking three kids to the dollar store for some foam, lost it’s charm about 2 kids ago. I’m learning to use what I have. And…I had egg cartons. There ya go.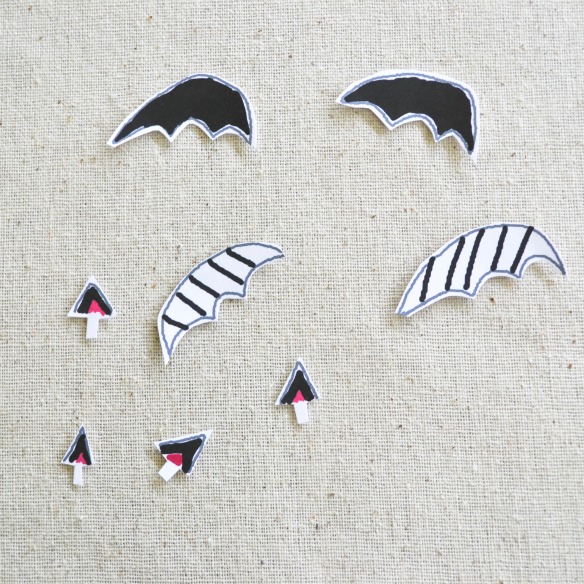
 I love this Ding Bat. It looks like it ran smack into a wall…and is all discombobulated!
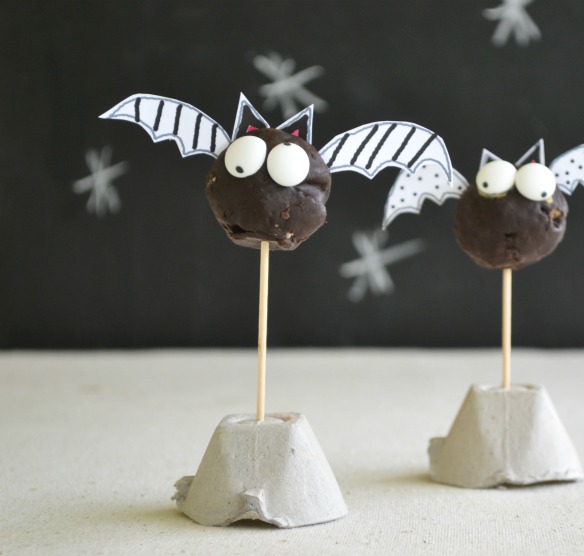
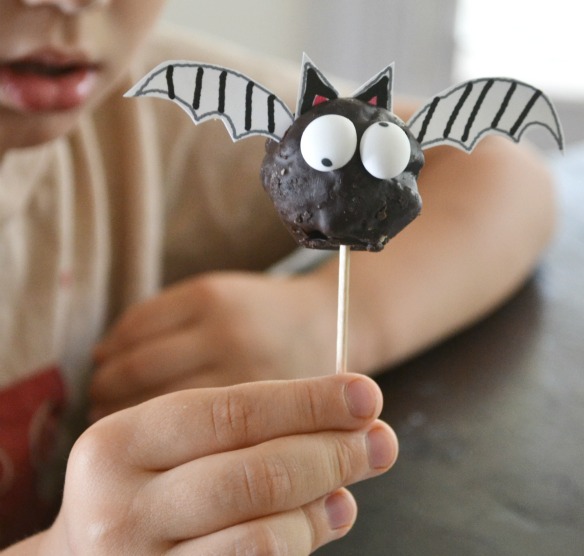 This is a pretty basic craft…but my kids had a lot of fun decorating the bats. Even more fun eating them!
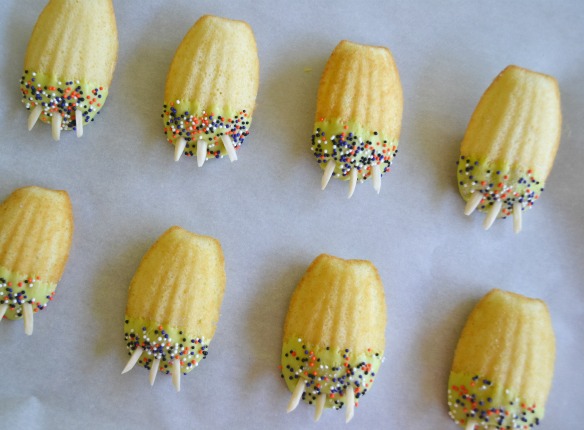
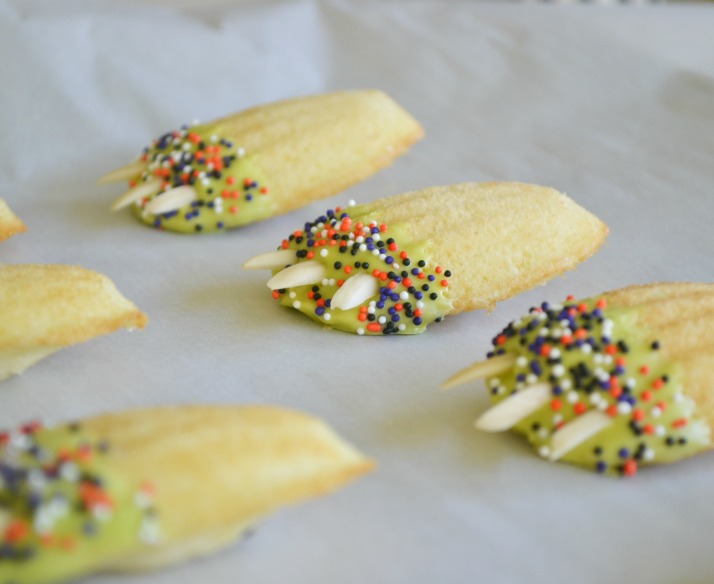
Madeleine Monster Feet…
Life has been busy happening around here and I’m learning, that even I have my limits of what I can take on. Honestly, I don’t know how other bloggers do it. By the end of the day, I’ve already checked out. I’m lucky if I get one blog post out a week. So, pardon my lame excitement over this post, but yay…here is my first Halloween post of the season! Whoop!
I LOVE Madeleines! I own Madeleine pans just for this reason. It was only a matter of time before I transformed Madeleines into monster feet. RAWR!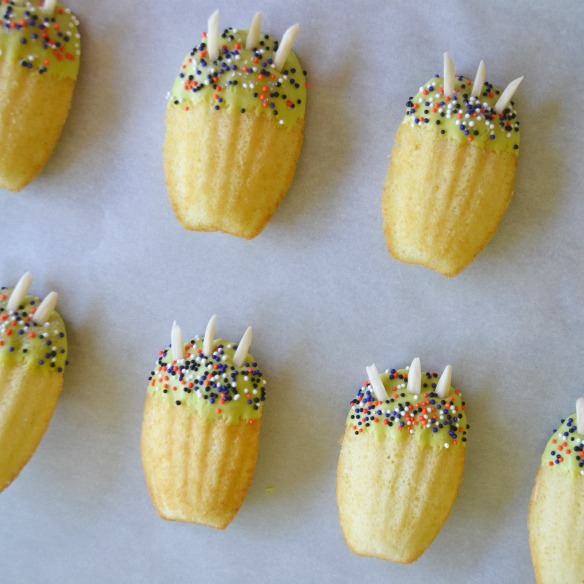
Supplies:
- Madelienes (make your own or store bought will work fine also)
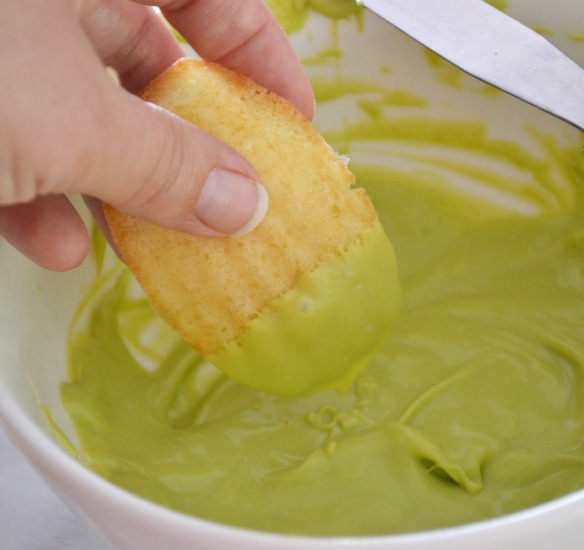
- Candy melts or melting chocolate
- Slivered almonds
- Sprinkles
Instructions:
Dip the top portion of the Madeleine into the candy melts.
Using a toothpick, make three holes at the top of the Madeleine.
Insert slivered almonds into the three separate holes you just made.
Top with sprinkles and let harden.
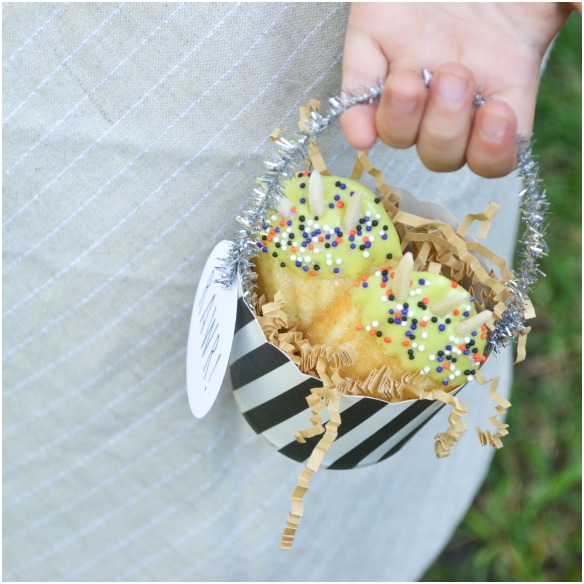
You can put these on a stick or leave them as they are. I tucked them into a basket made from a baking cup and attached with the printable found at the end of this post.


If the shoe fits…
Make gumball witch legs…

You’ll need these items: {witch kicks pattern found at end of post}

Using at least 2 different color gumballs…alternate them until you have filled the pipette. After you cut your witch kicks…apply double sided tape to the top backside…then attach to pipette…slightly pinching it around the curve. Using a glue stick…apply a dab to top front…attach ric rac and tie knot. Voila!

Ding Dong Witched…
For the last month, I’ve been racking my brain to come up with a spin on the “We’ve Been Booed” Halloween tradition. When you “Boo” someone, you typically leave a sign, instructions, and some goodies…all on the sly. The idea behind this is… that the person you Booed…will Boo at least two more people…thus keeping the fun going….
A “noteworthy” dollar deal…
Once again…Target does not disappoint! Pair with the freebie printable at the end of this post…to make this $1 deal a “noteworthy” party favor or class treat!


Stamp Party Favors: Part II
Halloween party favors: Stamp kits
 …
…The Cadbury Diaries…
I did a recent post on my facebook page…asking what was your least favorite Halloween candy you got when trick or treating? Hands down…mine were the Mary Jane Peanut Butter Kisses . I can’t even believe they still stock those things…gag. I was super surprised at all the candy corn haters!! Wha?? I love candy corn!! It was my favorite Halloween candy…until…….