
 One of my kids favorite activities is drawing. They can stay busy for hours with just plain old copy paper, markers, crayons, and coloring pencils. They draw at least 5 pictures a day, if not more. While I love all their artwork, it can quickly pile up. And I’m forbidden to throw any of it away. My kids know me and know my penchant for, “cleaning out.” They put all of their drawings in what they have declared the safe pile. As it turns out, every single drawing has been marked as safe. I could do a book and have plans to do so, but I would have to do the equivalent of an encyclopedia set.
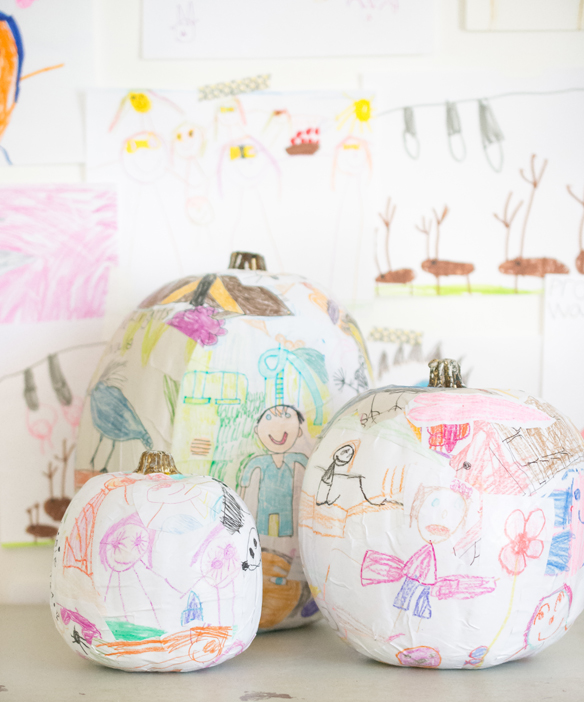
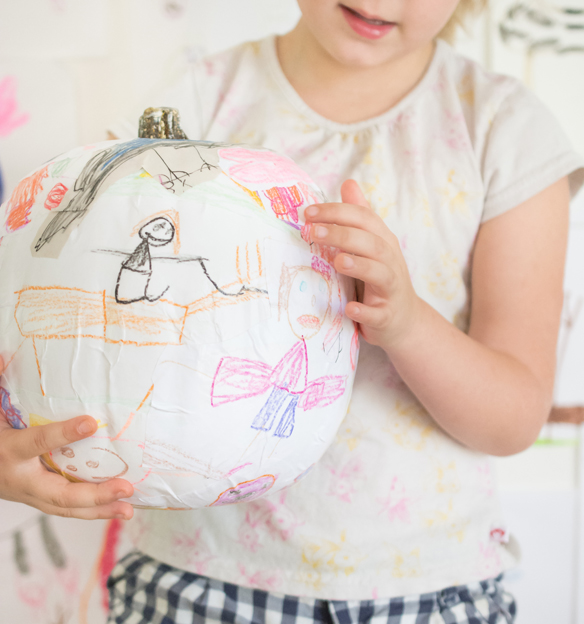
I’m always looking for alternatives to books. I was out shopping this weekend, when I spotted these white artificial pumpkins on sale at Michaels. I’ve seen others that have been decoupaged with tissue paper, so I thought it would be a lot a fun for the kids to cut and glue their artwork onto the pumpkins. I picked up three different sizes and brought them home. I knew Savannah was going to be my hardest sell. She is very attached to her art, in it’s completely unaltered state. The only way she would go along with my idea, is if I agreed that she could keep her pumpkin out year round. So, I did.
For this project you’ll need the following supplies:
White artificial pumpkins (or you could paint them)
Mod Podge
Foam brushes
Scissors
Kid’s artwork (pictures drawn with waterproof materials, such as crayons and colored pencils)
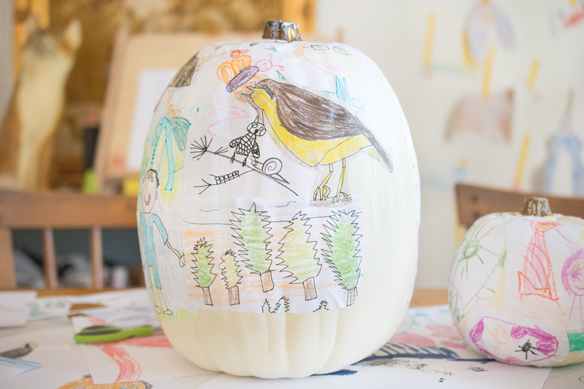
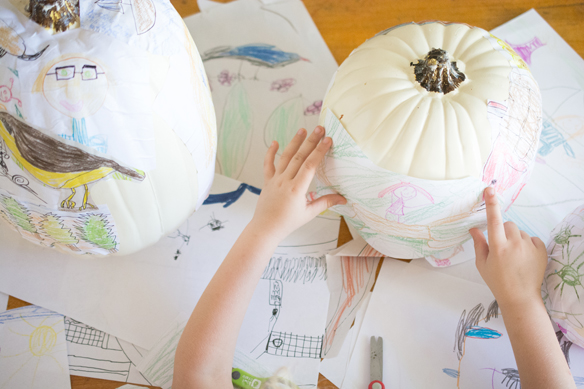
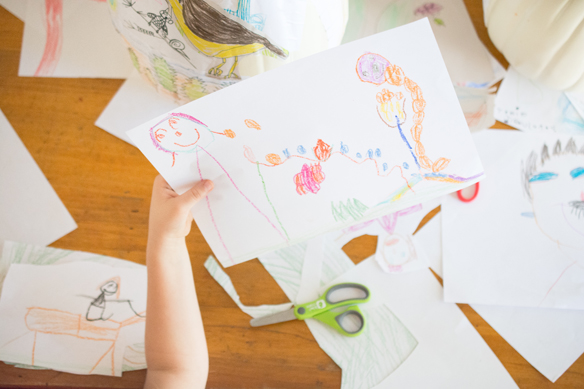
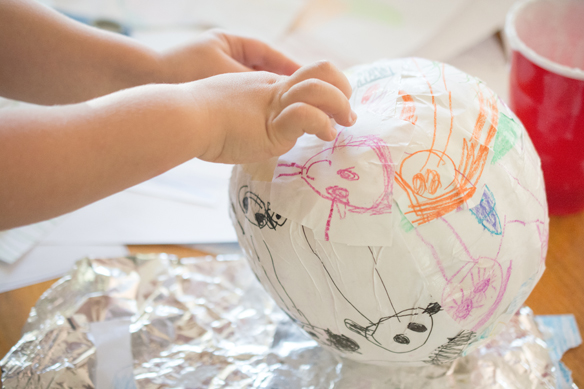
First, we went through their artwork and picked out pictures that were suitable for decoupage. You can’t use anything with washable inks, as it will just smear when you add the Mod Podge. Then, I had them cut them up and place them all in a pile. Once they had their pictures ready, I showed them how to add just enough glue to the backs of the picture. Things can go downhill fast when we are working with glue, so this was a must. Next they began placing them on their pumpkins. Some of the bigger pictures will wrinkle, but that’s okay. After all the pictures were glued onto the pumpkin, they applied the top layer of Mod Podge. At this point, they can smooth out some of those wrinkles, by just pressing on them with their fingers. You’ll want to add the top layer in sections, letting the previous dry to the touch, before moving on.
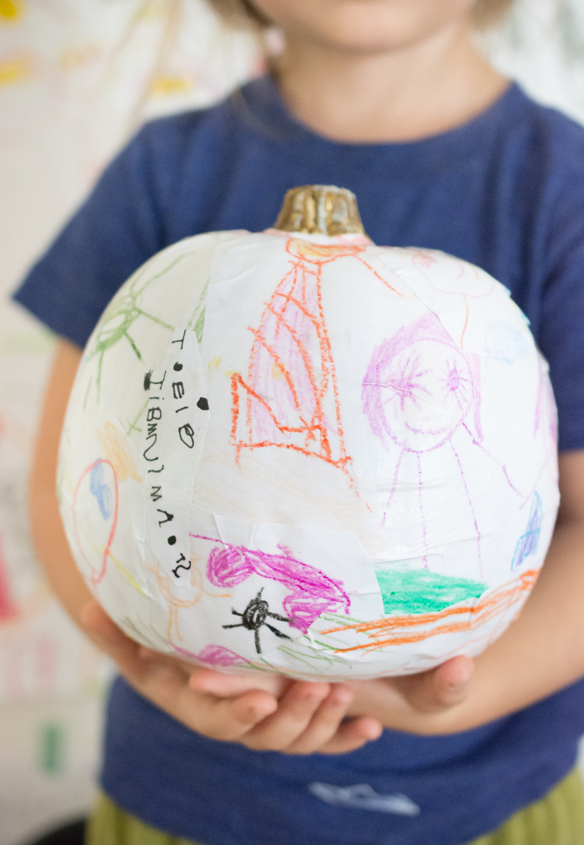
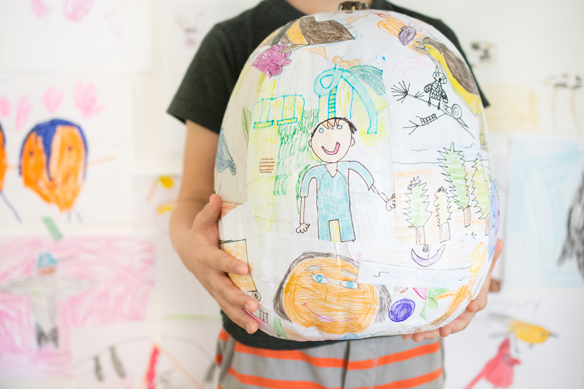
I adore how they turned out! I’m always a sucker for my kid’s artwork even when it’s taking over my house. I just love knowing I will have these out every year for Halloween. Or in Savannah’s case, everyday.