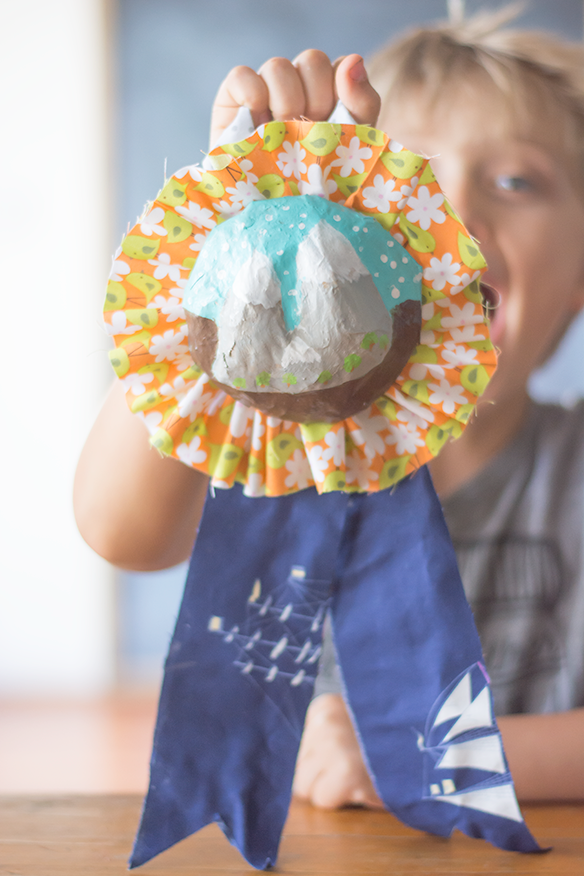

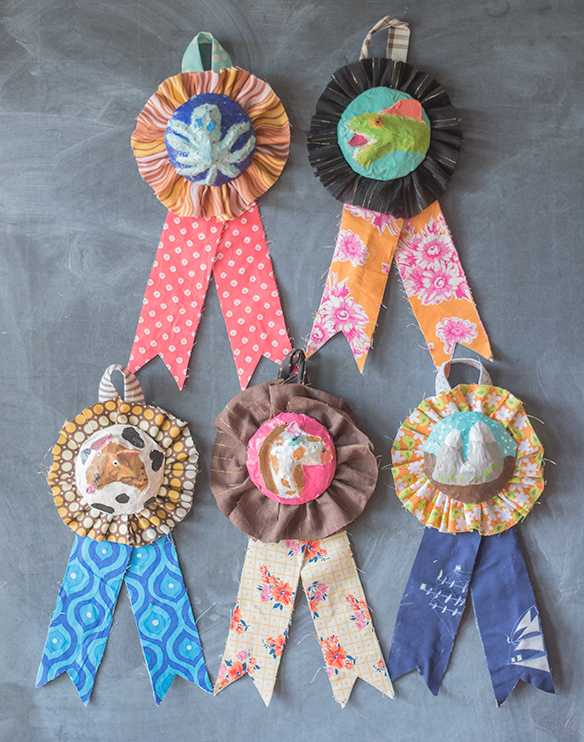
I was recently interviewed for an article and one of the questions asked was, “How do you come up with your ideas?” It was hard for me to find the words to describe my creative process. It’s like all these ideas are streaming through my mind all day, every day and if one really catches my eye, so to speak, I pause and think on it for a bit. Then, I think on it some more. I will mull over an idea for weeks, before I actually begin any tangible work. WEEKS! I started thinking over this project two months ago and finally, here I am with a finished product. I think the extra thinking time I put into these paid off. They turned out better than I ever expected. My kids are having fun creating all sorts of prize ribbons. The possibilities for design are endless!
First, gather your supplies:
Cardboard
Small bowl or something circular
Plastic grocery bags
Paper towels
Masking tape
Acrylic paints
Paintbrushes
Scissors
Newspaper
Flour and water for paper mache paste
Drawing paper
Pen
Fabric
Needle
Thread
Sewing pins
Low temp glue gun (if you are comfortable with your kids using it. if not, just use a regular glue gun)
Glue stick
Mod Podge (optional)
- Trace 2 circles around your small bowl or other circular template onto a piece of cardboard, set aside.
- Draw a picture that will fit within the cardboard circle. Keep it simple, you can add detail later. Cut out picture and set aside.
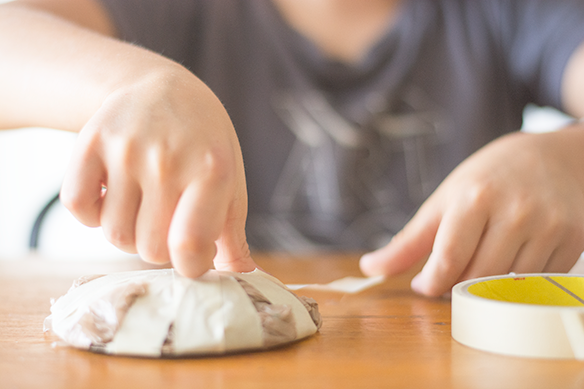
- Form the plastic grocery bag into a ball shape and press flat over cardboard circle. Begin taping, until the plastic bag is covered. There is no need to cover the back.
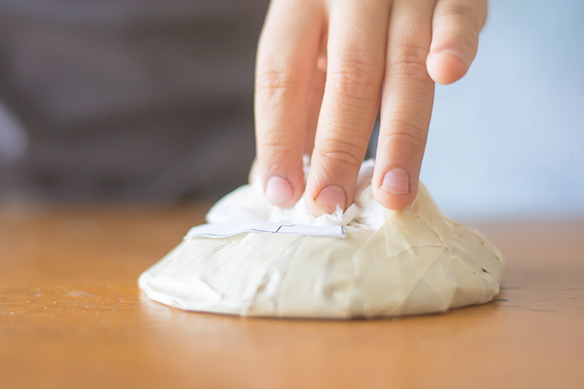
- Using the glue stick, glue your cut out picture in the center of the cardboard circle. Glue it to the plastic bag side.
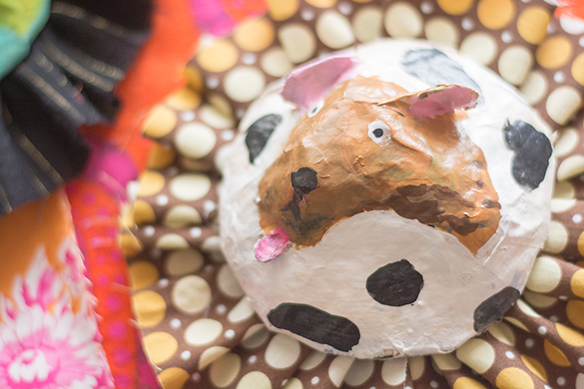
- With paper towels and masking tape, start to build up your design. The idea is to create a relief, so the picture can be distinguished from the plastic bag medallion. It helps to work in small sections. Keep doing this, until your entire design is covered.
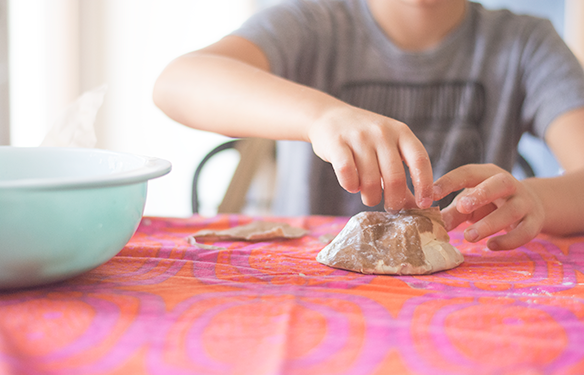
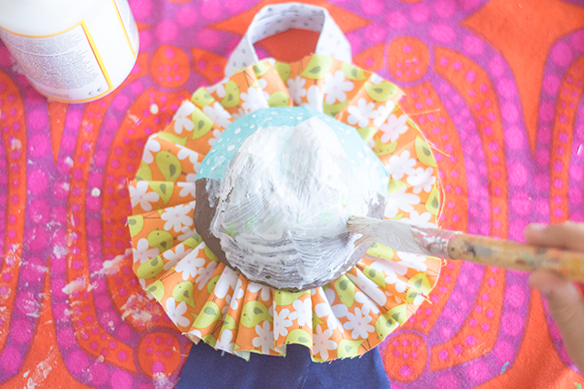
- Now, paper mache the front of the medallion with newspaper strips and paper mache paste. For the paste, I mix equal parts flour and water. When completely covered, allow to dry thoroughly.
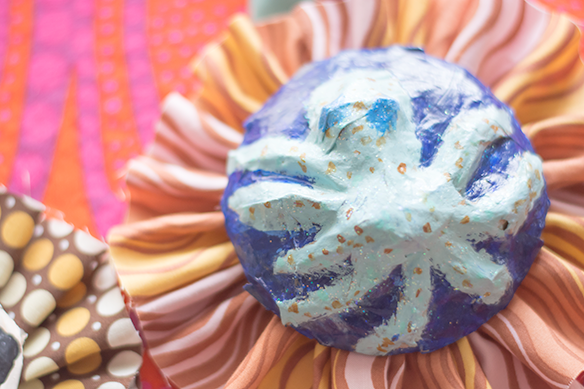
- After the medallion has dried, paint your design. Start with the background, this helps to see your design easily. Then, paint your design. Add second coats if necessary and allow to dry.
- Add a clear coat of Mod Podge as an optional step. I thought of this after the fact and really prefer it to just left plain.
- Using some of the newspaper or other paper, make paper patterns (size will vary, depending on size of medallion) for the fabric portions of the ribbon. You will need one for the loop, the ribbon tails (cut 2), and the ruffle.
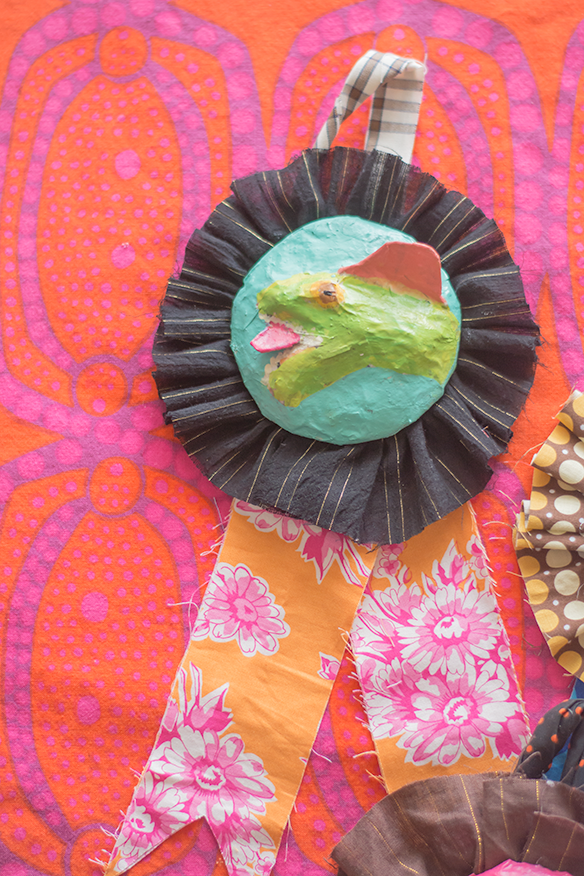
- For the loop, cover the wrong side of fabric with your glue stick, fold one side into center (lengthwise), then fold the remaining side on top of that one. Form into a loop and secure to the top of the remaining cardboard circle with glue gun.
- For the ribbon tails, cover the wrong side of fabric with your glue stick on one of the tails. Lay remaining tail on top, press and smooth until attached. Trim up edges if necessary. Fold tails over each other at center and secure with glue. Attach tails to bottom center of cardboard circle.
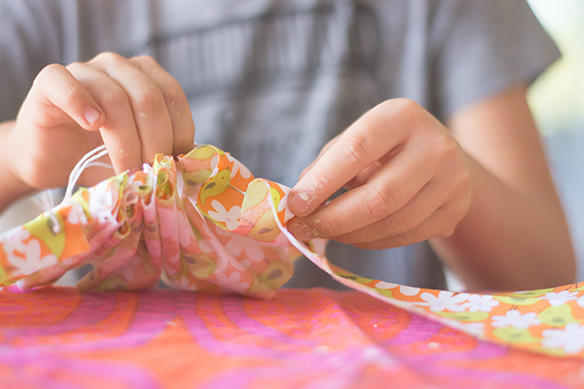
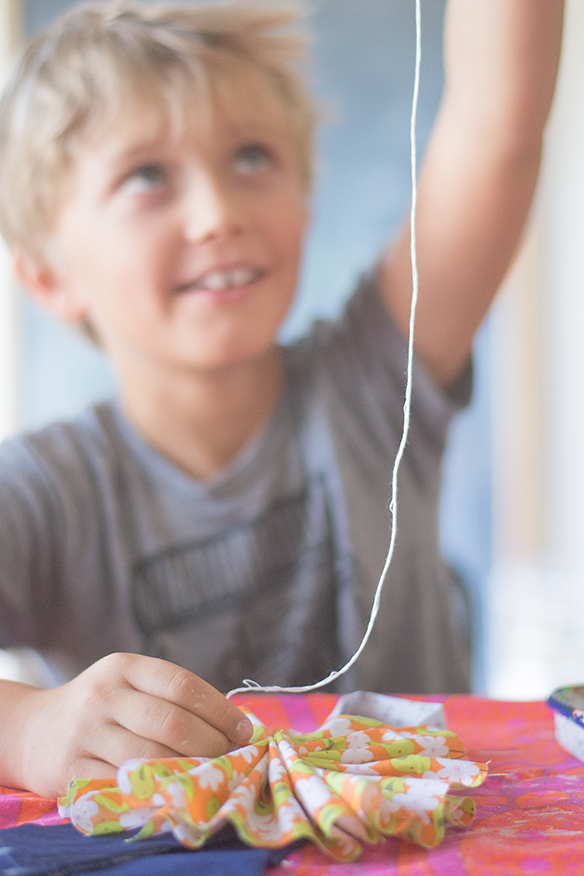
- For the ruffle, thread your needle, then run a basting stitch along the length of the ribbon. Pull end to create ruffle. Secure two ends with glue gun. Attach ruffle to cardboard circle with glue gun.
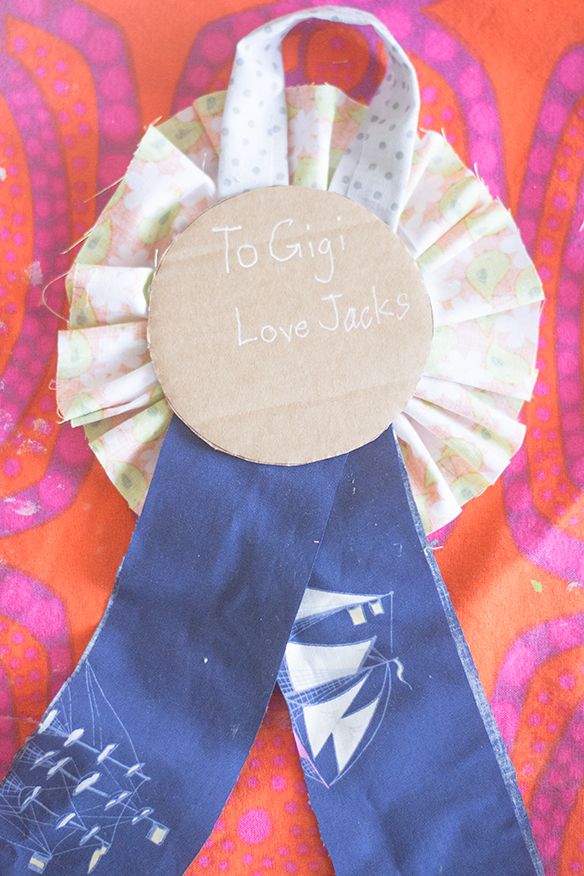
- Finally, attach paper mache medallion to the cardboard prize ribbon, using your glue gun.
It feels good to finally get this project out of my brain and onto the blog!