

 I had forgotten just how much goes into a tutorial blog post, but was quickly reminded when I started this one. I love looking back on all our projects. It’s like an online scrapbook. I don’t so much like all the prep and the work involved. I know it must look like I just pull out my camera and start shooting, but not so. There is a lot of prep work before I even get to that part of the process. Then there is set up, taking lots of pictures, stopping between pictures for more set up, taking more pictures…this time with paint all over my hands, up and down on a ladder, move ladder out of shot, making sure I captured all stages of the project, clean up project, download and edit photos, and finally, write a blog post. Of course, all of this had to be done while my 20 month old is napping or down for the night. Which coincidentally, doesn’t happen until about 10:30 at night. But, I really do love looking back and remembering how much fun we had, minus all the work of course.
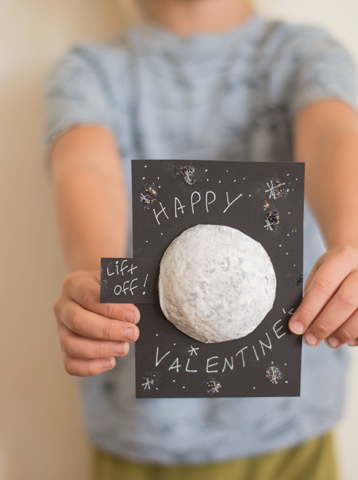
If you have been reading my blog for a while, then you know I’m big on handmade valentines. I just love them! I feel like they add such a personal, crafted touch. Also, you might know that we love confetti! We have been making handmade confetti for a few years now and it’s still one of our favorite crafts to do. These confetti moon valentines are the perfect combination of both!
For this project you’ll need:
Apple packing boards (I’m not sure of the official name, but they use them when packing apples for shipment. Ask someone in the produce department of your local grocery store. They will know what you are talking about!)
Acrylic paints (white and gray)
Sponges (for painting)
Glue stick
Scissors
Tissue paper
Confetti
Paper (for writing messages)
Black cardstock
White ink pen
Envelopes
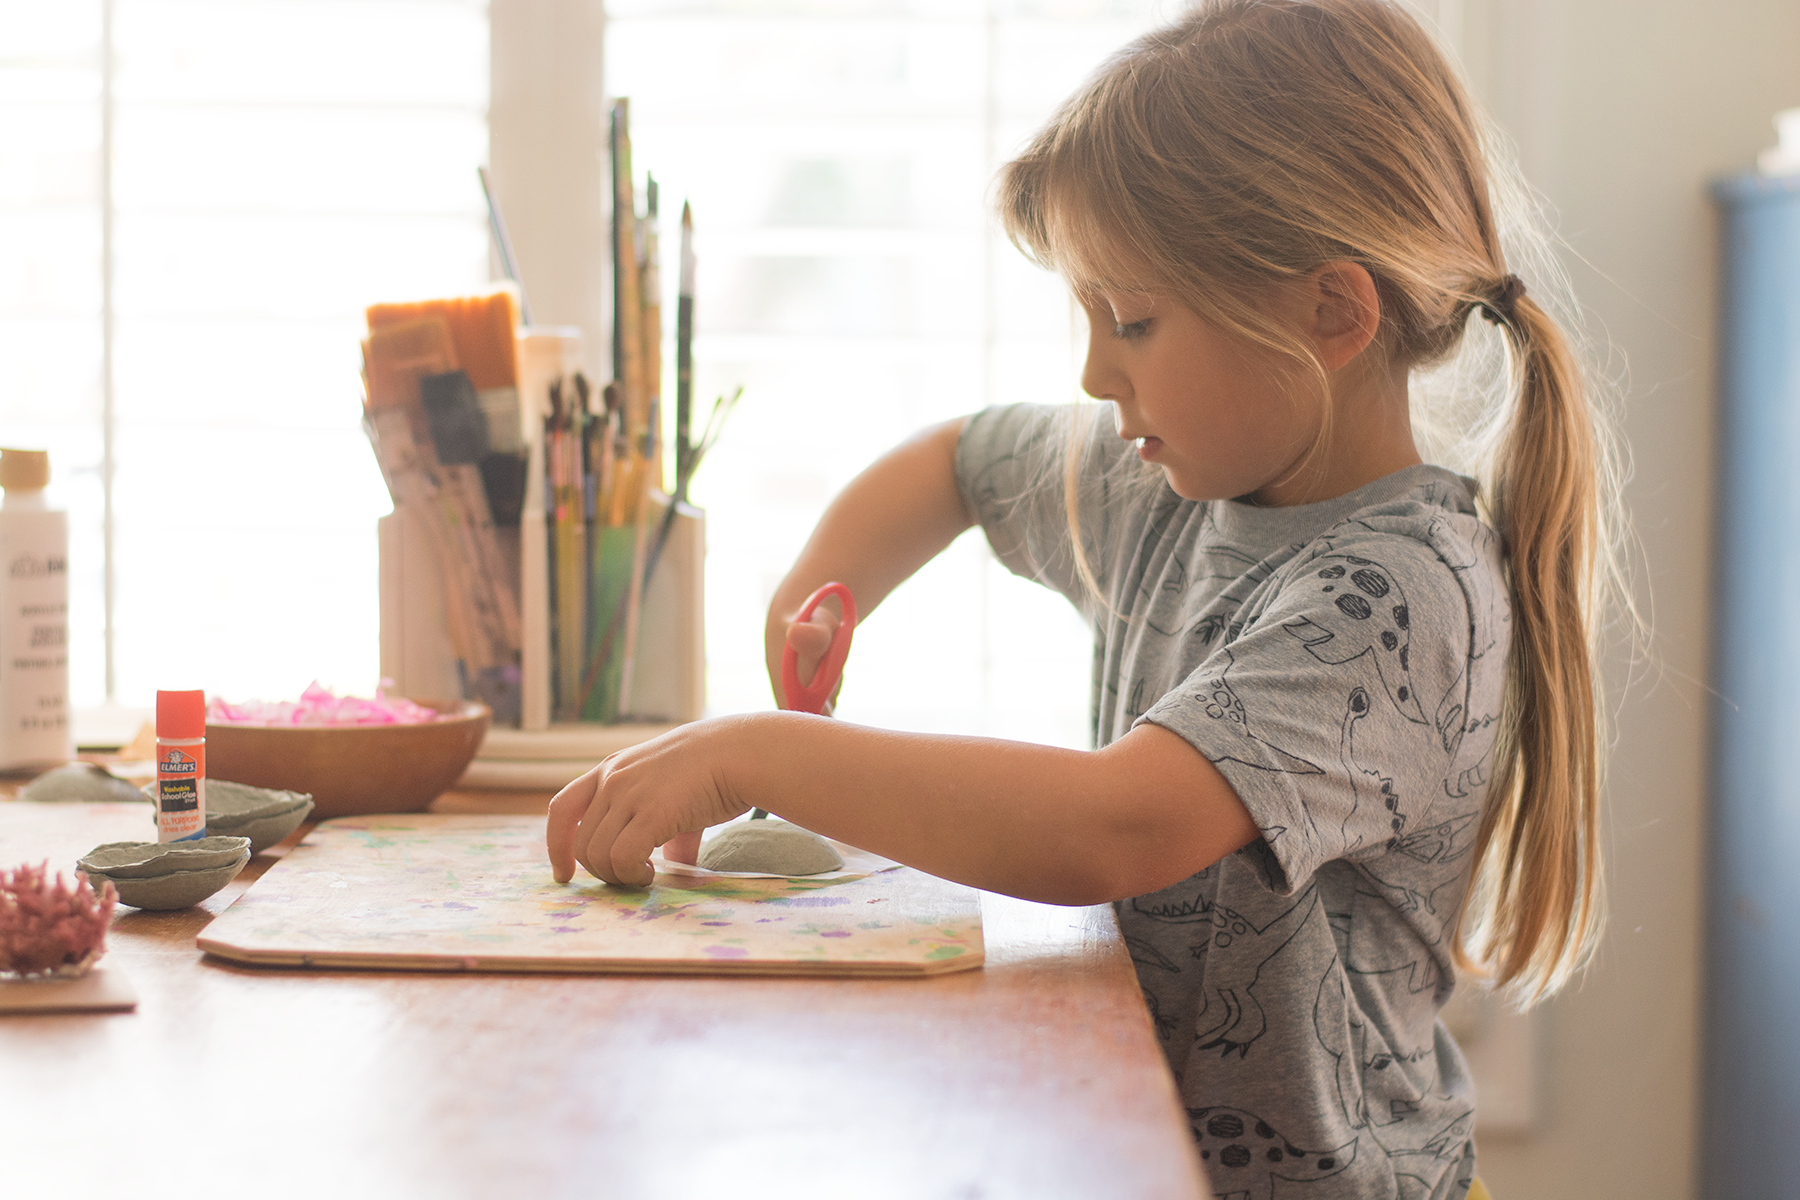
First, cut out your individual moon shapes from the apple packing boards. Trim them up as best you can, to maintain circular shape. They might be a little bit wonky, but it still works! Next, using the moon as a guide, take a small square of tissue paper and cut around the moon, leaving a 1/4 inch edge all the way around. Write out your messages (we wrote, “To the moon and back”.) and stuff inside moon with a little confetti. Don’t overstuff or it will become difficult to seal up. Grab tissue paper you just cut and cover the confetti. While holding the paper in place, flip moon over and apply glue along the perimeter. Then, fold up edge of tissue paper on top of moon, making sure all is glued down.
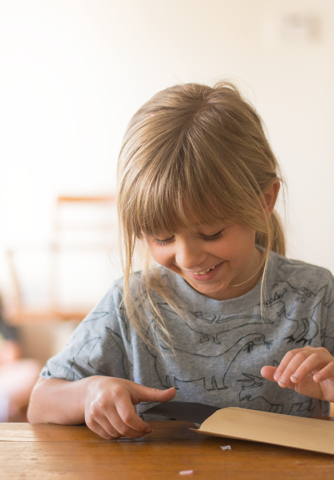
Once your moon is assembled, you can begin painting. Sponge on white all over the moon, then sponge on a little gray. Try not to overdo the paint…or the colors just blend. Set aside to dry. Next prepare your cards however you like. We added a little “lift off” tab, so our recipients would know to pull moon off of card. If you want to do this, just add glue to the tab and secure to the back of the moon. Then add glue only to the back of the tab and secure it to your card. You’ll need to hold it in place for about 10 secs to get it to adhere. It won’t be a strong attachment, but enough to keep it in place. Finally, stuff your valentines inside envelopes.
Jacks wasn’t much into this, sigh, he’s too cool now. Well, he told me he would help make them, but he wasn’t handing them out. But, Savannah and Annie were completely on board and are super excited to hand them out to their friends! Happy Valentine’s 2017!