
There is always a never ending supply of cardboard around our house. Yes, I am a Prime junkie. I will order anything Prime, if it means I can avoid the fun that is, taking 4 kids shopping. My husband likes to call me, the Prime Minister. Whatever, he’s never shopped with 4 kids. When I’m not recycling cardboard, I’m dreaming up ways to use this glorious craft medium. It just so happens this craft combines three of my favorite craft supplies: fabric, thread, and cardboard!
Behind the scenes, I’ve been working on my own necklace project, which sort of inspired this kid made version. I’m not going to lie. Teaching basic embroidery to my 5 and 7 year old, requires a whole new level of patience. The kind that requires you to constantly re-thread the needle, even though you just explained to them how to hold the needle, so the thread doesn’t come off. After about 10 needle re-threads, we finally hit a groove. Whew.
First, gather your supplies:
Cardboard
Fabric
Embroidery thread
Embroidery needle
Batting/Stuffing
Art Pens
Sewing marker
Scissors
Craft glue
Hot glue
String/Twine
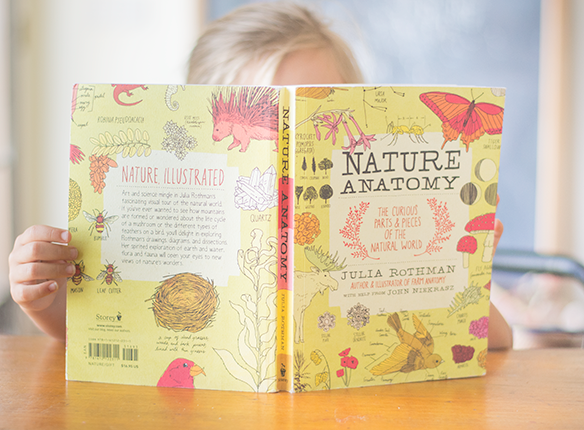
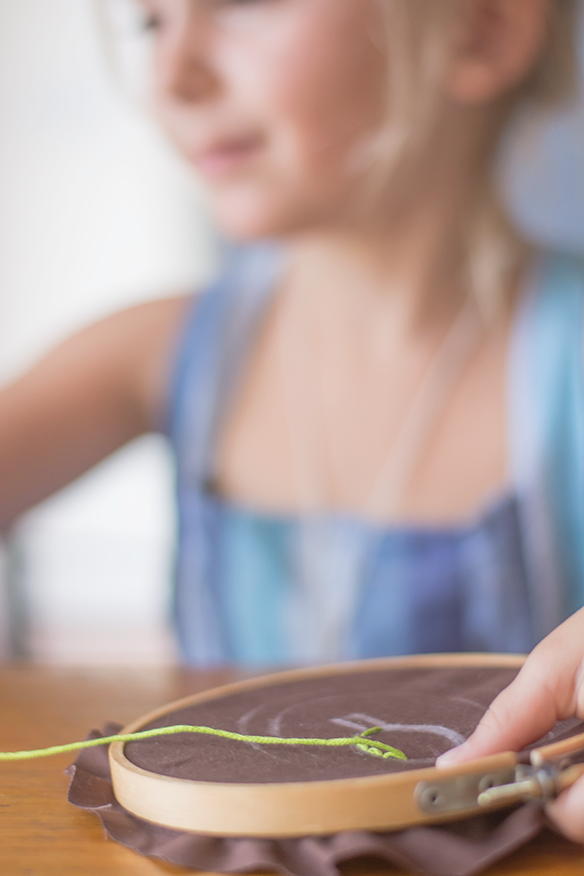
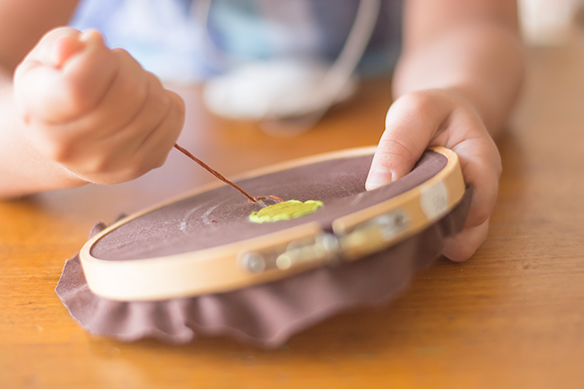
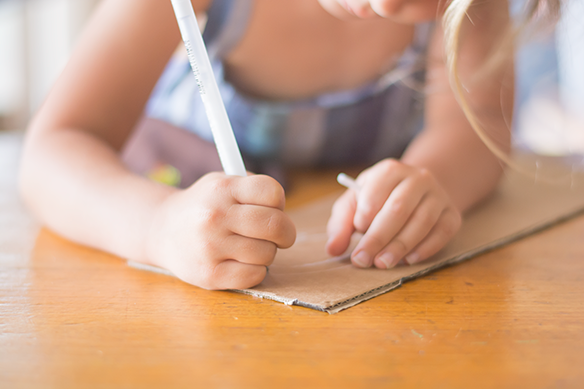
Before we started, I had them look through one of our favorite books for inspiration. Once they were settled on what they wanted on their necklace, I had them draw it onto fabric using a sewing marker. Next, I put their drawing in a small embroidery hoop, one that would be easy for little hands to handle. If you have a surplus of fabric hanging out, it’s a good idea to trim it up as closely to the hoop as possible. This helps to prevent getting the thread tangled up into the extra fabric.
This is not the first time I have exposed them to embroidery, but it is the first time that they primarily did it on their own. I still helped quite a bit, especially with Annie. I gave them a brief lesson on the directions the needle goes. For example, if the needle is under, you are going to go up through the fabric. If it is over, you go down through the fabric. If you’ve ever embroidered with kids, then you know they have a tendency to go the opposite way they need to, thus ending up with the thread wrapped around the side of the hoop. So, this quick reminder, repeated several times over, does help!
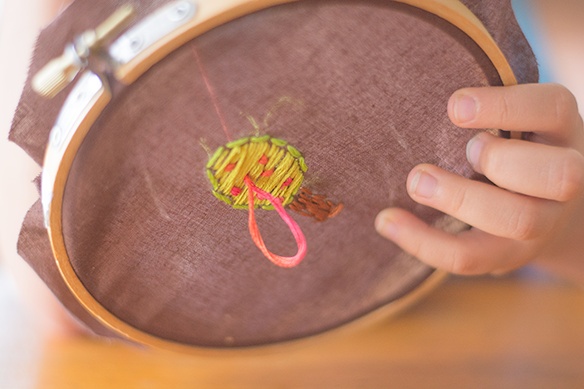
I did the knotting for them and did the first couple of stitches as an example. For the remainder of the project, I mainly verbally instructed or pointed to where the needle should go. After a while, I stopped pointing and asked them where they thought they should put their needle next. Once they got acclimated, I didn’t even need to ask them anymore, they had it down pretty well.
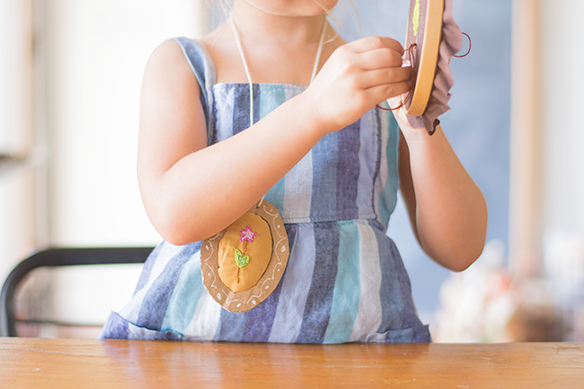
After their embroidery work is done, have them lay the embroidered fabric onto another piece of fabric, and cut out an oval shape. Or, any shape you wish really. Next, take the craft glue and put a small bead of glue around the edge of the fabric, leaving an opening for stuffing toward the bottom. Set aside to dry.
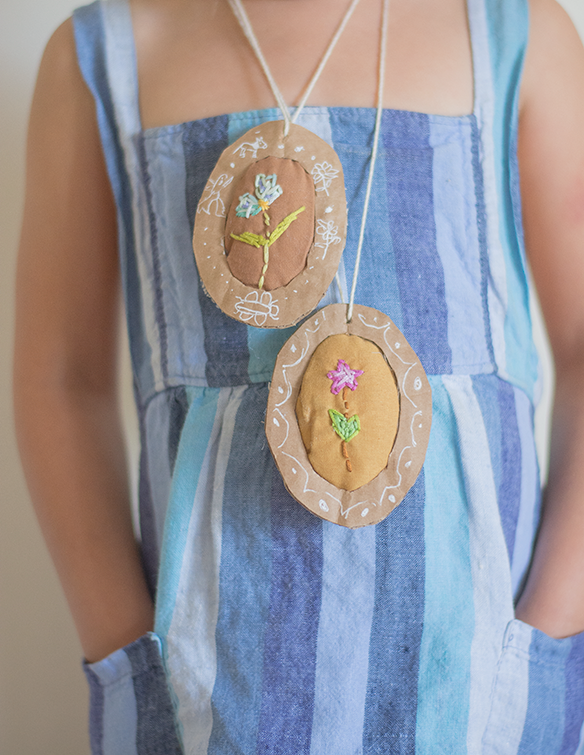
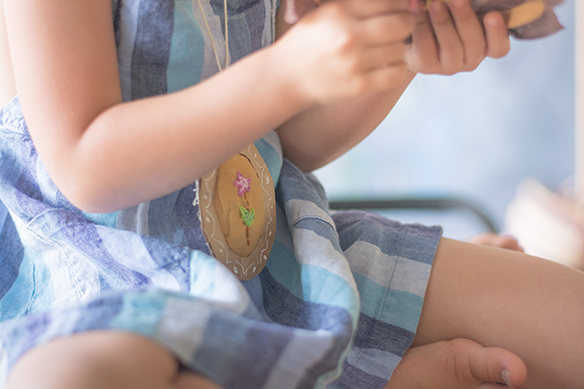
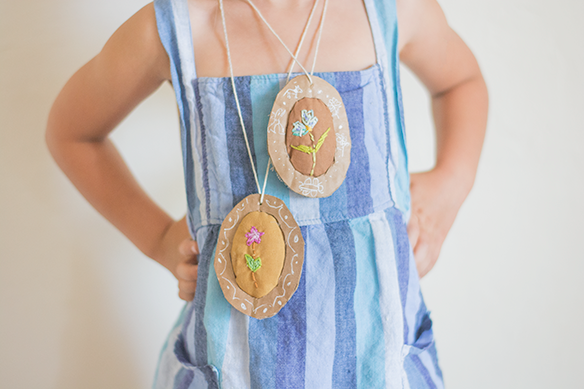
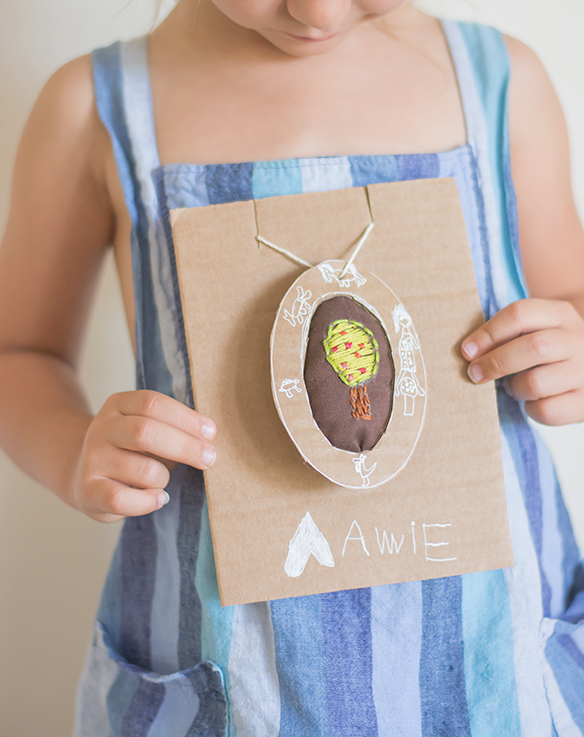
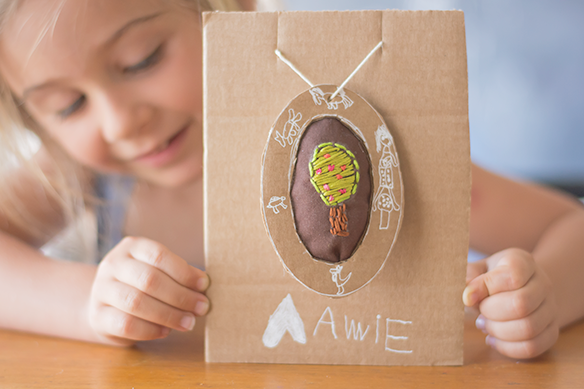
While the glue is drying, you can work on the necklace frame. Simply trace the shape of the necklace onto cardboard and add artwork along the frame, then cut out. If the glue is dried to a tacky touch, you can go ahead and stuff it. Don’t overdo it, just a little works fine. Then, add a bead of hot glue to the back of the frame and attach to the front of the necklace. If you are working with young children, please have an adult do the hot glue or use a low temp glue gun. Close up the stuffing opening with a bit of craft glue. Poke a hole near the top of the frame and thread with string. If they would like to make some for gifts, just cut out a piece of cardboard, and add two slits at the top to hold the necklace.
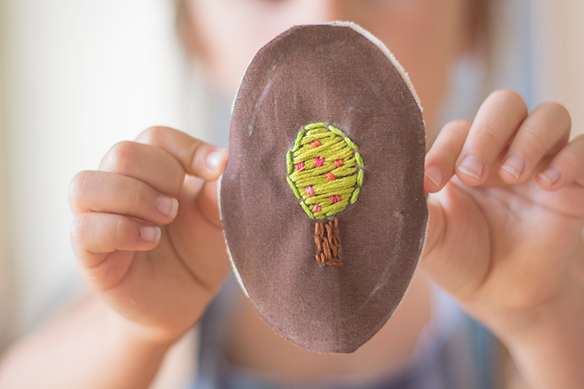
I do think these turned out really sweet. Even though we had a rocky start, it was fun and I very much enjoyed sharing embroidery with them. Savannah already has plans for a pillow. I will need to start building my patience reserve now, for that project!