Have you ever heard of seed paper? It’s basically paper pulp with seeds embedded in the fibers. There are several tutorials floating around on the internets. Some are more involved and require a lot more ingredients than I was willing to track down. Knowing this was going to be a kid project, I needed simple with a splash of instant gratification.
Supplies I used:
- brown kraft paper/packing paper {you can buy a roll of kraft paper at The Dollar Tree}
- water
- blender
- wildflower seeds {the kind that attract butterflies}
- cookie cutters {I used letters and hearts}
- flour sack towel
- aluminum pan
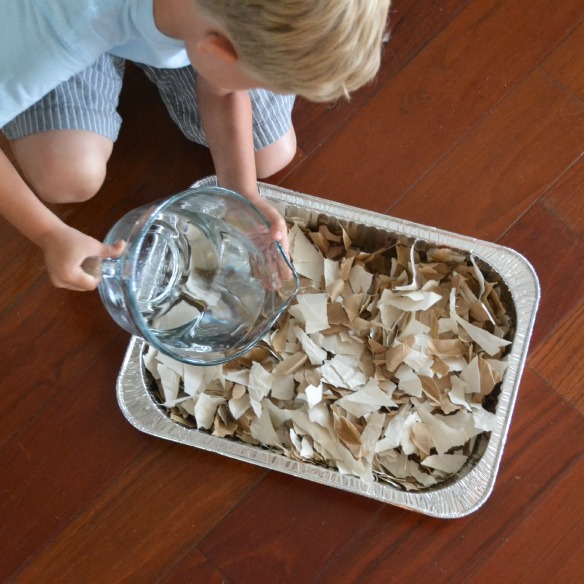
First, tear your paper into small to medium pieces. Pour water over torn paper, covering it completely. I let it sit overnight, but after completing the project, I made the determination it’s not actually necessary.
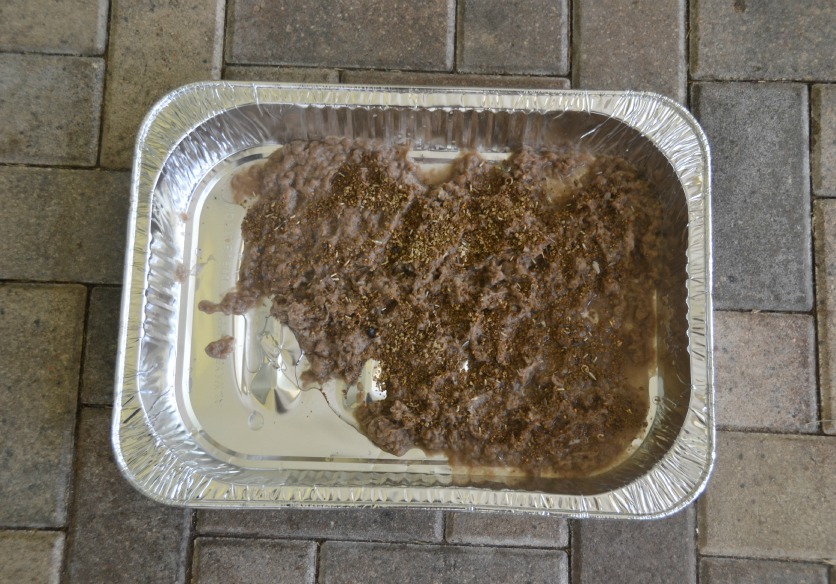
If you have a lot of water, dump some and blend the paper with just a 1/2 cup of water. Add more water if needed and continue blending until you have a pulp consistency. I wouldn’t recommend using your favorite, most expensive blender. The paper will dull the blades. I used an immersion blender and it worked fine. Depending on how much pulp you have, sprinkle a 1/2 to 1 cup of your seeds. You don’t want wall to wall seeds, because overcrowding could prevent growth.

Scoop out some of the seed pulp and place into a flour sack towel. Squeeze the excess water. A lot of tutorials I referenced say to squeeze all the water. However, I found it much easier to work with if it was still a little damp. I will tell you how to remove this excess water in the next step. If it’s too dry, it will just clump and the fibers won’t adhere to each other. Plus, it makes it difficult to manipulate into the cookie cutter.
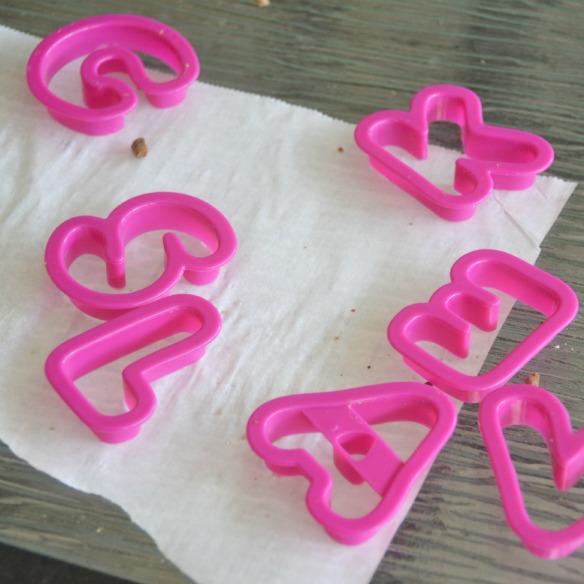
Grab some cookie cutters and start pressing pulp in, until it’s packed tight. Now, take your towel and press down on top of the cutter and remove that excess water you left in before. Get as much water out as possible. Do this a couple-few times. Then, carefully lift the cutter while pressing out the seed paper.
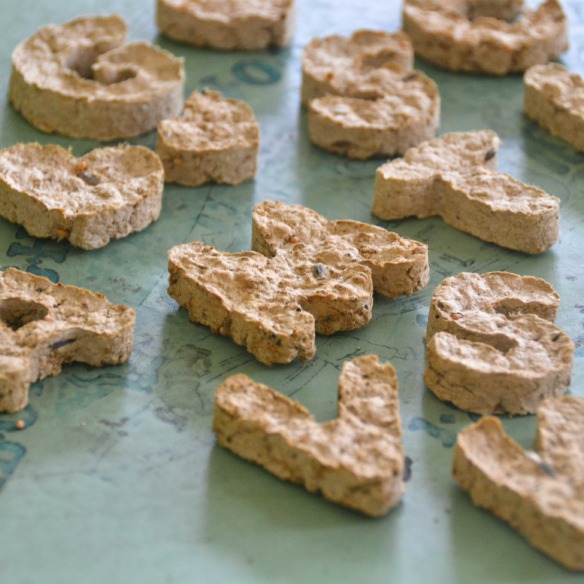
Place on a cooling rack in sunny area and let dry. Hopefully, you’ve removed a lot of the water and it will only take a day. You can also, pop them into your oven on a low setting or use a food dehydrator. If yours are not dry in a day, I would definitely put in your oven on it’s lowest setting. If they take too long to dry, they will mold. You don’t want to send anyone mold. Hi…here’s a butterfly garden, oh and some mold.
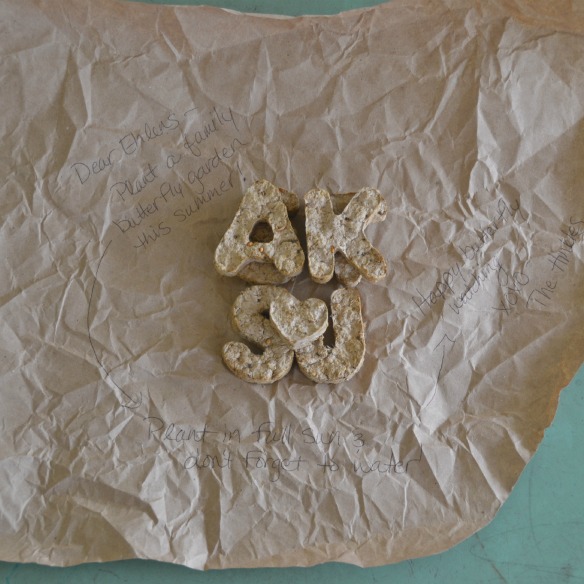
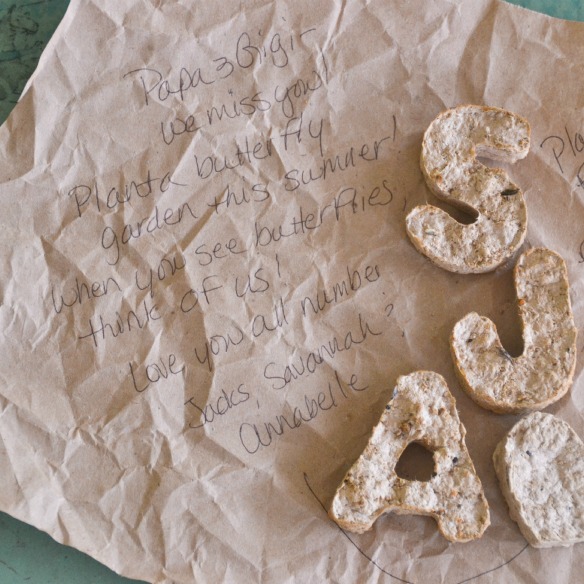
We sent a butterfly garden to my parents in Texas. That’s supposed to read, Love you all numbers, but it seems my pen stopped writing midway through the r. Naturally, I’m seeing it for the first time now. Oh well, they’ll know.
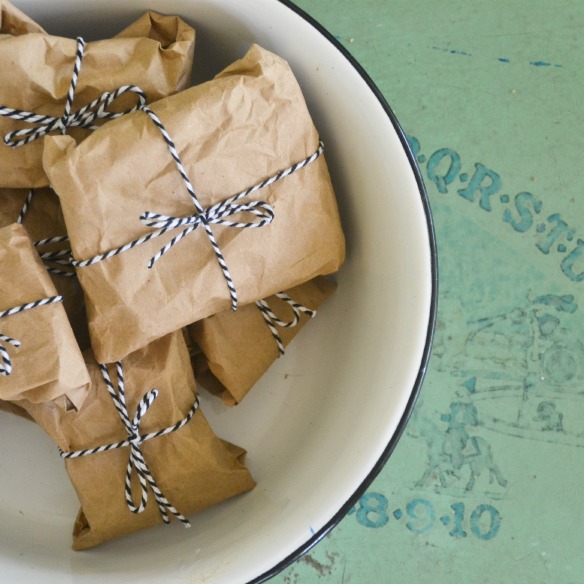
Once they’re completely dry you can package them. I used the same roll of kraft paper and cut pieces {very rudimentary}. Then, I crumbled it in a ball and smoothed back out. Just going for that urban look, you know? I wrote a message with basic instructions, so they weren’t all like…uh…thanks for the letters.
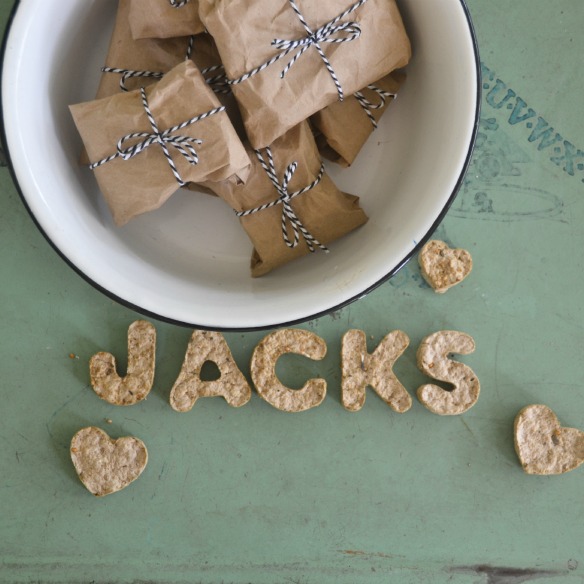
Those are our initials {Jackson, Annabelle, Chris, Krisha, & Savannah}. I never realized until I was arranging the letters for this picture, that our initials spelled Jacks.
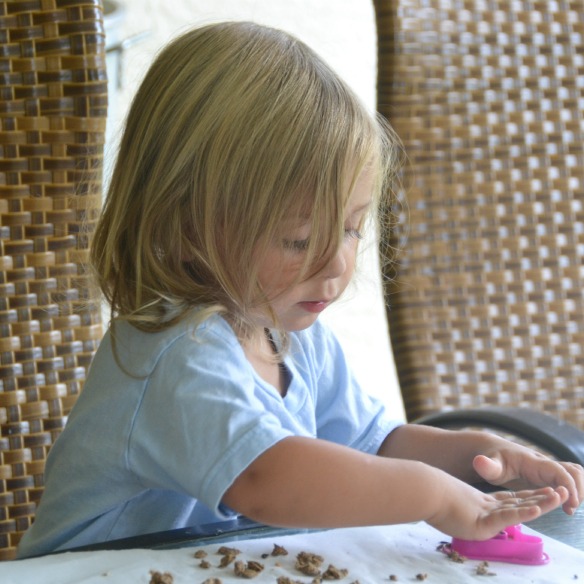
This is a fun summer project to do with the littles. It kept my 3 entertained for a nice hour. That’s an epic success in my house!