I have been working on this post for nearly 2 weeks. Finally, today I was able to finish up my photo shoot and put together this tutorial.
I’m kind of obsessed with garlands these days. Lately, I’ve been challenging myself to use items I already have around the house. Yes, I’m dipping into my craft hoard and actually using some of my supplies. 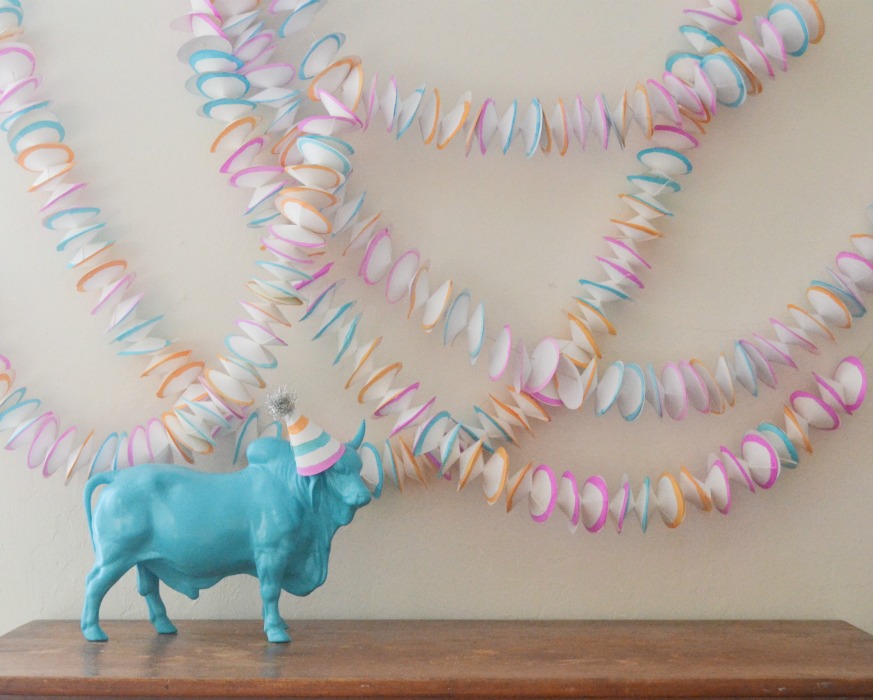
I absolutely love how this garland came together! Isn’t it fun? And look at bull…party animal!
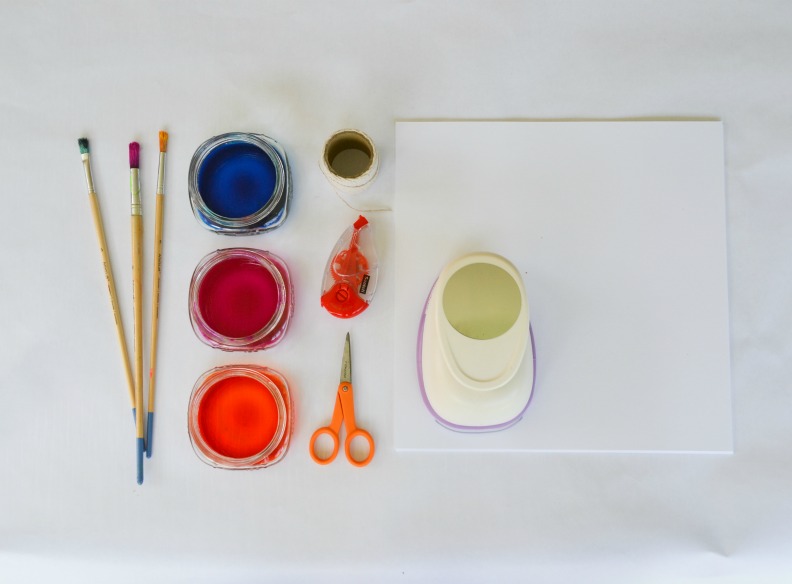
Supplies you’ll need:
- Paintbrushes
- Liquid Watercolors or regular watercolors
- Circle punch
- White cardstock
- String or twine
- Large eye needle
- Scissors
- Scrapbooking double sided tape
Instructions:
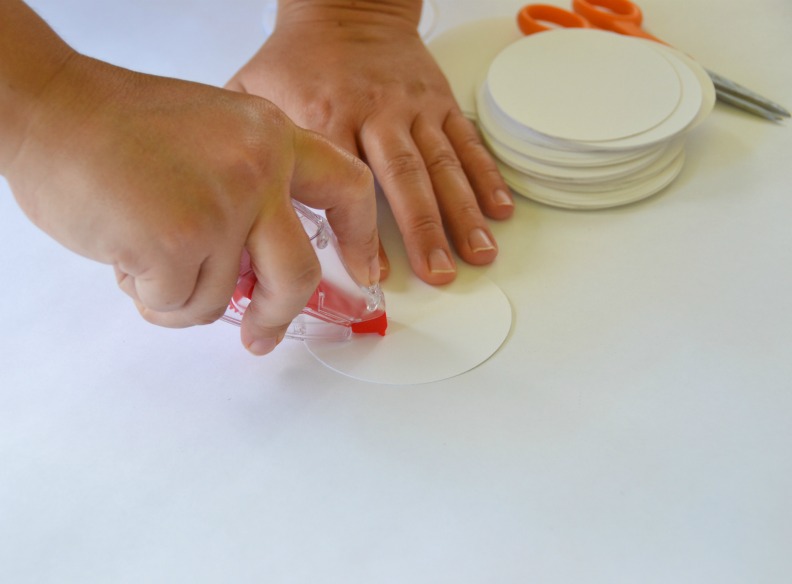
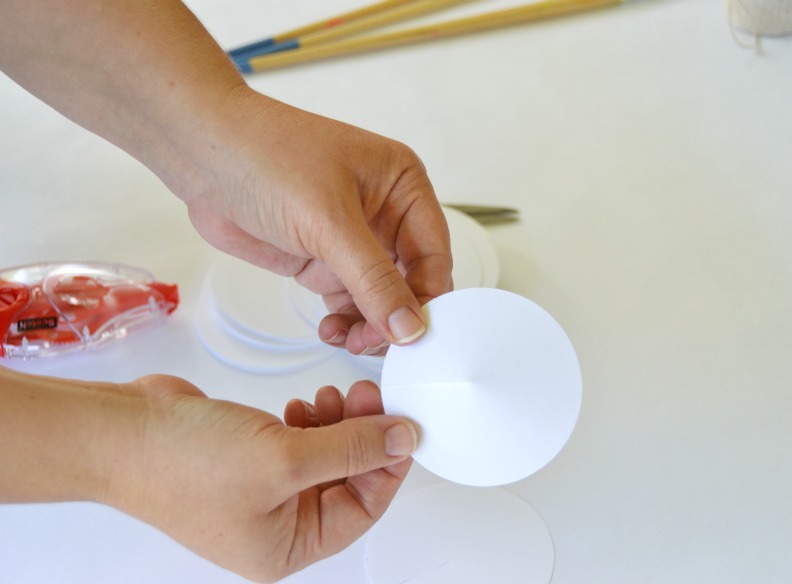
- Punch out several circles from your white cardstock.
- Cut a slit from outer edge to middle of circle.
- Apply double sided tape to one side of the slit
- Form circle into a small cone and secure with tape.
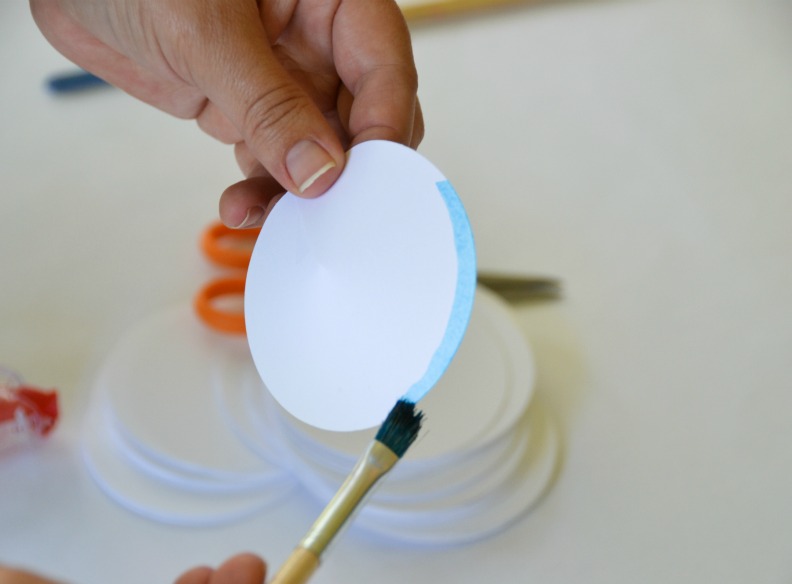
- Paint around the perimeter of the cones.
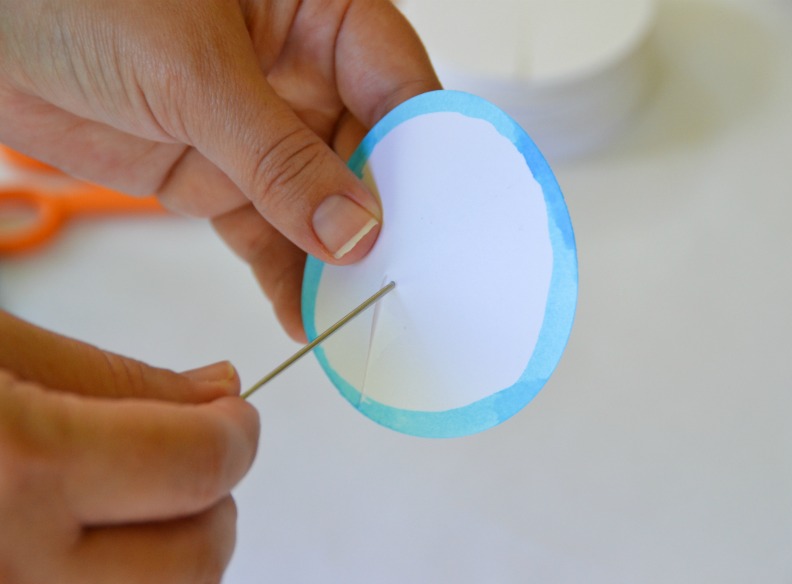
- Thread painted cones, alternating them up and down.
- Hang and enjoy your masterpiece!
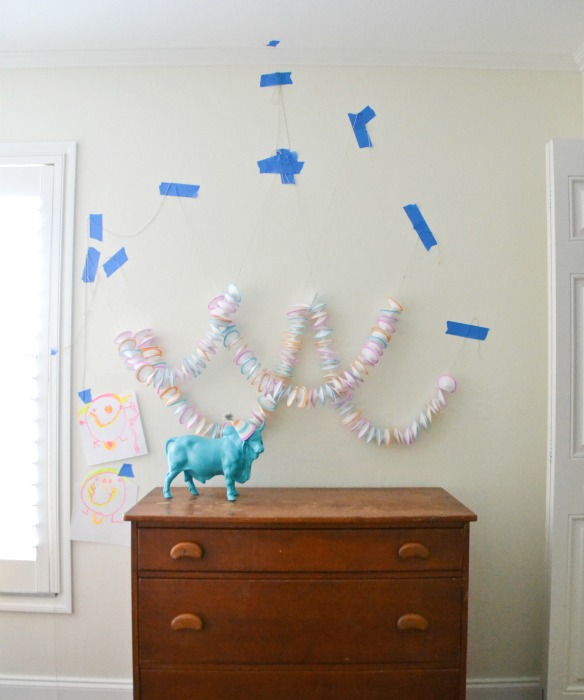
 Here’s a pull back shot of my set up. A certain little girl kept photobombing my shoot with her “well endowed” drawings.