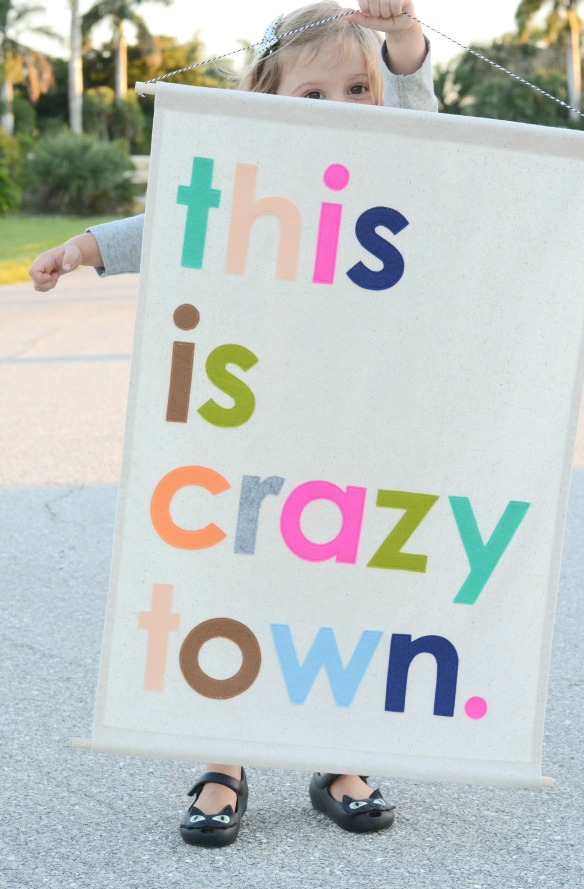
A while back, I was browsing the internets and came across this really cool wall hanging. I loved it…it was perfect!! Three things resonated with me. The words, the colors, and the price. I was going to order it, but I just couldn’t justify fabric and felt at that price. Instead, I ordered some wool felt and made my own. It was pretty easy and cost less than $10 to make.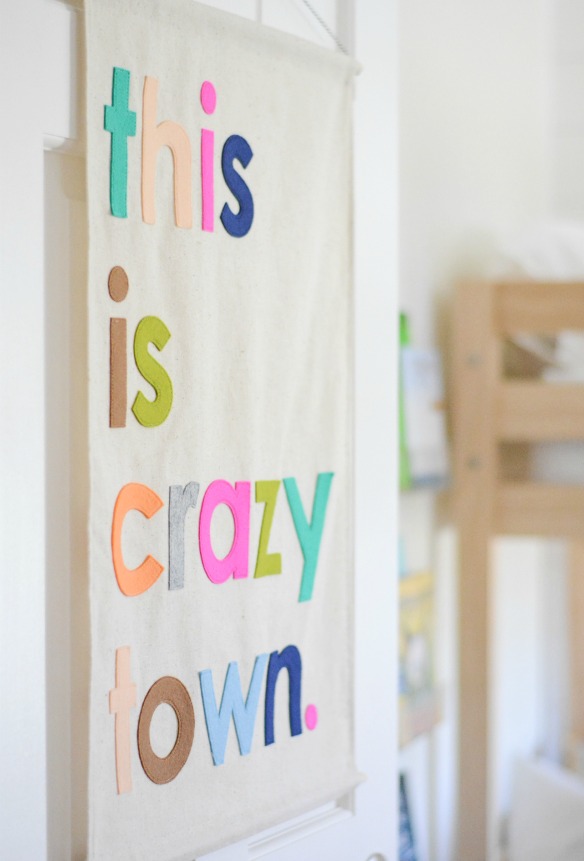 Gather your supplies:
Wool felt in various colors
2 – 3/8 in dowel rods
1/2 yard of Osnaburg fabric
Letter templates
Heat n’ Bond
Iron
Scissors
Twine
Drill
Saw
Pen
Masking tape
Sewing machine
A lot of this project is a matter of preference. For instance, if you want smaller or larger dowel rods…go for it! However, the instructions are based off of mine. If you make changes, just make sure to allow for those throughout and adjust measurements accordingly.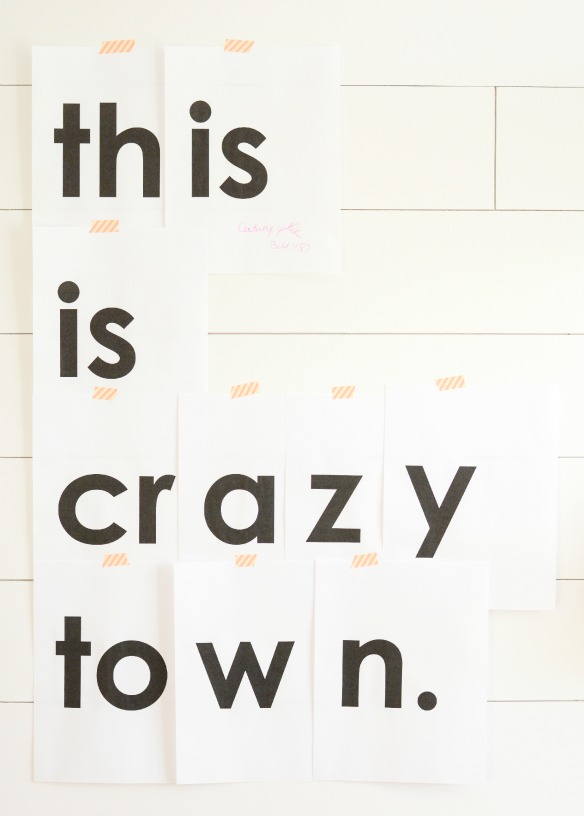 Print out your letters. I used Century Gothic bold, sized to 450.
Cut out letters and trace backwards onto Heat n’ Bond. (see my a? I always mess up the a’s!)
Rough cut letters and color felt of choice.
Iron Heat n’ Bond to felt and cut letters out.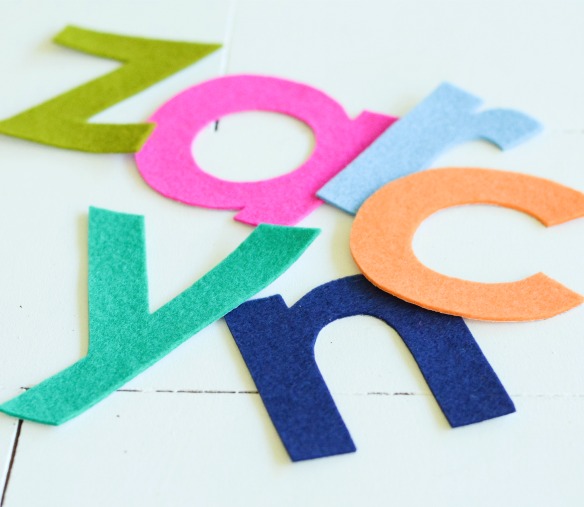
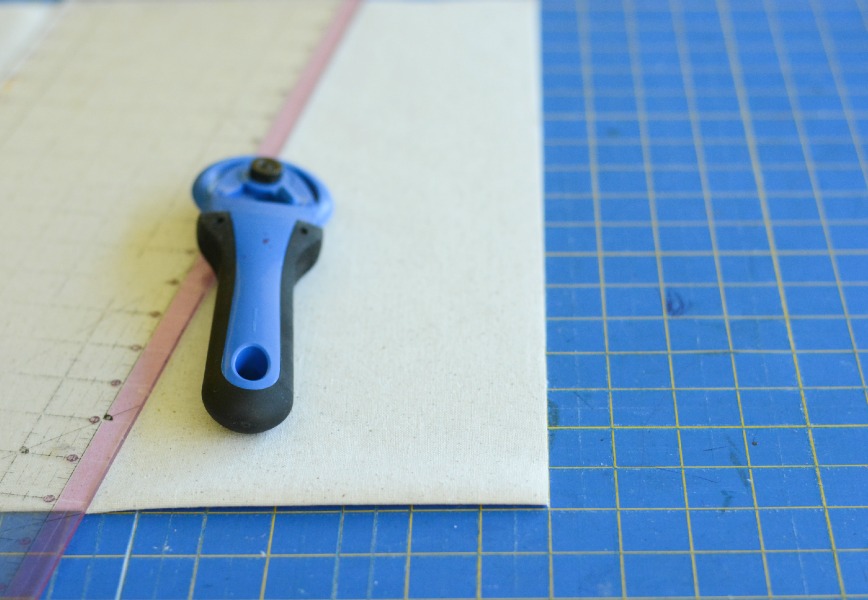
 Cut the Osnaburg to 16 w x 22 l.
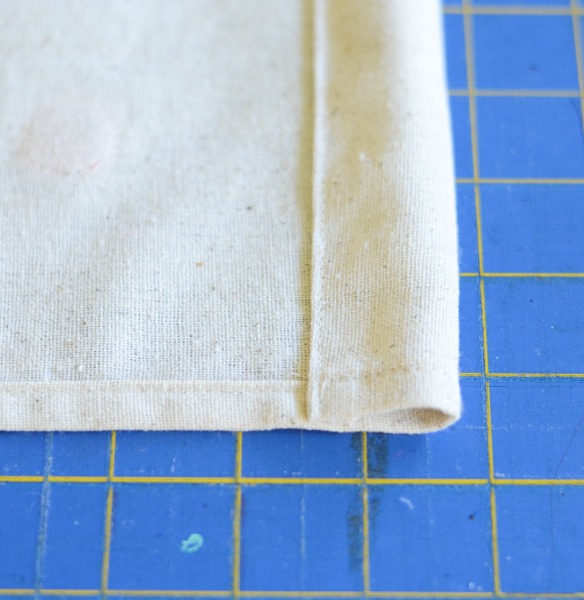
Press sides in 1/4 inch, then fold another 1/4 inch and press again.
Press top and bottom in 1/4 inch, then fold 3/4 inch over and press again.
First sew down the sides, then the top and bottom.
 Space out your lettering using a left justified margin. It helps if you space out your longest word first.
Lay pieces of masking tape to mark straight lines and margins. This helps when ironing.
Iron letters and remove tape.
 Cut dowel rods to 20.5 inches.
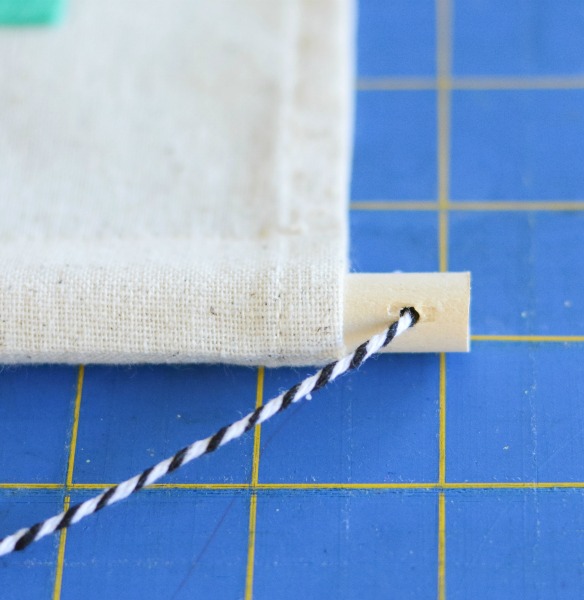
Drill small hole on each end of the top dowel.
Thread and knot a piece of twine for hanging.
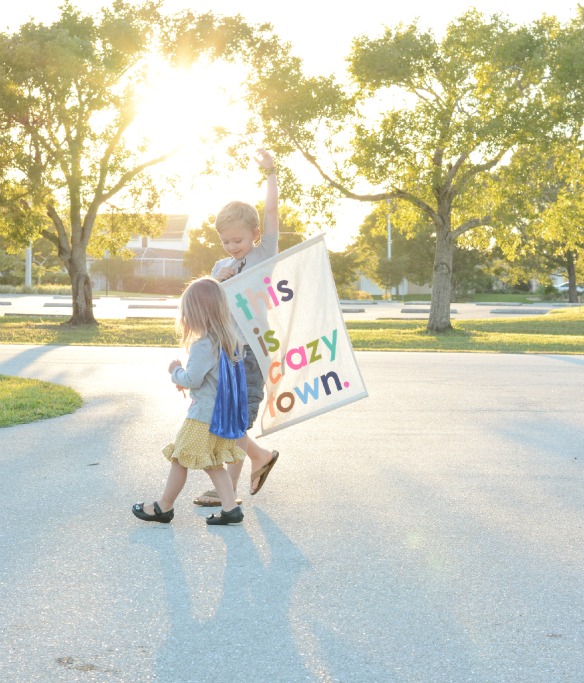
 I initially was going to hang this on the wall, but I decided to hang it on Jackson’s and Savannah’s bedroom door. The gateway to crazy town!