It’s been a while since I’ve posted in this space. When I first started this blog years ago, it was primarily a space for me to connect with others. I still think it is that, but over the course of time and more babies it became my primary means of documenting our story. I know watching a video or a quick blurb on instagram seems to be more in line with the times and honestly, it’s just easier than reading a blog post. But, my kids love to get on here and read through our past doings, so here I am at it again for them. And because they love pictures as much as I do, my posts are pretty picture heavy.
I have been wanting to put this post up since last year when we first did this project with the Peter Rabbit bottle doll. But, life and things. Here I am now a year later, so let’s get on with it.
For this project you’ll need:
Soap bottle or shampoo bottle with the top/pump
Masking tape
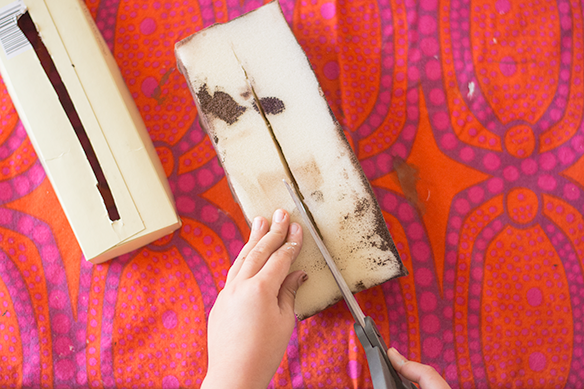
Packaging material
Sand or small rocks for weighting the bottle
Newspaper or magazine
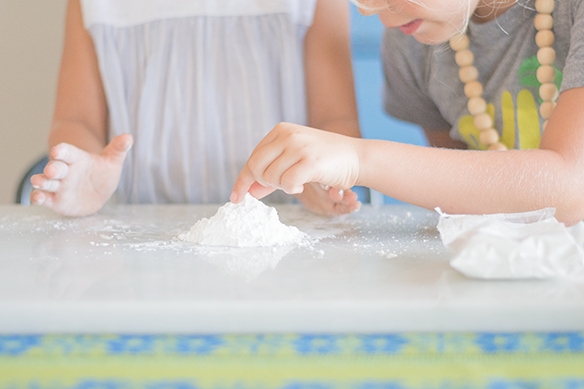
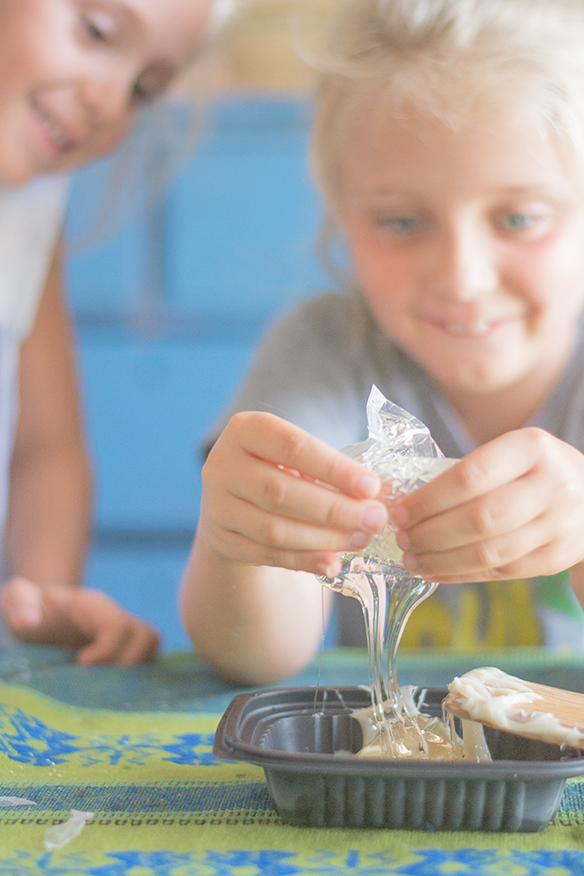
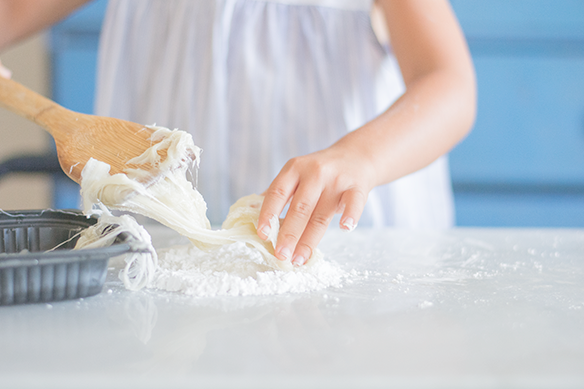
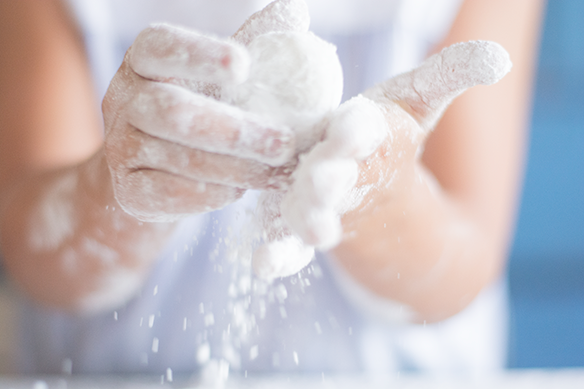
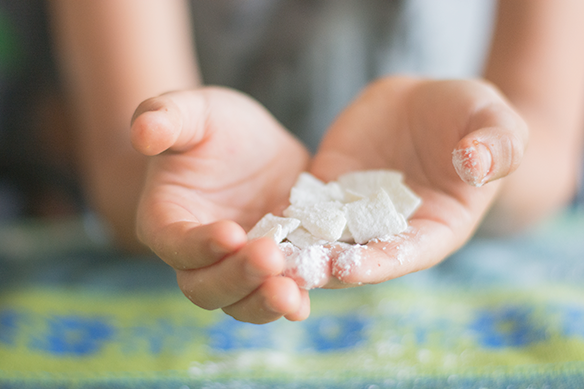
Paper mâché paste (I use equal parts flour and water)
Mod Podge
Scissors
Glue (We used a glue stick and a low temp glue gun)
Old clothing or fabric
Acrylic paints
Paintbrushes
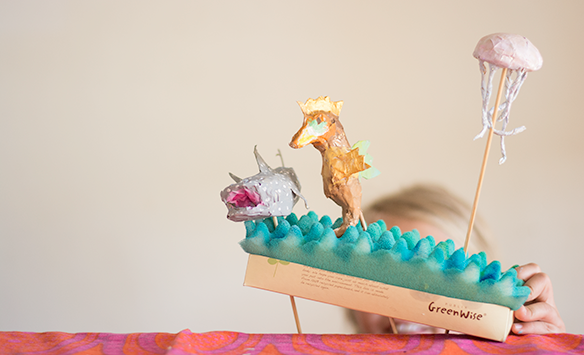
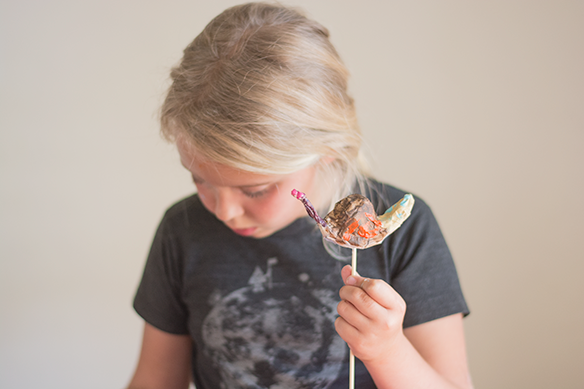
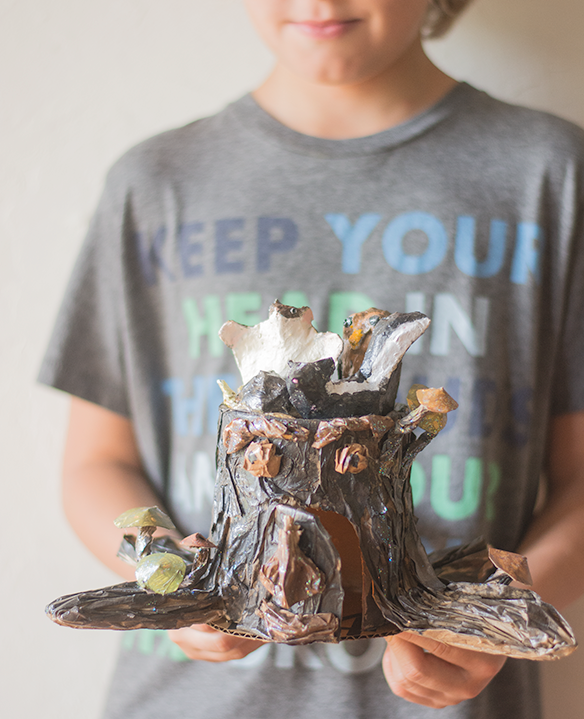
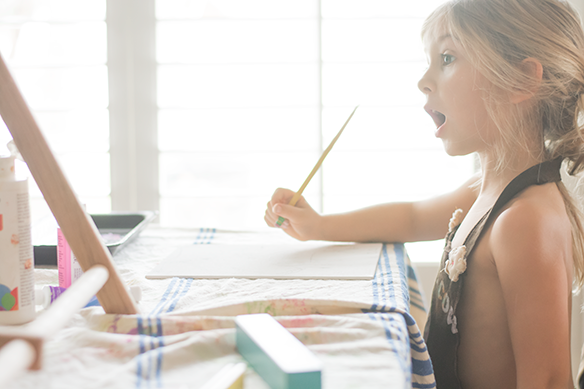
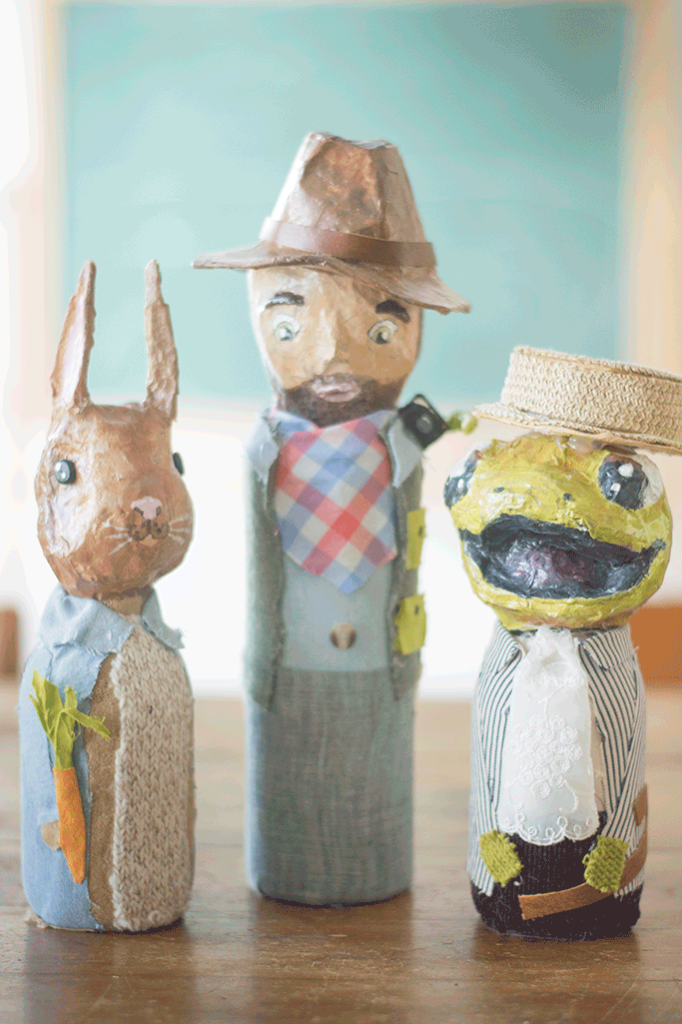
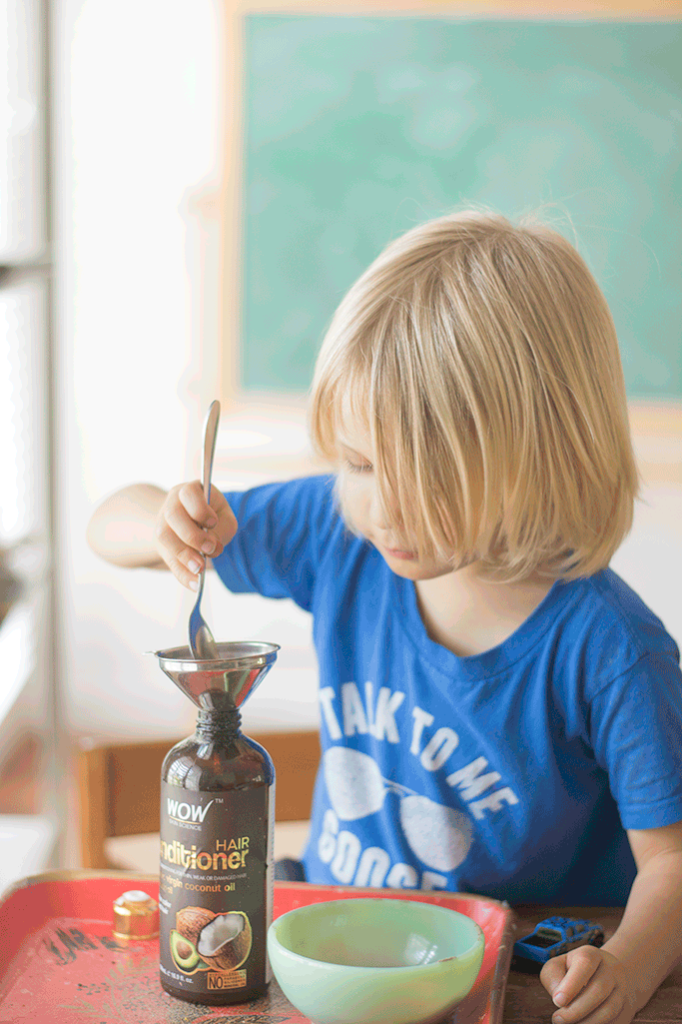
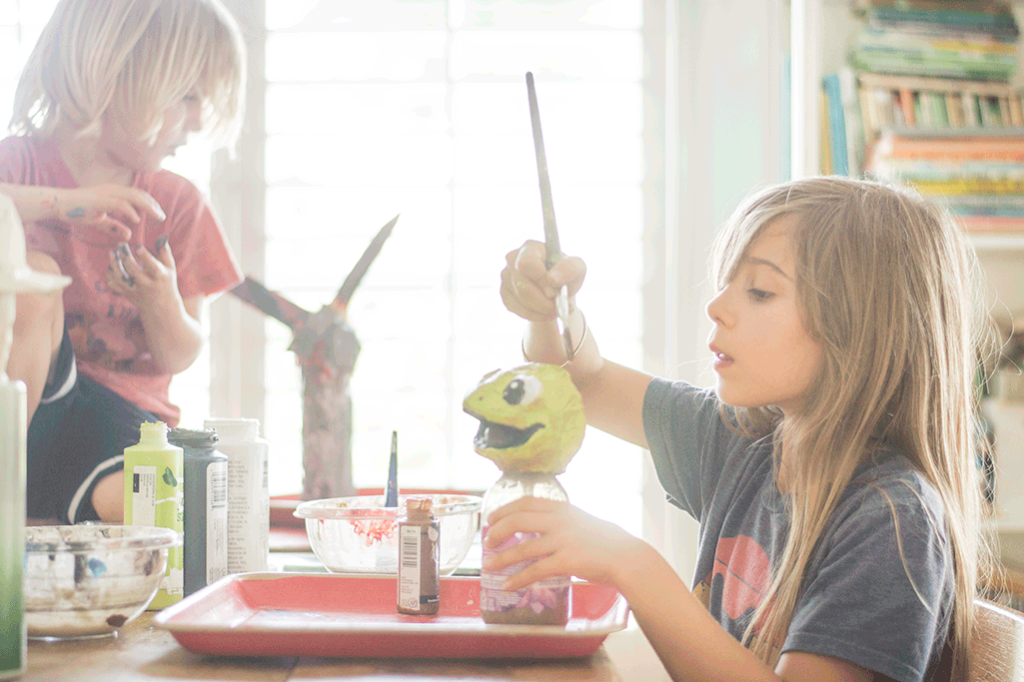
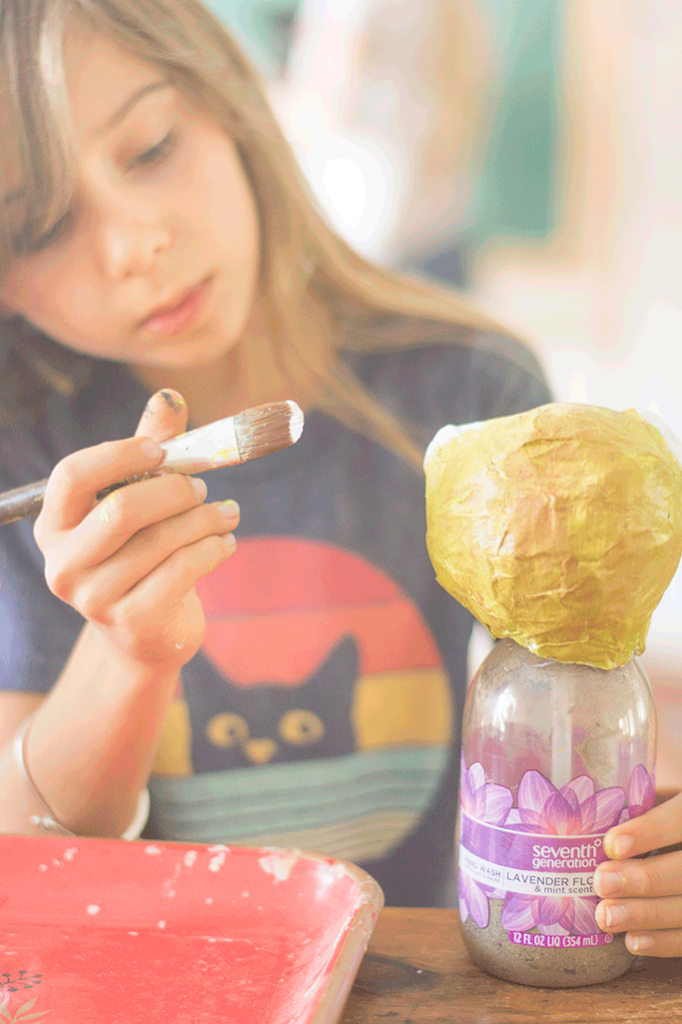
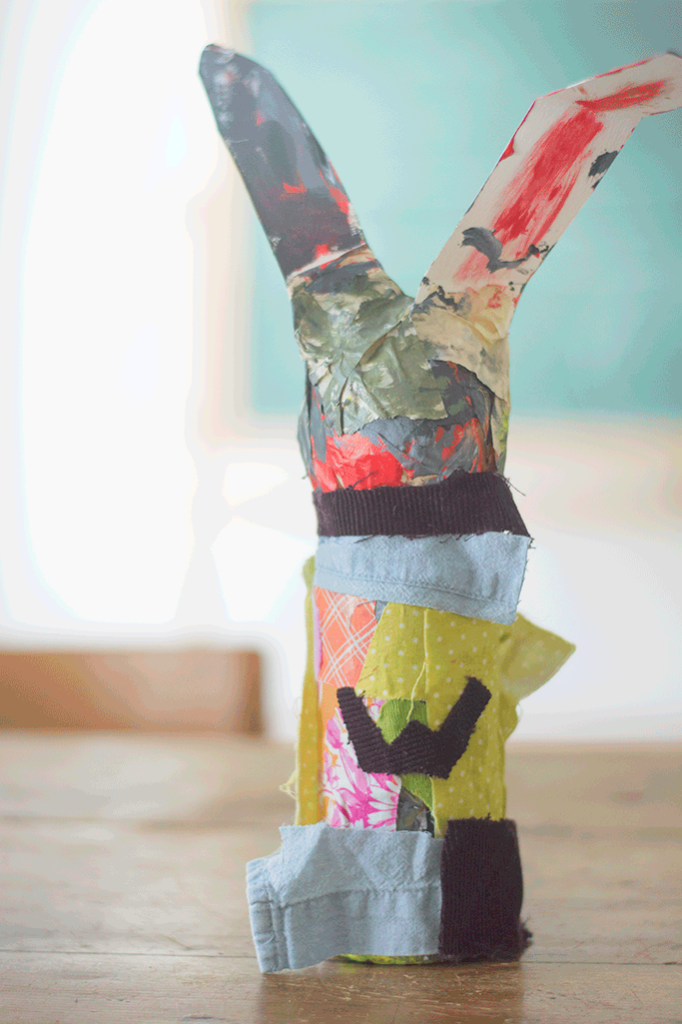
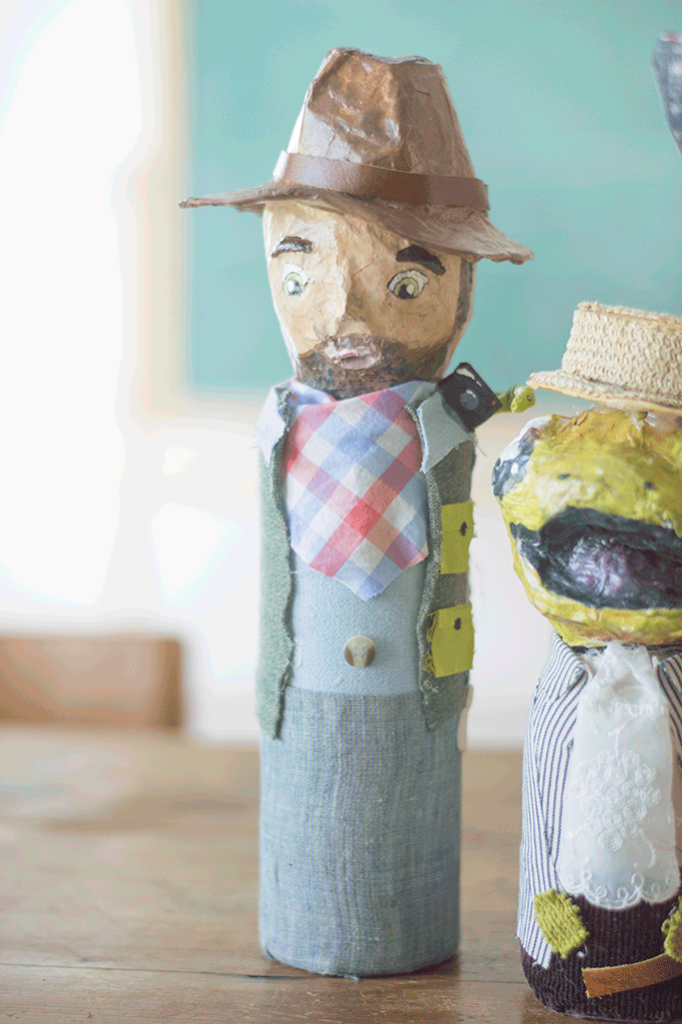
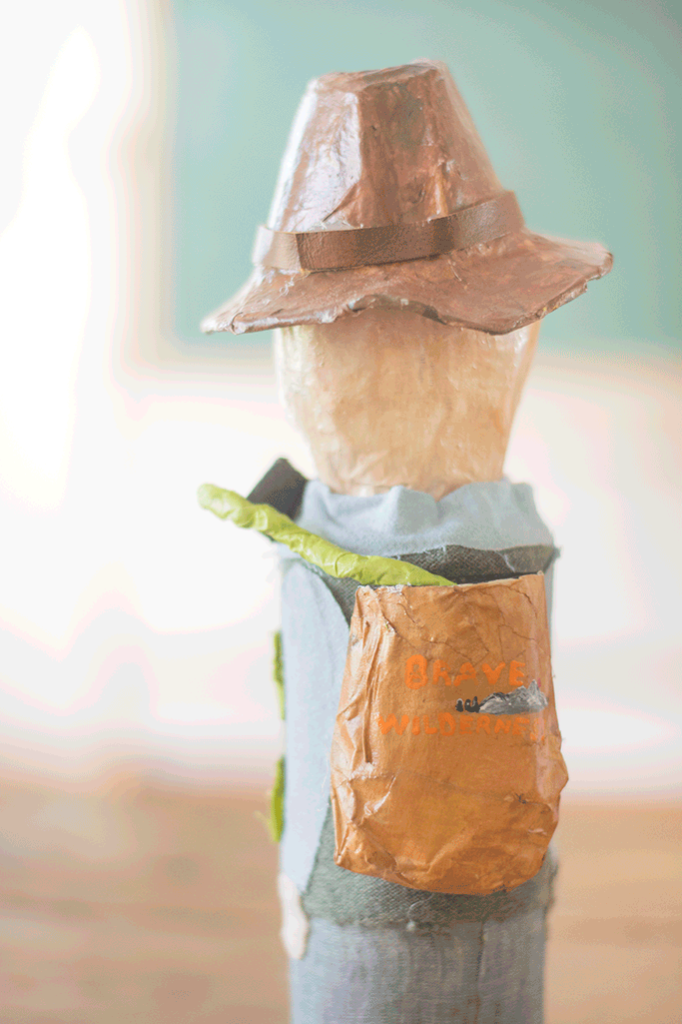
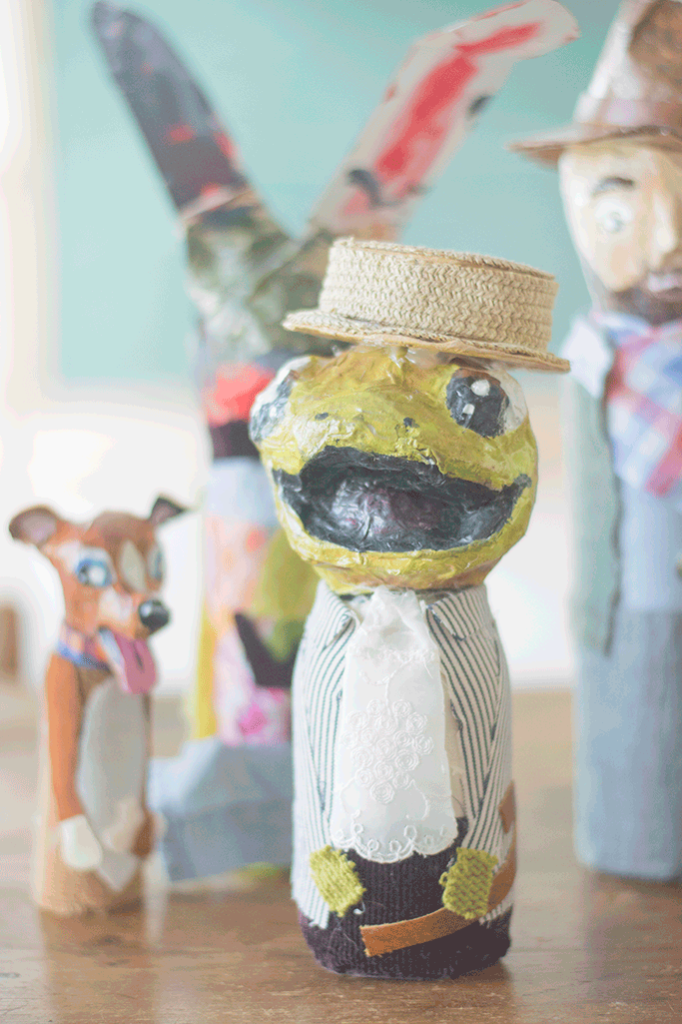
The first thing you’ll need to do is choose a character. Here we have Coyote Peterson (Savannah), Toad from Wind in the Willows (Annie), A bunny named Gekka (Wyatt). Next, thoroughly clean out the bottle and leave it to dry. Once dry, fill with just enough sand or rocks to weight it down. The paper mâché head get’s a little top heavy and this will prevent it from falling over.
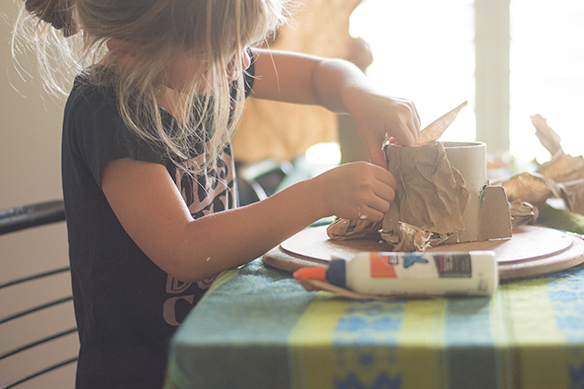
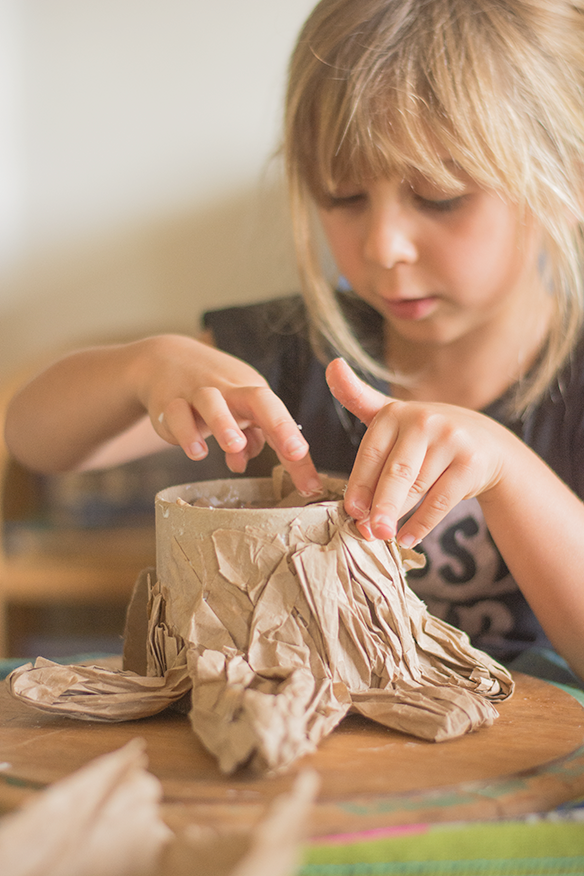
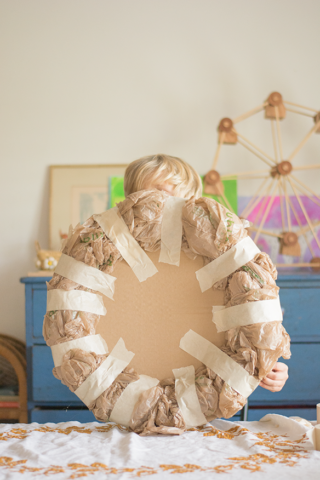
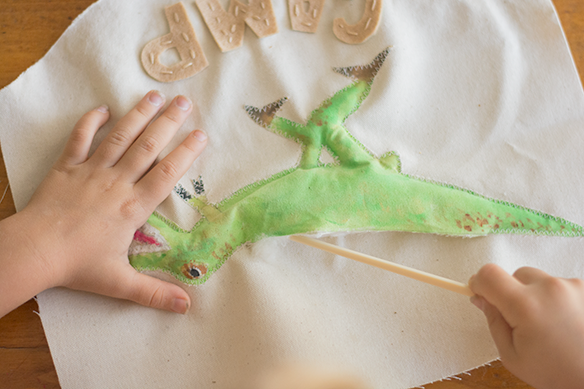
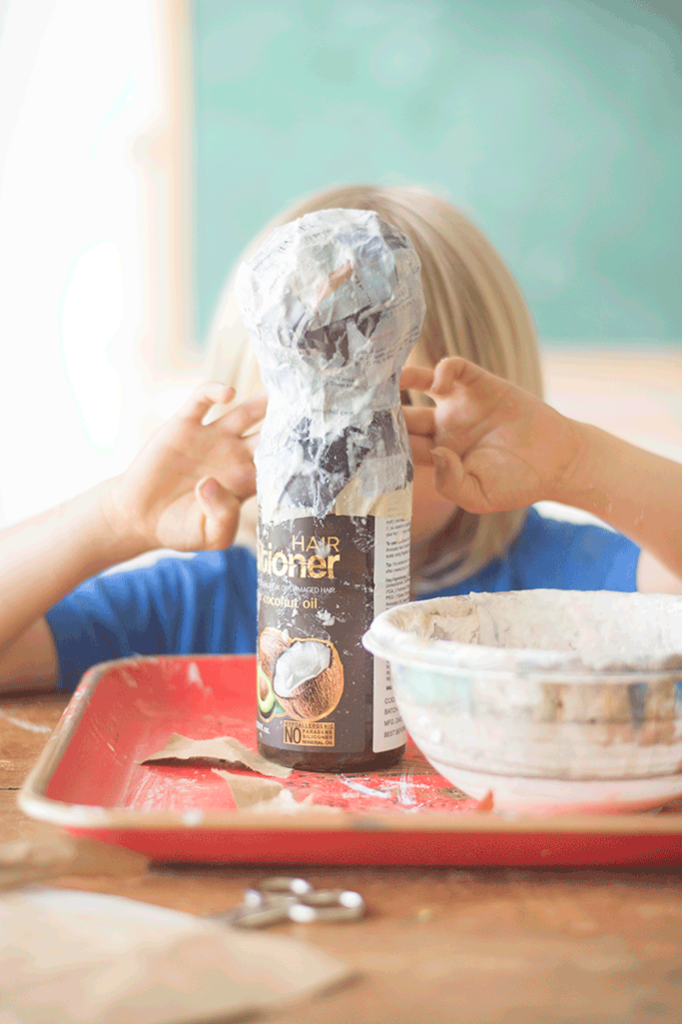
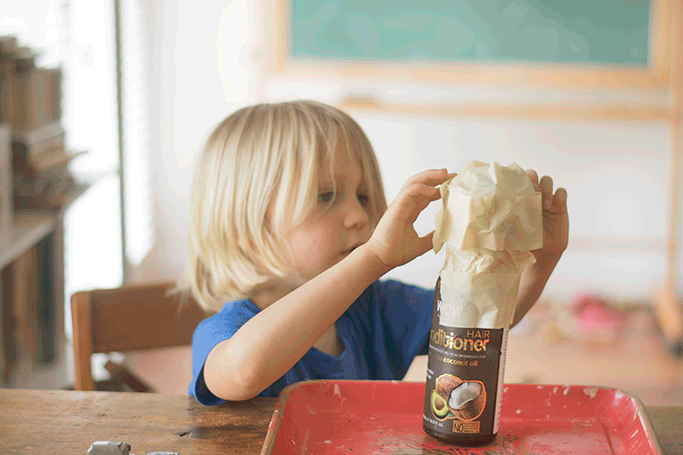
With your packaging material form a head around the pump or bottle top. I suggest looking at a picture while forming the head to get the basic shape. This is something I tell my kids on repeat when it comes to art. Look for the shapes and what it reminds you of. For example, Savannah was struggling with her Coyote Peterson head. I had her look at a picture and I asked her what the shape of his head reminded her of. She decided on a balloon shape. It’s wider at the top of the head and smaller towards the chin. With that image in her mind’s eye, she easily formed his head. Now, secure the packaging material with masking tape and then secure head to bottle. At this point, you can build out some features with more packaging material secured with tape. Use cereal box type cardboard to make things like ears and tongues.
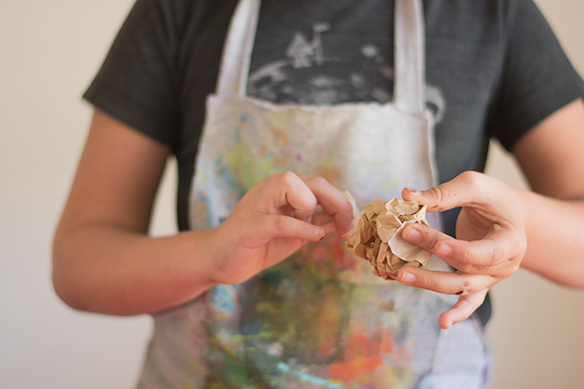
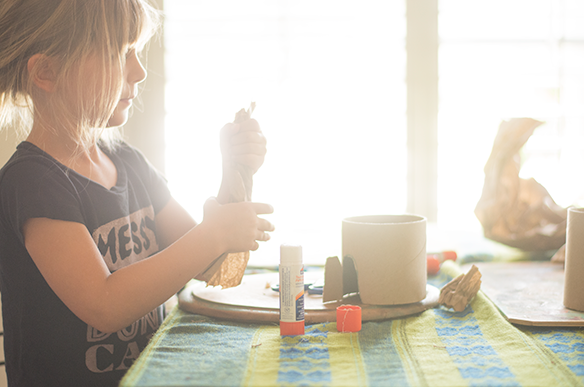
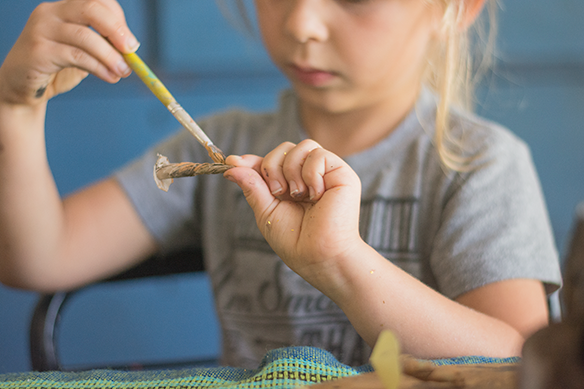
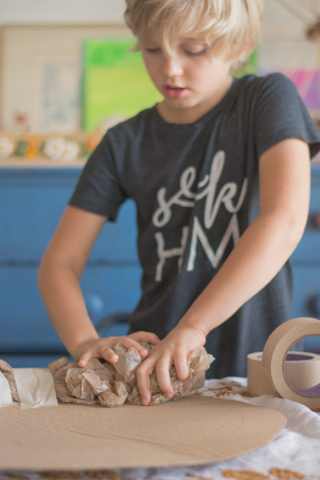
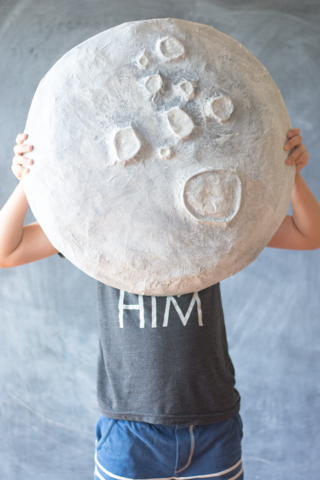
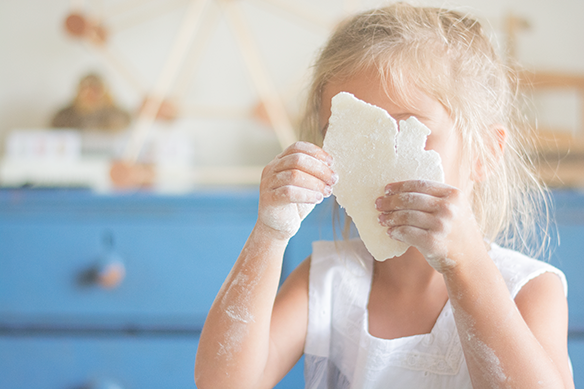
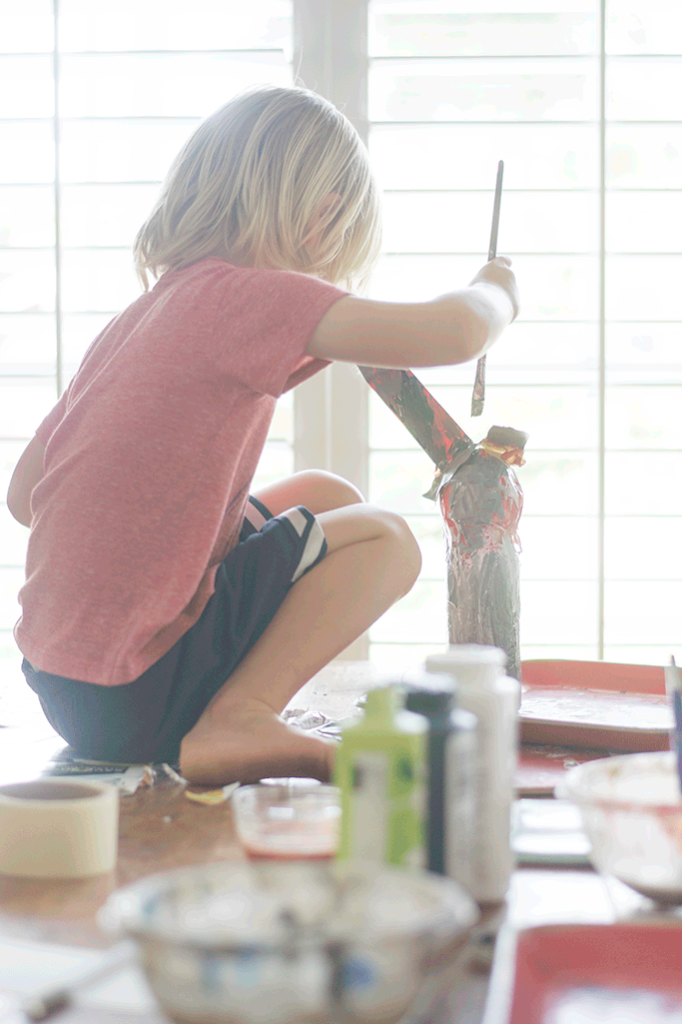
After you have the head complete and attached to the bottle, you can begin paper mâché. Make sure to cover all parts of the tape, but you do not need to cover the whole bottle. We only did one layer, but you can do more. You don’t need a lot of paste, just enough to adhere the paper to the form. The more you use, the longer it will take to dry. If you use more than one layer let it dry completely between layers.
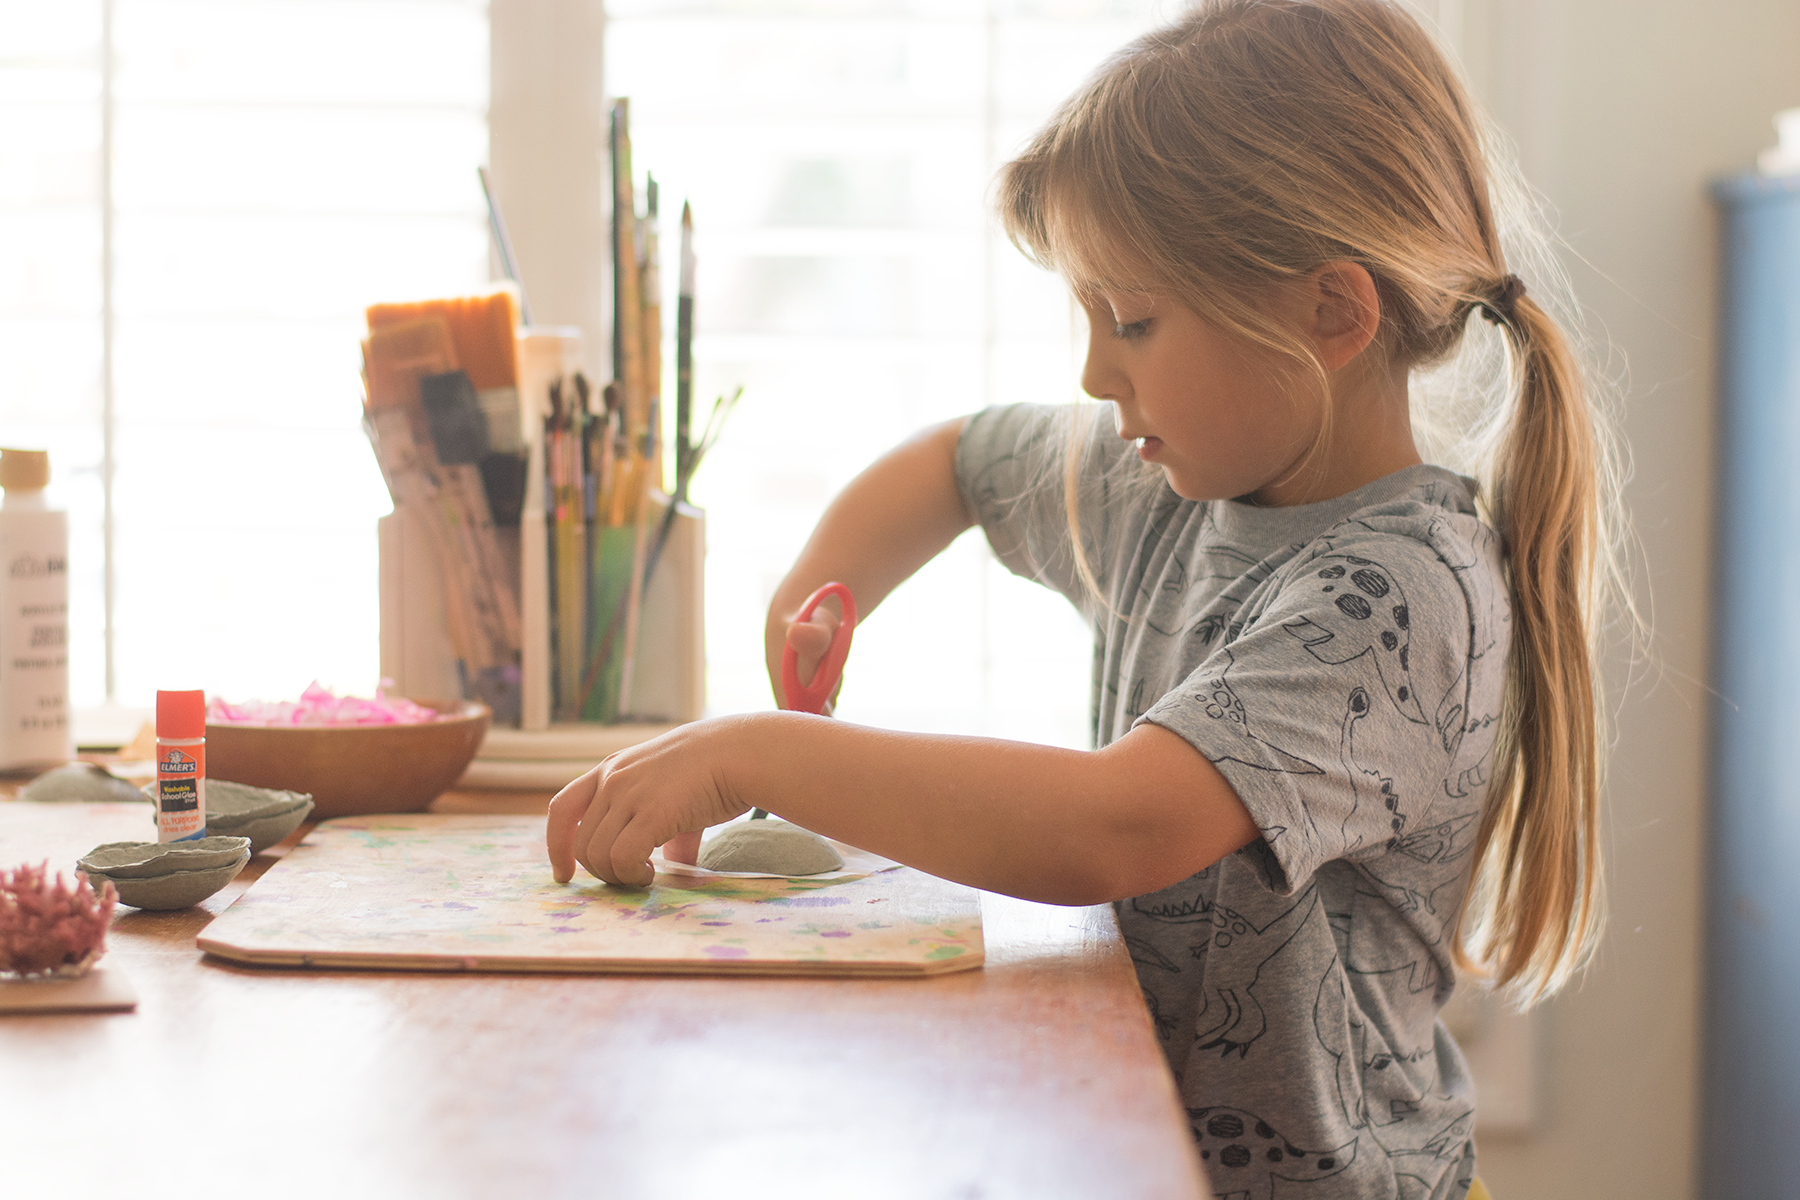
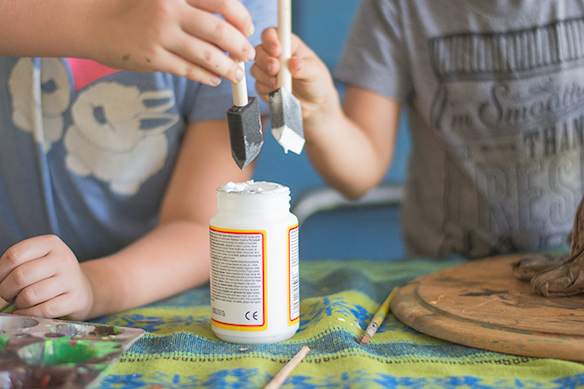
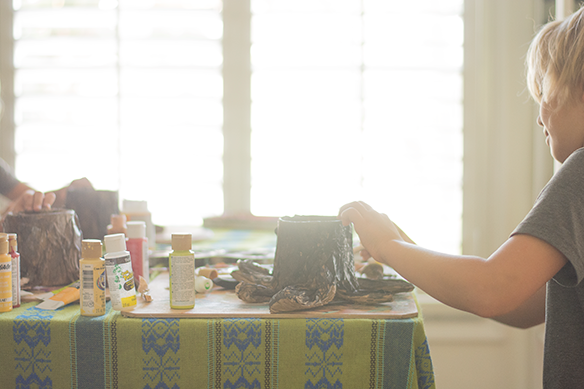
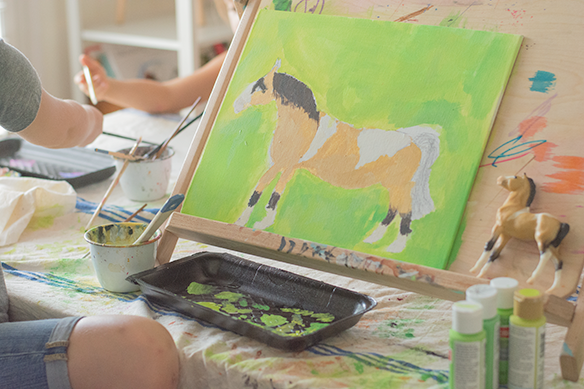
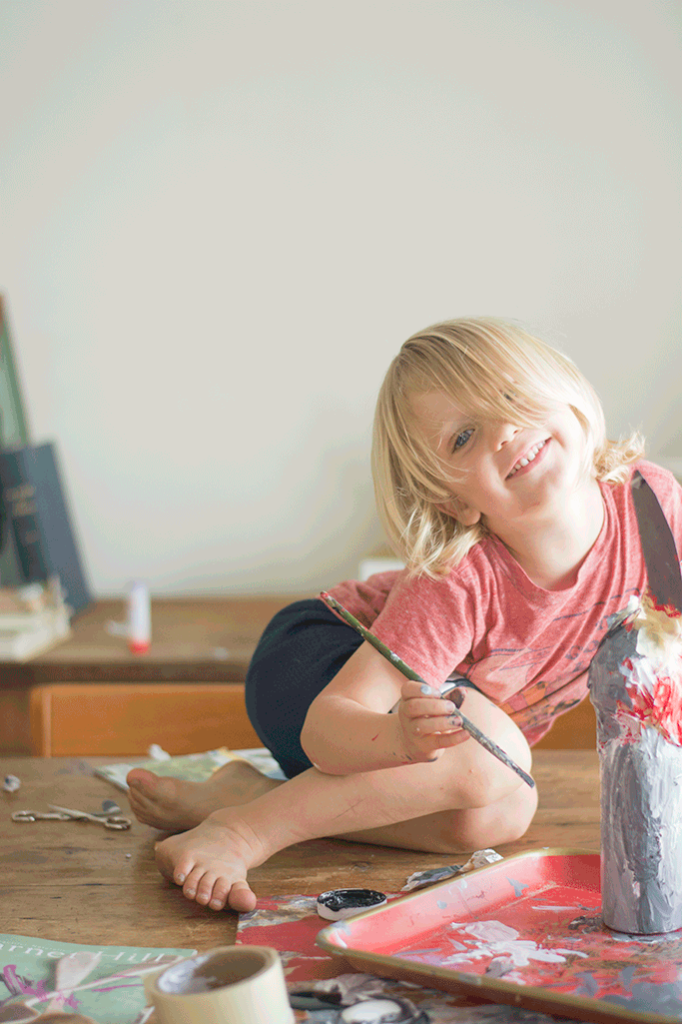
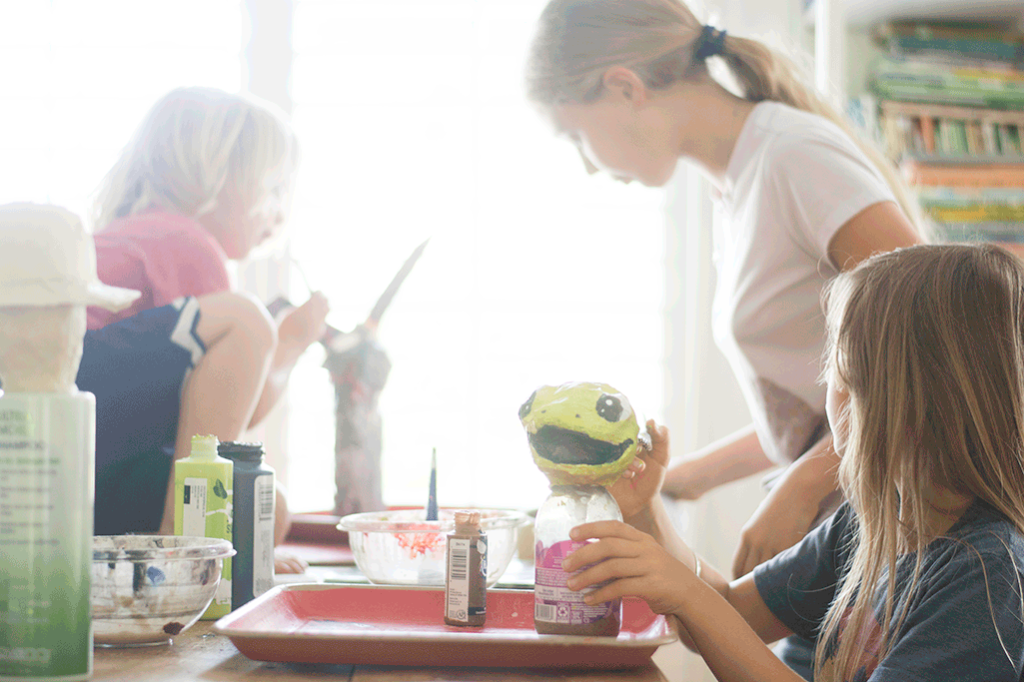
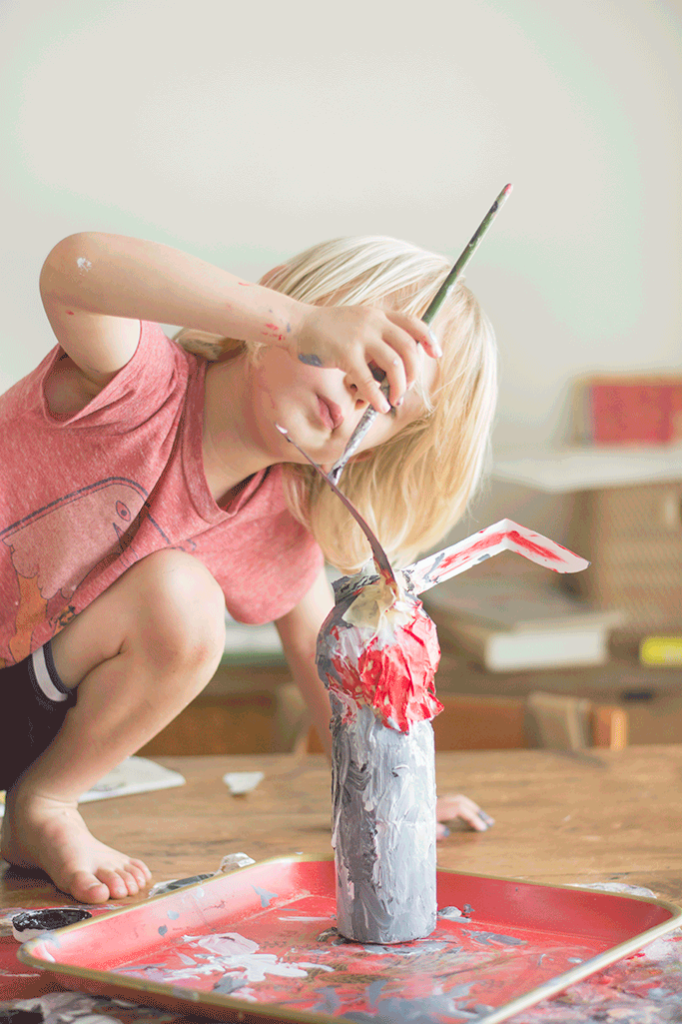
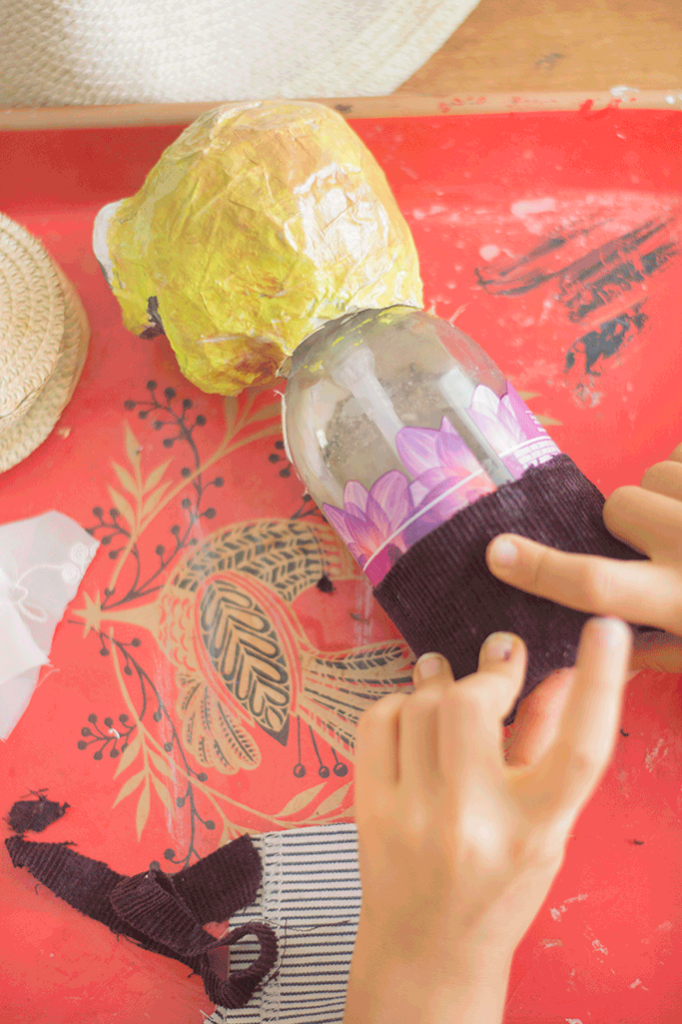
Once dry you can paint the head and then put on a coat of mod lodge to give it a nice seal. At this point you can dress your bottle doll. We used old clothing cut up and glued to the bottle. Mostly we used a glue stick, but on some heavier pieces we used the low temp glue gun.
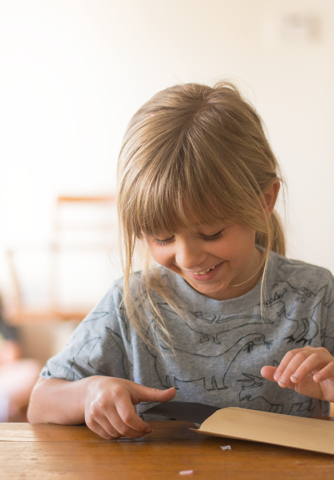
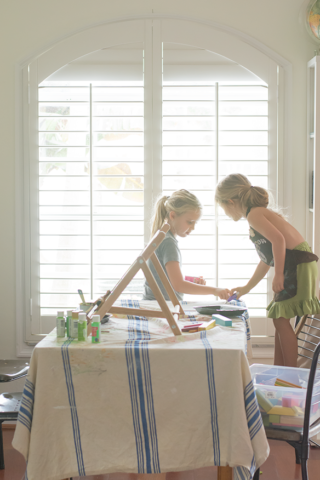
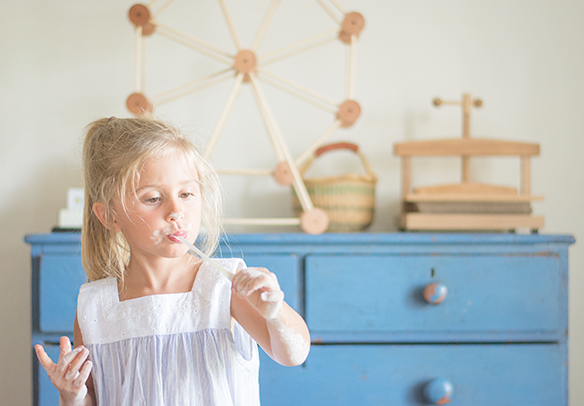
And that’s it. A pretty simple process and everything was something I had on hand. After doing one with my guidance, Savannah and Annie have done a few more on their own. This was the first Mom inspired project I’ve done with Wyatt and it went really well. He wasn’t super okay with having his hands consistently messy with the paste, but overall he was totally into making his bunny and quite proud with his end result.
I hope this is the start of me making more of a regular appearance on my blog. See you next time!