
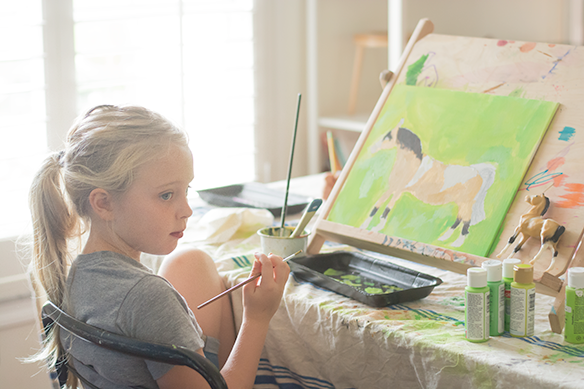
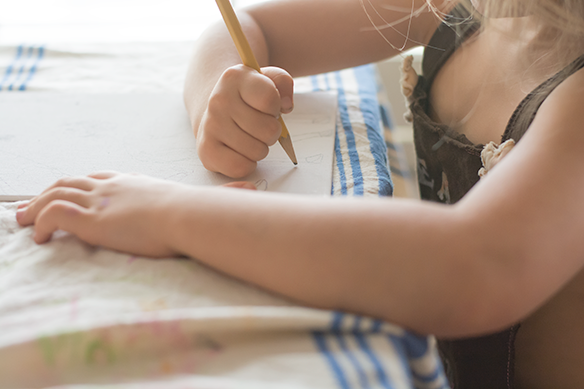
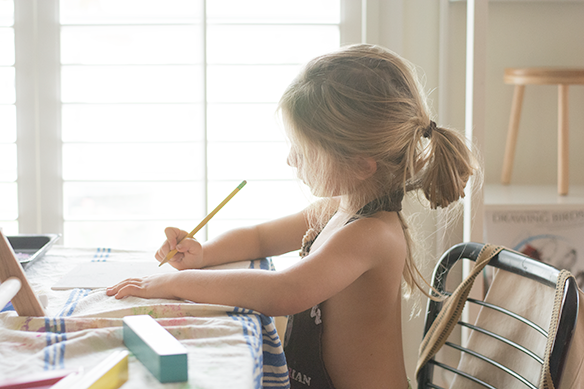


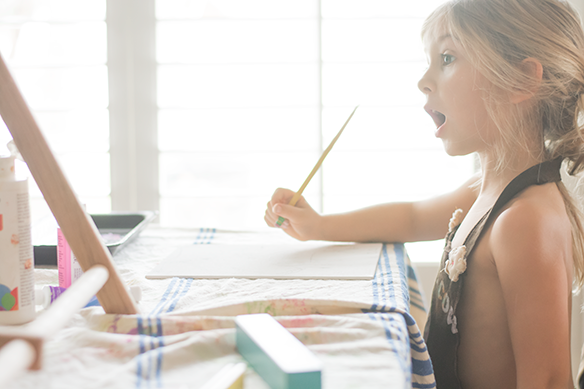
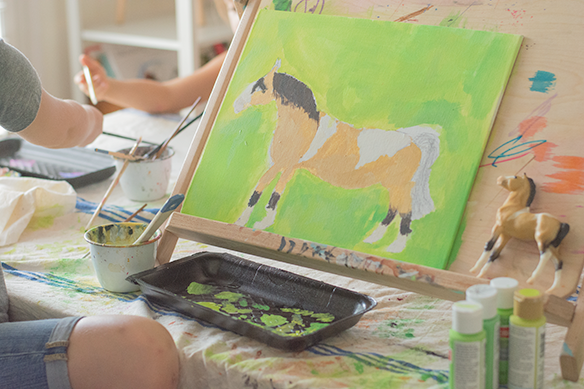
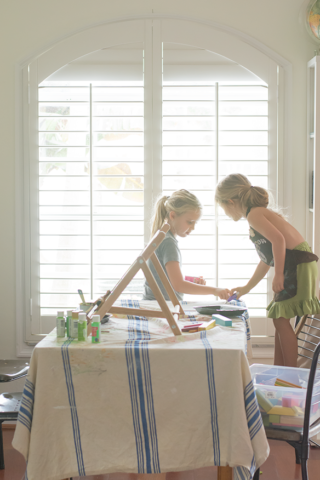
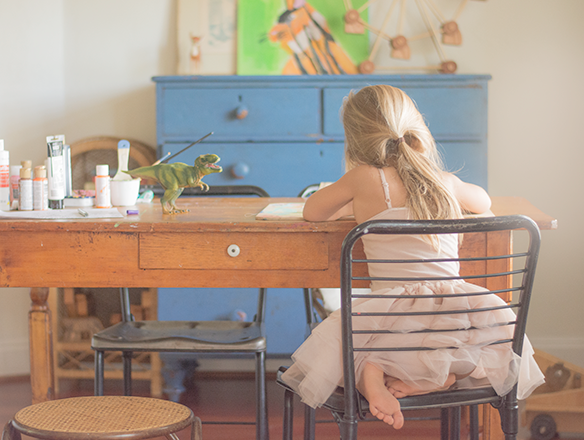
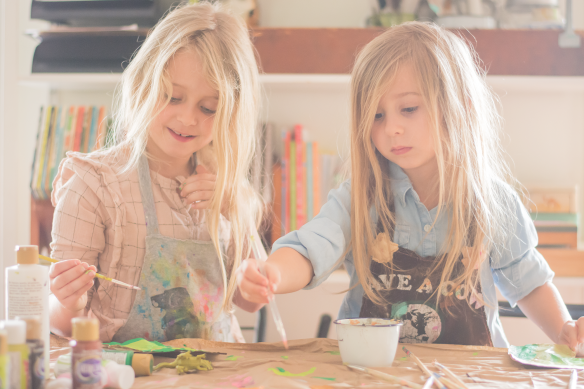
 I bought some art canvas boards a while back and they’ve been painting like crazy, ever since. I love the boards so much more than the wrapped canvas. They don’t take up as much space and you have the option of framing them. As with all their art supplies, I keep them within their reach. They are free to set up studio and create until their hearts are content. And they do. I have amassed a huge collection of canvases. I told them that we have to start giving some away, because I just can’t keep them all. Besides, what fun is art if you are not sharing it? Savannah is working on a gift for a friend and Annie decided to paint giraffes. Their techniques are so different, but their subjects are almost always an animal. Depending on how they are feeling, sometimes their paintings are finished in a day, others come together over several days. Being a design-minded person myself, I just love that they love art. I hope they always do.
Giant Paper Mache Moon…

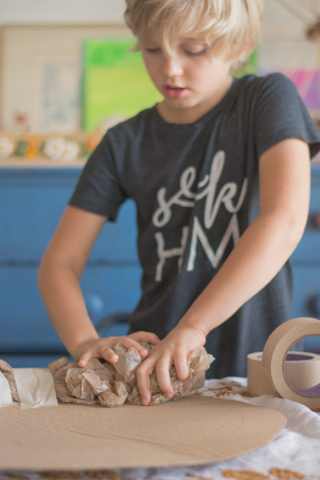


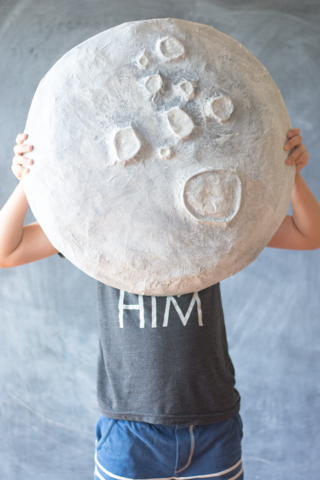 Recently, I had some giant pieces of cardboard laying around, that I just couldn’t part with. You know, it’s not everyday you have giant pieces of cardboard, so I asked Jacks, “Do you want to make a giant moon?” And that’s exactly what we did!
You’ll need the following supplies for this project:
Giant cardboard
Plastic grocery bags
Masking tape
Cereal boxes or other thin cardboard
Paper towels
Acrylic paint (Black, white, grey, glow in the dark)
Paintbrushes
Mirror hanging wire
Hot glue
Scissors
Newspaper
Paper mache paste (equal parts flour/water)
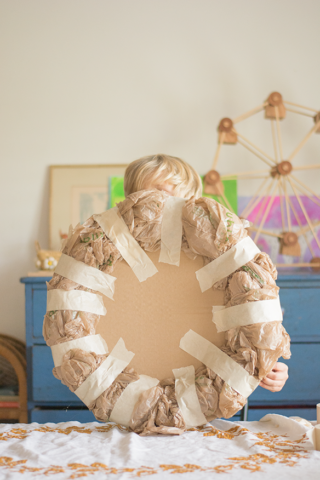
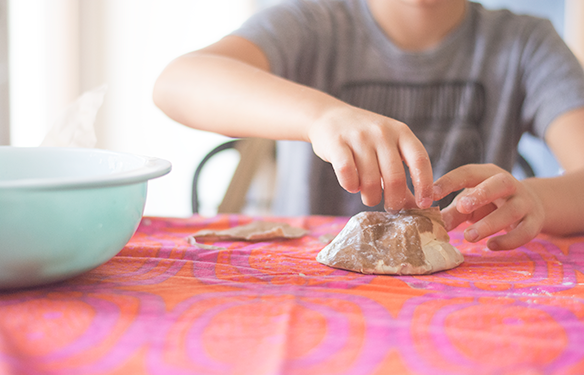
To start, draw a large circle on your giant cardboard and cut out. Next, begin shaping your moon by building layers of plastic grocery bags. Attach bags with masking tape. We started with a ring around the outer side of the circle and just kept building. We ran out of grocery bags, so we started using kraft packing paper, the kind that comes with your Amazon packages. I love that stuff and keep it always! Keep layering and building until you have a small hill. Make sure the entire moon is covered in masking tape. If you have any openings, then the paste will leak through and you could end up with mold issues. Keep taping!
I had Jacks look at pictures of the surface of the moon to get and idea where he wanted to put the craters. Cut think pieces of cardboard from cereal boxes and loosely form a circle. Attach to the surface of your moon with tape. Randomly place other sizes on the surface, until you have enough to your liking. Fill the craters with crumpled paper towels, then tape over the entire crater, so nothing is exposed.
Mix up a batch of paper mache paste and start adding layers of newspaper. We did about 3 layers total. You’ll need to let it dry thoroughly between layers. We placed it out in the sun and it was dry within 30 minutes.
Once all layers have dried, add the hanging wire. Poke two holes on the back side of the moon, then add the wire. I kept the tension pretty tight, because I didn’t want it to lean out from the wall. Once you have the correct tension, secure the wire by adding hot glue to the hole and the surrounding area. Leave to dry.
Now, it’s time to paint! First add a base coat of white paint. After that, there is no rhyme or reason to the paint method. Play around with mixing your colors. If you look at pictures of the surface of the moon, there are dark and light areas. Try to replicate that look. A good tip to pick up all the bumps and imperfections on your moon is to do a final dry brush coat, with whatever color you choose. For a final fun touch, we added dots of glow in the dark paint. It really does glow! Just have fun with it, no two moons are going to be the same!
When everything has dried, hang your moon in your room!
Soft Pretzel Letters…
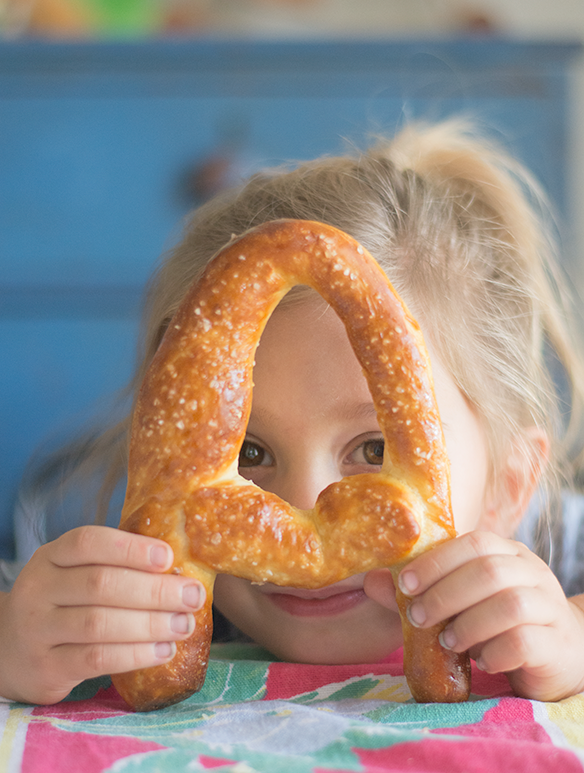
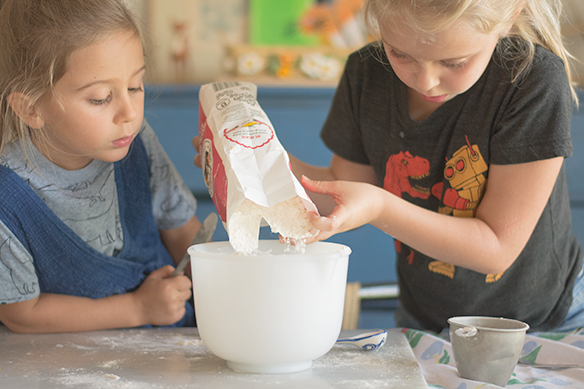


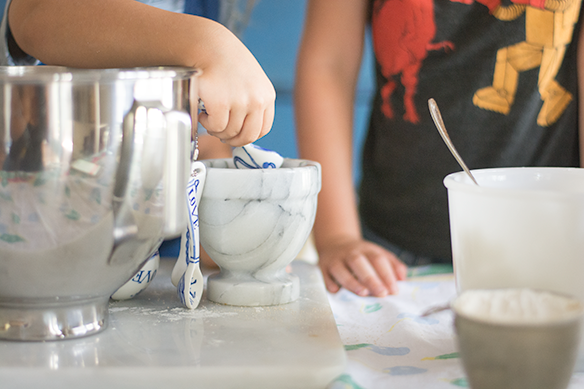
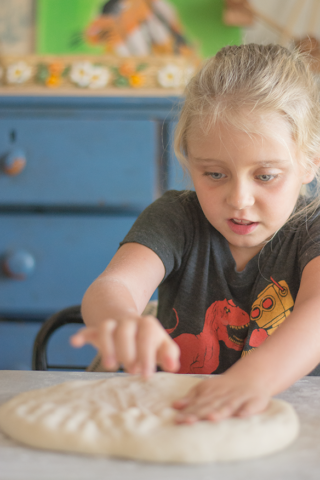

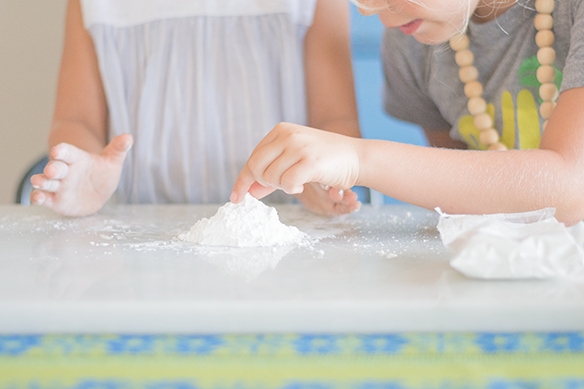
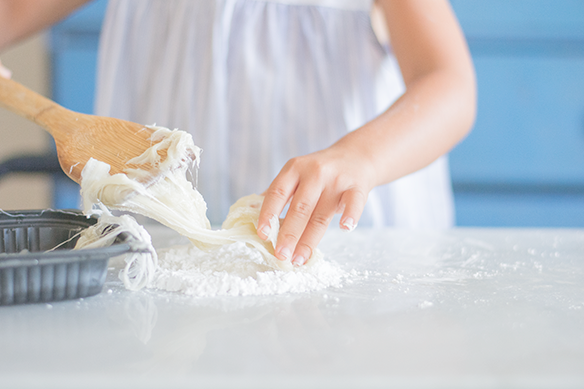
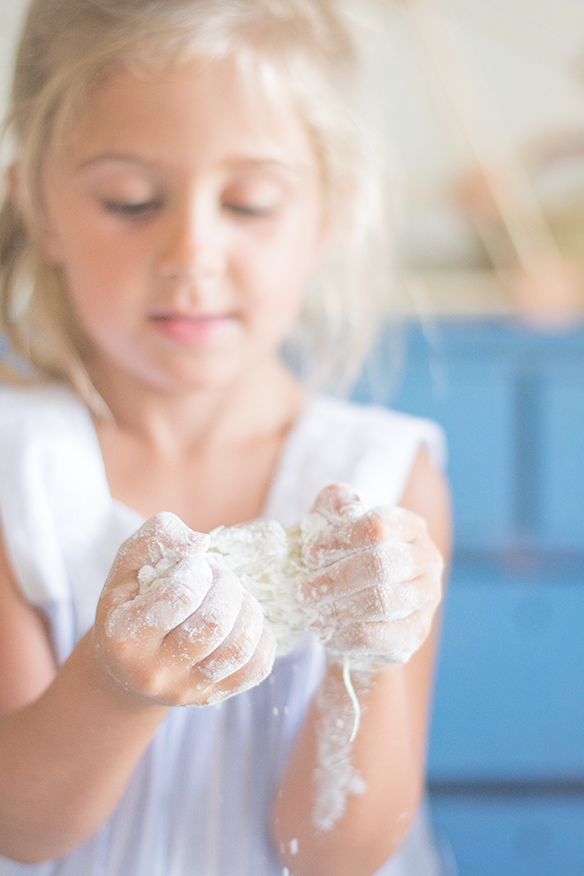
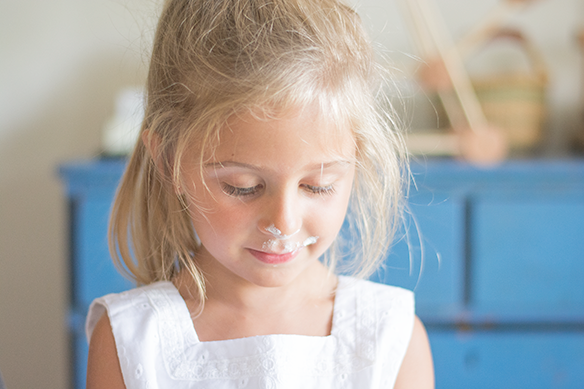
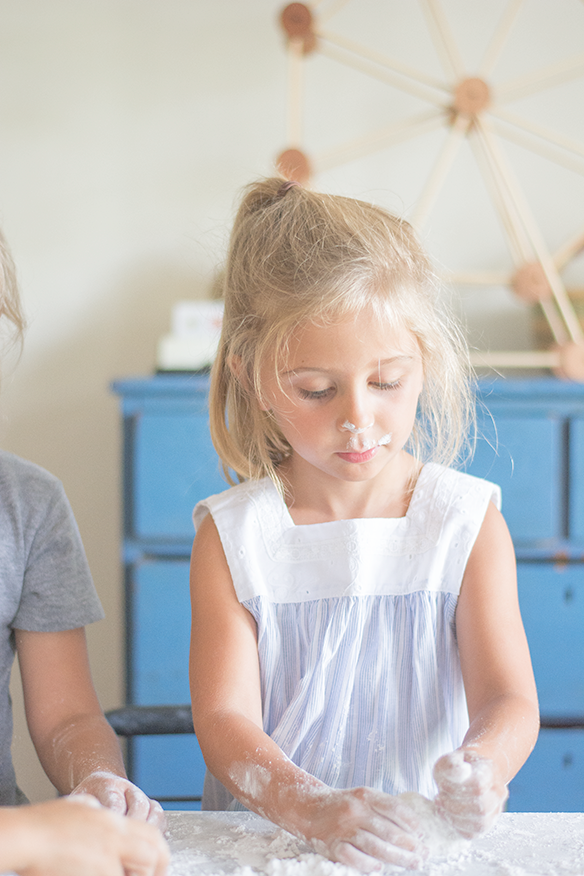
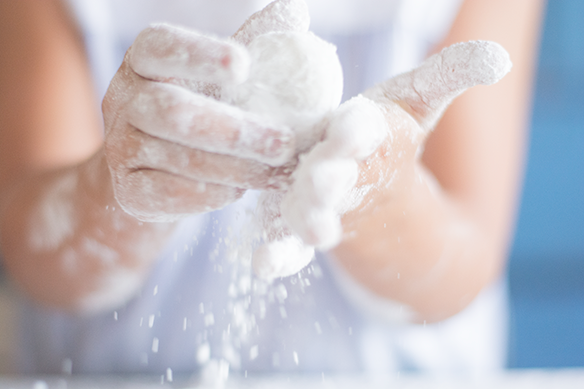
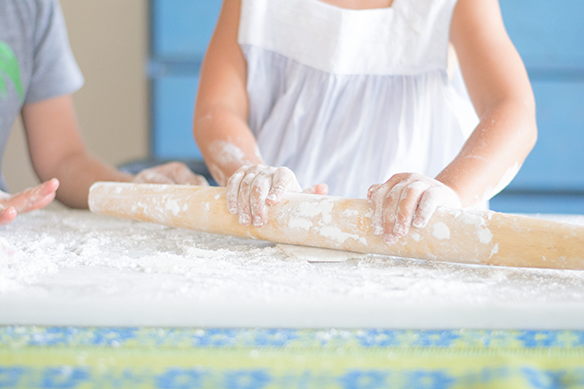
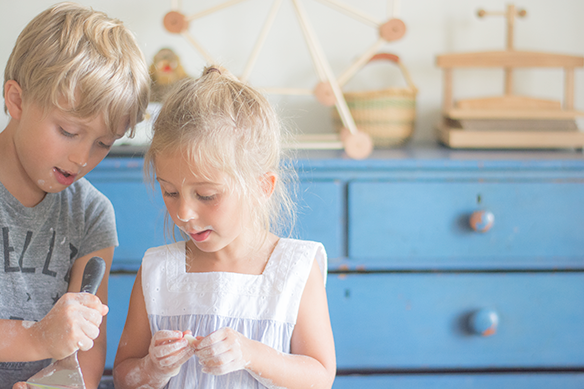
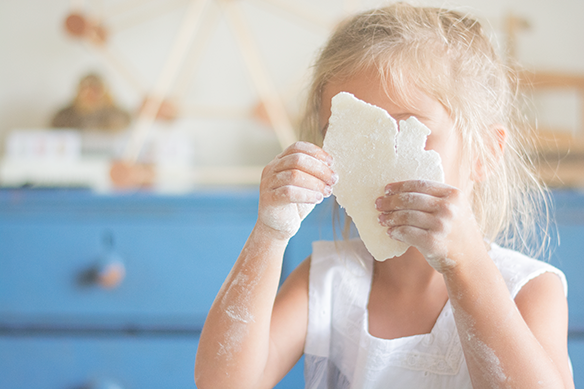
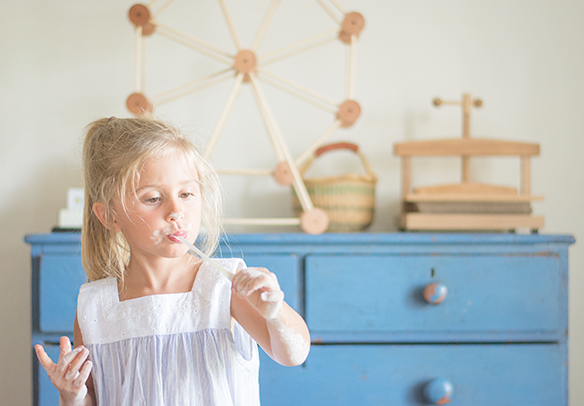
For our first baking sesh, it was just me and the girls. That made it a little easier. Not really. We decided on soft pretzels because they are a favorite. Also, it’s a fool proof recipe. They honestly did all the work. I just read the recipe and gave them some pointers, such as dusting your hands with flour to stop the dough from sticking.
Instead of just regular pretzel shapes, they wanted to do letters. So we decided on the first letter for everyone in our family, plus 2 bunnies. We ended up with a C, K, J, A, W, S, M, and L.
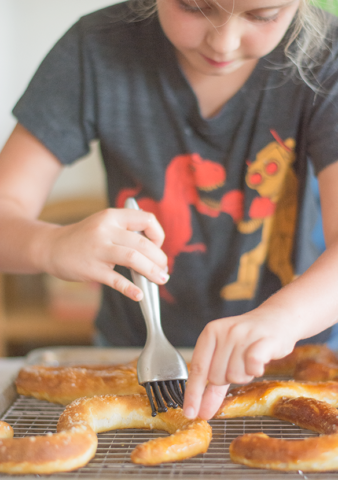
In the end, there was a mess. Um, flour gets everywhere when left for tiny hands to measure. My circuits were on overload and I was starting to twitch. However, I had two little girls who were so impressed with their baking skills, they are in talks to open shop and become professional soft pretzel bakers. It was worth it.
This is the soft pretzel recipe we use. It really is easy and they turn out perfect every time we make them! My kids love them as is with the buttery, salty topping. I prefer to dip mine in mustard. They are delicious and they will keep for a few days, but they never make it beyond an hour here!
Camp Banners…

 We are smack dab in the middle of one hot summer, down in South Florida. Couple that with the intense humidity and it’s torture being outside. Like our Northern friends during the winter, we do a lot of indoor activities during the summer months down here. This past week, we have been working on these camp banners. I thought it would be fun for them to design a banner for a camp they would want to attend. I never went to sleep away camp growing up. I always kind of wanted to go, especially after watching Parent Trap a bazillion times. I imagined camp would be just like it was in that movie, until of course, I watched Friday the 13th.
For this project, you’ll need the following materials:
Kid’s drawing
Fabric
Felt
Fabric marker
Paint
Paintbrushes
Stuffing
Embroidery thread
Embroidery hoop
Needle
Sewing machine
Yarn
Scissors
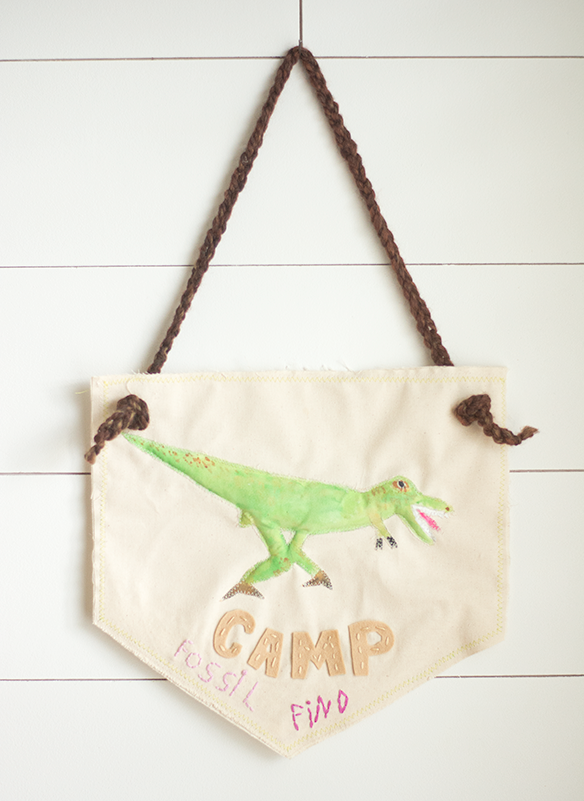
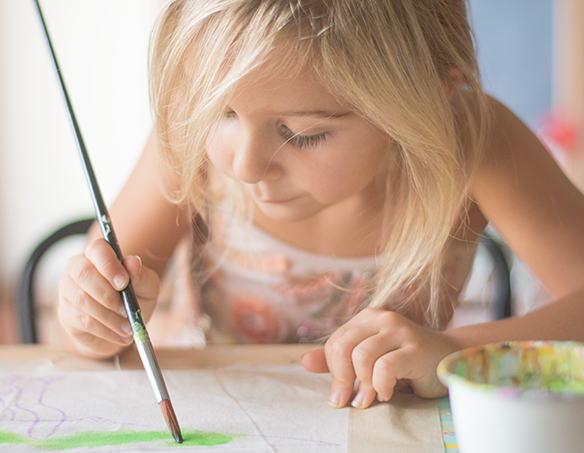
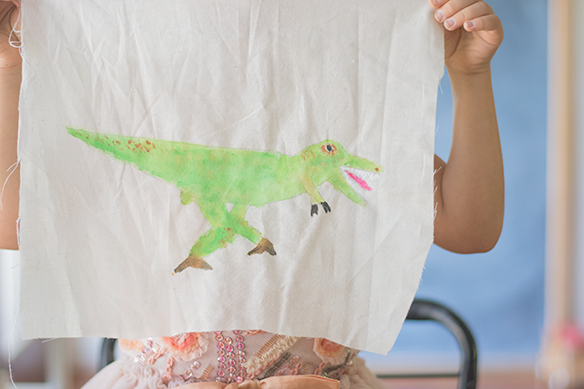
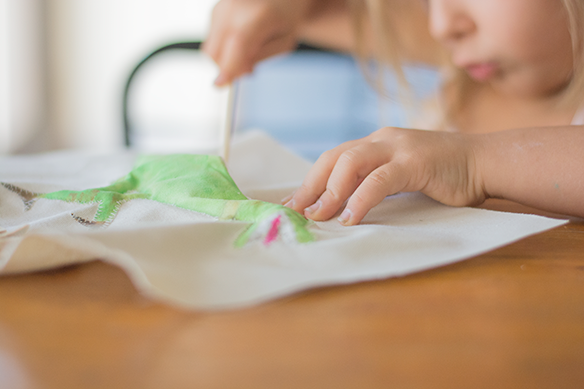
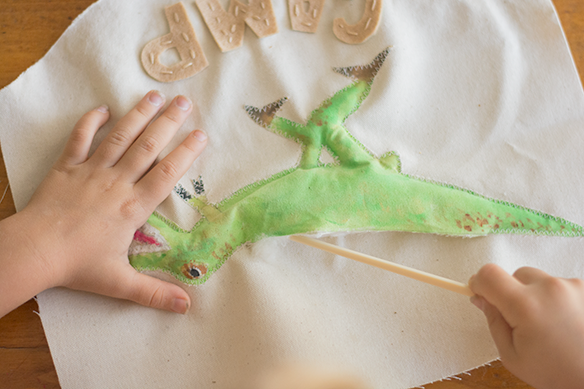
To start, have your child draw a design on fabric or trace one they have already drawn, onto the fabric. After they are happy with their design, have them paint it, then set aside to dry. Once dry, cut out the design.
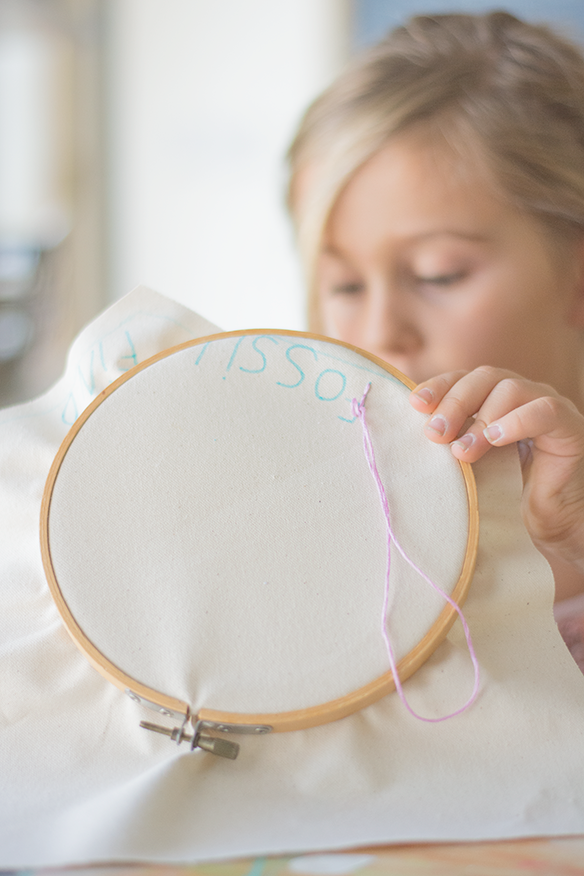
Draw a shape similar to that of a baseball home plate. I just free handed it, but feel free to get fancy and measure. Pin the design into place and have them write out the name of their camp. Next, they will embroider the name. Use the felt and write out the word, C-A-M-P in sort of a block letter. Cut out the letters and attach using the embroidery thread.
Once all the embroidery is complete, cut out the shape of the canvas banner. You’ll need a front and a back piece. At this point, if you don’t have a sewing machine, you could just glue down the artwork. However, if you do, I did an appliqué stitch all the way around the design, leaving an opening near the top. Now, they can add a little stuffing to make the design stand out from the banner. Make sure they do not overstuff, so you can stitch the opening closed.
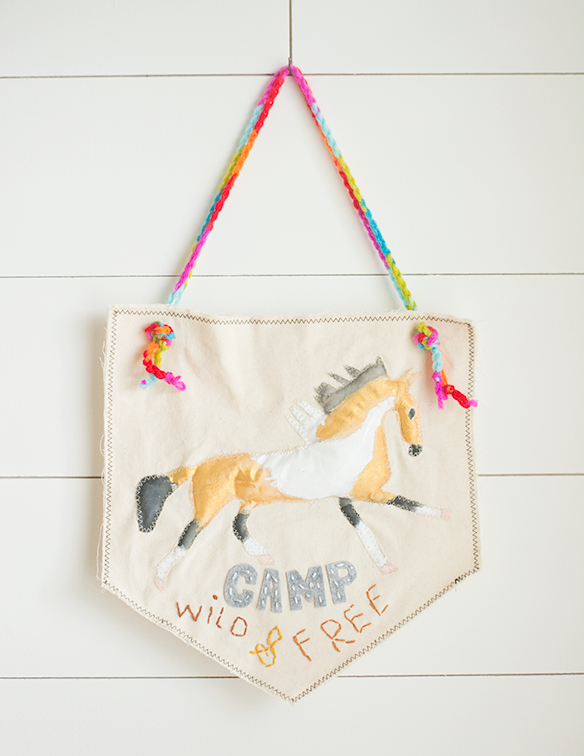
Finally, stitch the front and back pieces together. Again, if no sewing machine, either glue them or embroider a large running stitch around the perimeter to attach the front and back pieces. Next, cut two small holes near the top and thread yarn through, then knot to secure. I’m teaching myself crochet, so I got a little fancy and crocheted a chain for all three banners.
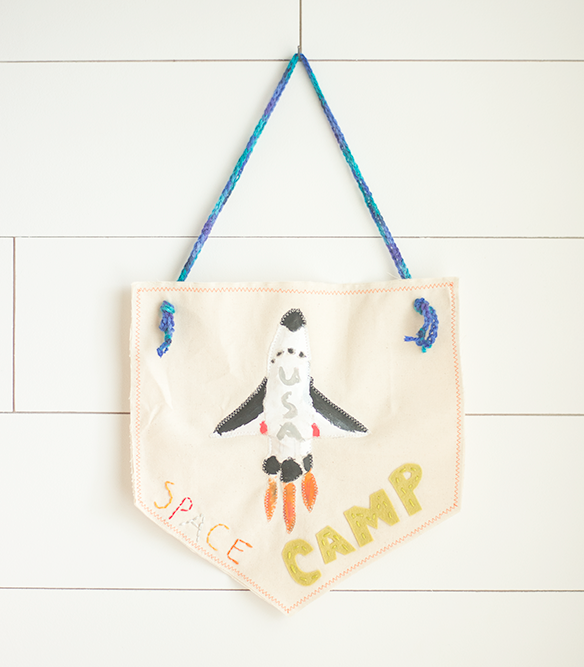
I love how they turned out! Of course, Savannah did a horse camp and Annie did a fossil camp. The girl loves her dinosaurs! Jacks wasn’t really into this project. I think he’s losing interest in my kid crafts. He’s going to be nine next month, so it’s to be expected. But, he threw his poor Momma a bone and obliged. He was undecided on his camp, but ended up with Space Camp. Love that movie, too!
Wyatt turns 1…
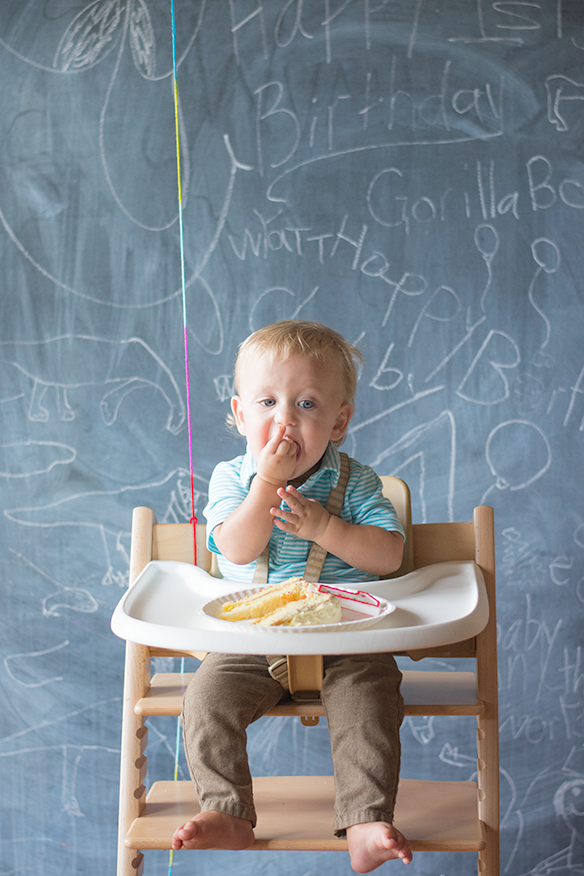
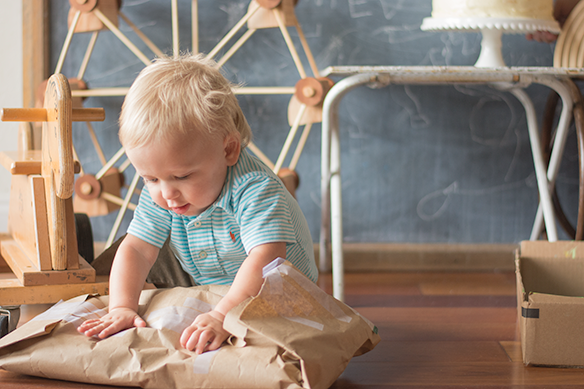
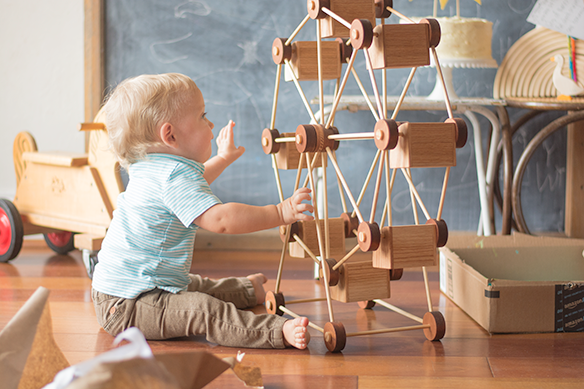
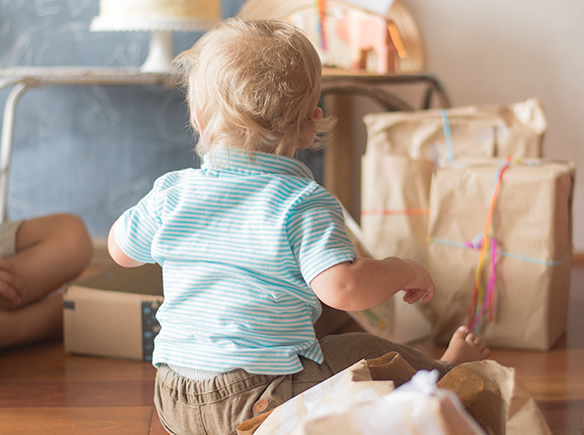
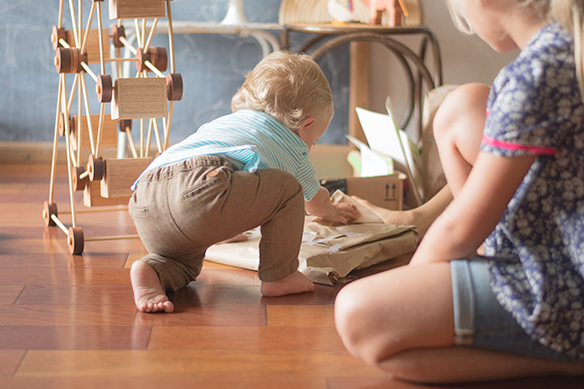
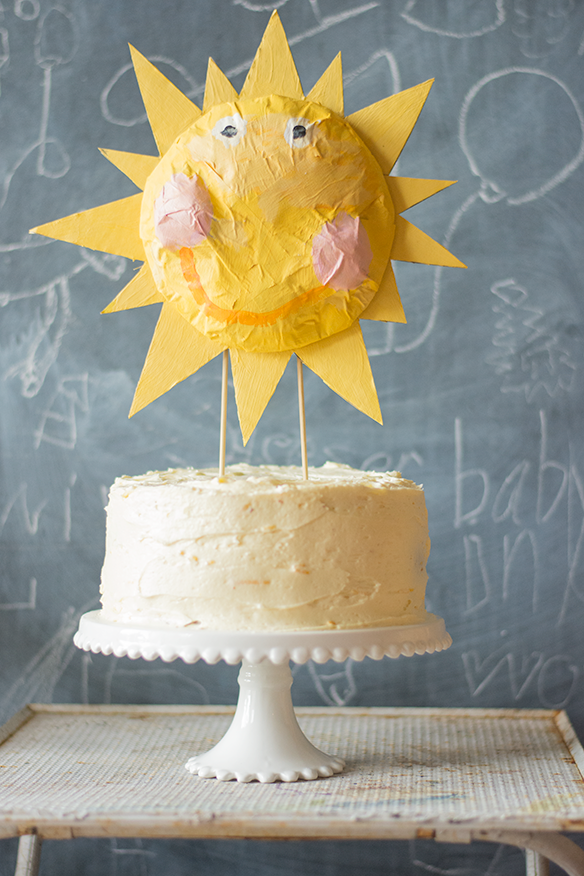
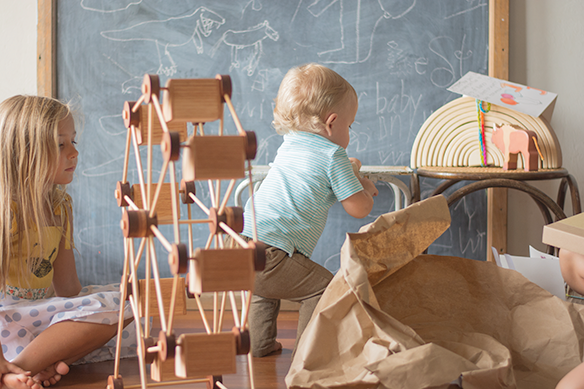
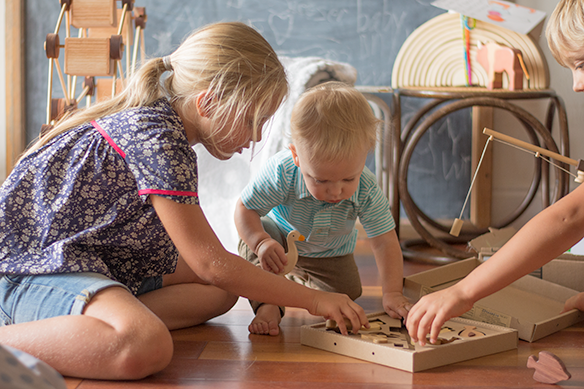
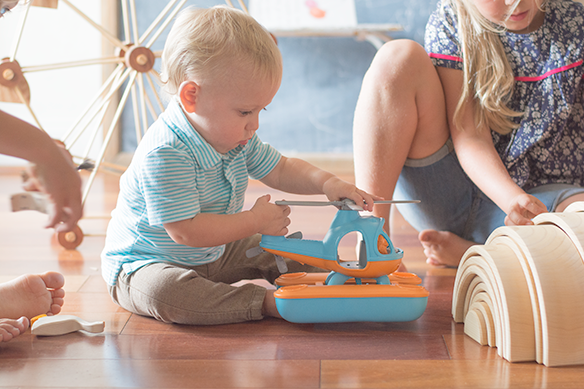
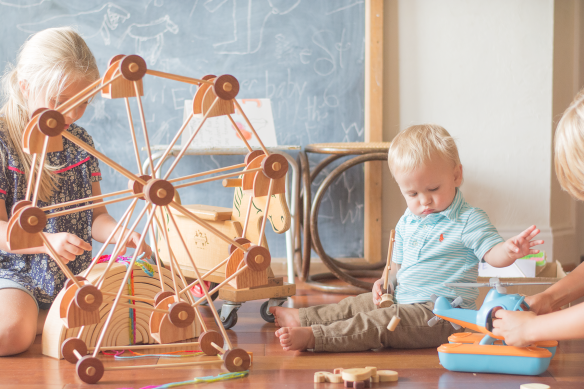
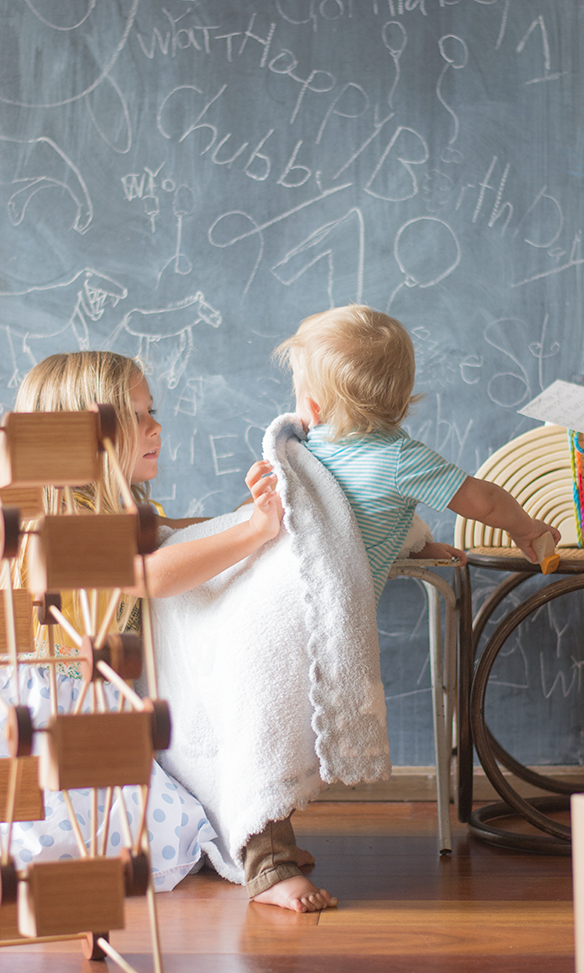
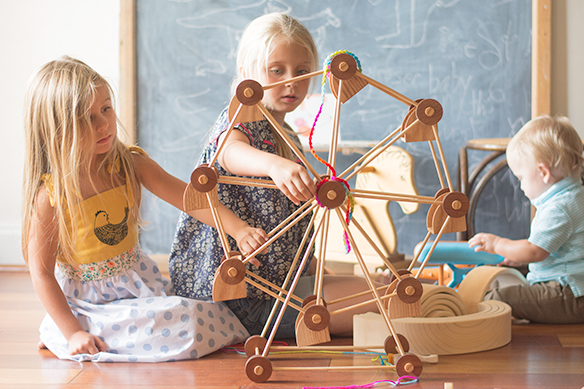
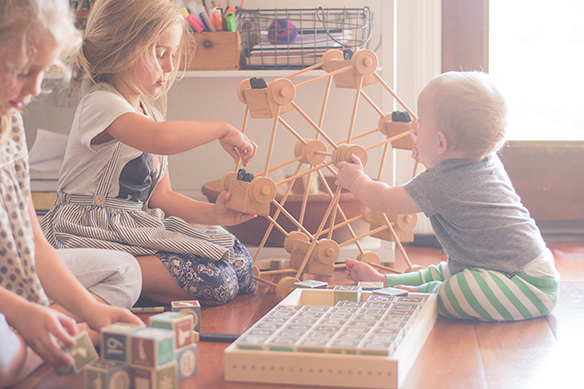
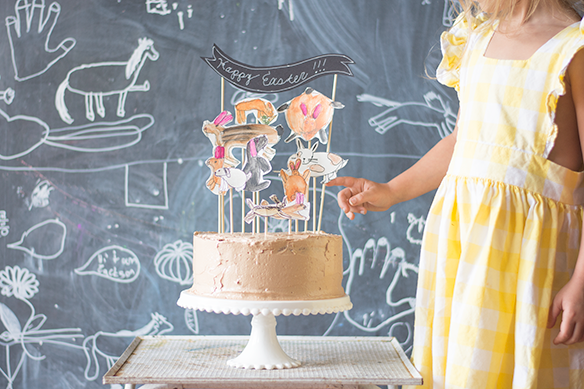
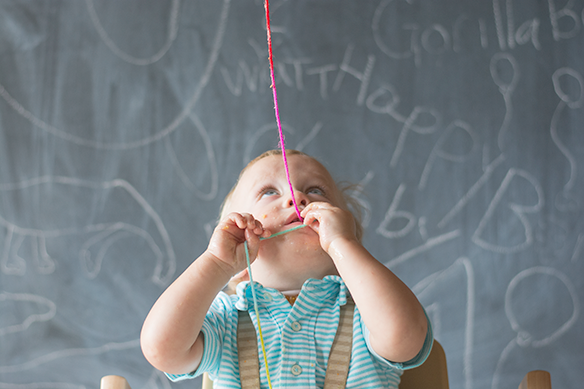 My sweet babes, turned 1 earlier this month. I still remember being pregnant with him, not sure how we got here so quickly, but here we are. We had a small little party with family. I was so happy my Mom was able to fly in from Houston and be here for his special day. I think the kids were more excited than anyone about his birthday, so I happily turned over the party planning to them! They wrapped all his presents and made him cards. They turned the chalkboard into an, “all about Wyatt” backdrop. Savannah and Annie made a sweet little sunshine cake topper, because he is sunshine for all of us! He opened his presents, with the help of his siblings of course. They love opening each other’s presents! His favorite gift by far, was the ferris wheel my husband made for him. The pictures don’t do it justice. It is beautiful and Wyatt loves it the most! After presents, we feasted on lemon buttercream cake. It was a perfect 1st birthday for my little Momma’s boy! Happy Birthday Wyatt Sam, Wy Wy, Dubya, Butters, Baby Boy!! We love you all numbers!!
Make Your Own Chewing Gum Kit…
 We recently had the opportunity to get sticky and make our own chewing gum. My kids have since declared this, “one of their favorite things…ever!” Have you heard of Glee Gum? They produce a wonderful assortment of all natural chicle chewing gum, chicle gum pops, and several make your own candy kits. We were able to try several flavors of the gum and the pops. My personal favorites were the tangerine and the cinnamon! They were a big hit with my kids and even a bigger hit with me. My kids love chewing gum, but I rarely buy it, because I’m not crazy about the ingredients. Glee Gum has none of those questionable ingredients. There is no artificial coloring, no preservatives, no artificial sweeteners, and they are Non-GMO Project Verified! They are supporters of Fair Trade, making sure farmers get a fair price for their goods, and they will even plant a tree, if you tell them you bought some Glee! So many wonderful things to say about this company, but perhaps my favorite is how they are helping to save the rainforest and provide jobs in the Peten, in Northern Guatemala.
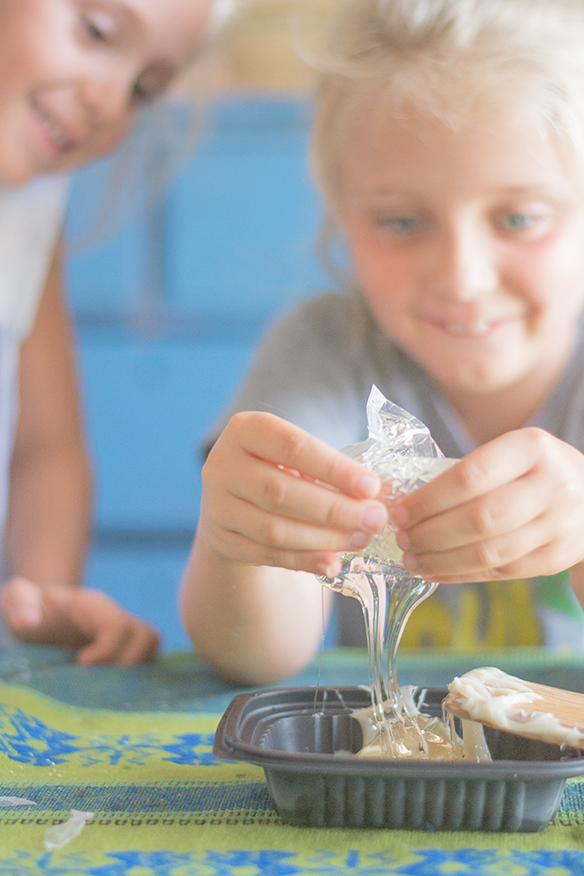
The Make Your Own Chewing Gum Kit was so much hands-on fun! They got to mix, measure, flavor, taste test, and see first hand how sticky gum making can be. I know I was surprised how much work goes into making chicle gum. A lot of stretching, pulling, and kneading! Not only did they learn how chicle gum is made, they learned about the source of chicle and how it is saving the rainforest. Included in the Make Your Own Gum Kit was a brief story, about a chiclero, named Eduardo. He finds a way to earn a living for his family, without destroying any trees in the rainforest. He collects sap (chicle), from the Sapodilla trees, which is cooked and used to make chicle chewing gum. I never knew this! Now, I really have a reason to buy chicle chewing gum. This, of course, makes me kids happy!
If you’d like to stock up on some all natural chewing gum or get one of the kits for summer, Glee Gum has graciously offered a coupon code for all my Jacks & Kate readers. It’s good for 15% off your entire order at www.gleegum.com. Just enter code, jacksandkate at checkout!
Paper Mache Prize Ribbons…
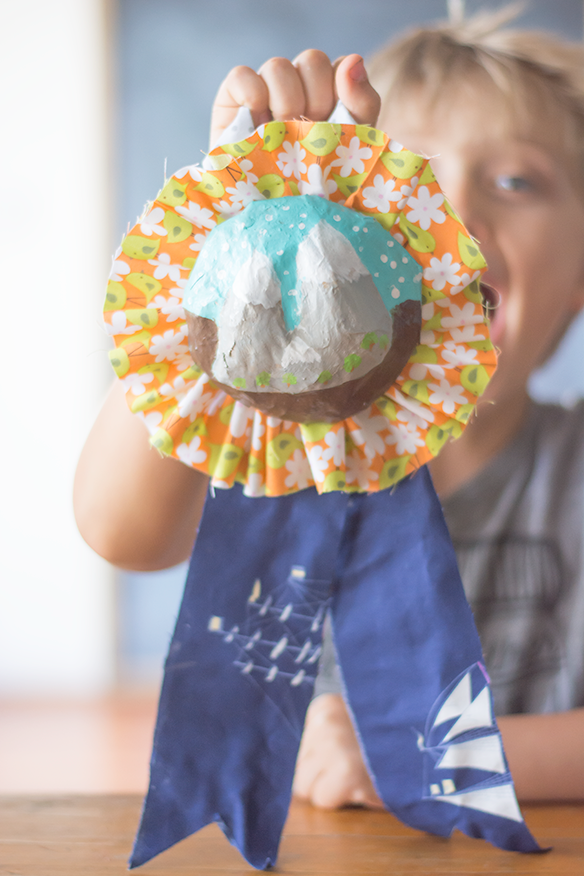

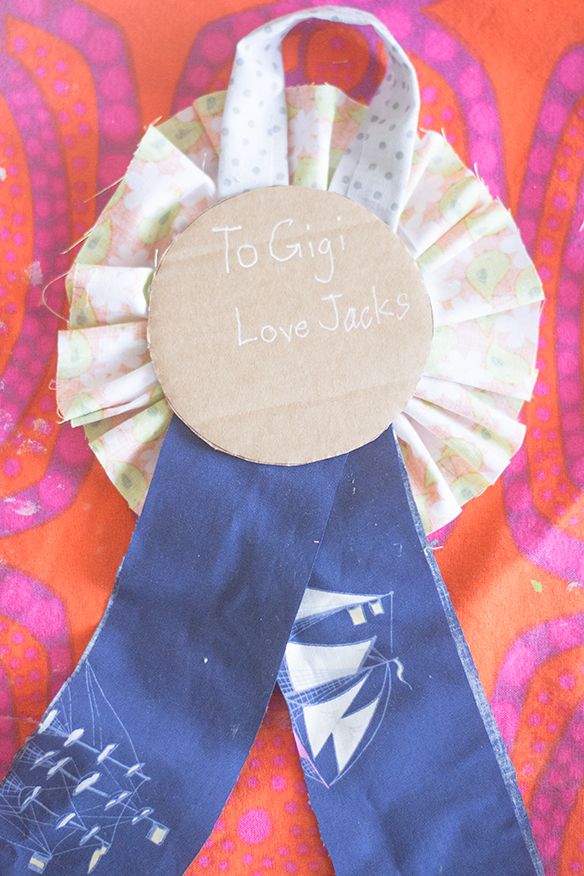
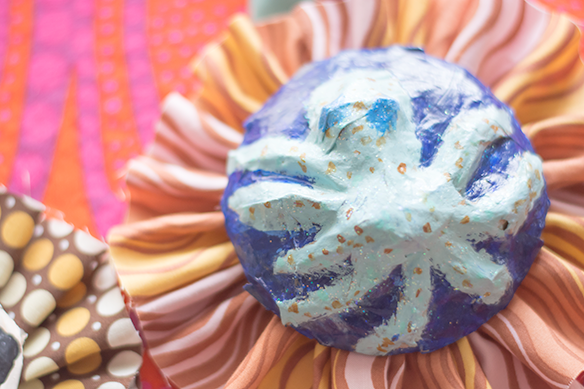
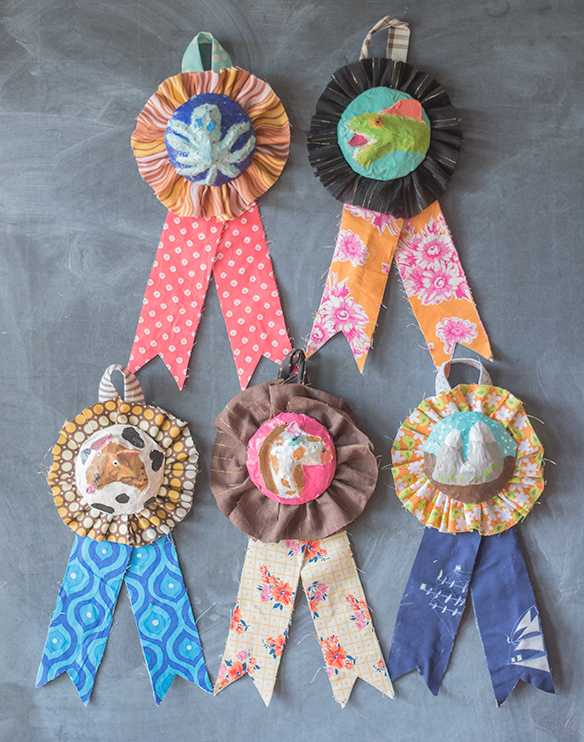
I was recently interviewed for an article and one of the questions asked was, “How do you come up with your ideas?” It was hard for me to find the words to describe my creative process. It’s like all these ideas are streaming through my mind all day, every day and if one really catches my eye, so to speak, I pause and think on it for a bit. Then, I think on it some more. I will mull over an idea for weeks, before I actually begin any tangible work. WEEKS! I started thinking over this project two months ago and finally, here I am with a finished product. I think the extra thinking time I put into these paid off. They turned out better than I ever expected. My kids are having fun creating all sorts of prize ribbons. The possibilities for design are endless!
First, gather your supplies:
Cardboard
Small bowl or something circular
Plastic grocery bags
Paper towels
Masking tape
Acrylic paints
Paintbrushes
Scissors
Newspaper
Flour and water for paper mache paste
Drawing paper
Pen
Fabric
Needle
Thread
Sewing pins
Low temp glue gun (if you are comfortable with your kids using it. if not, just use a regular glue gun)
Glue stick
Mod Podge (optional)
- Trace 2 circles around your small bowl or other circular template onto a piece of cardboard, set aside.
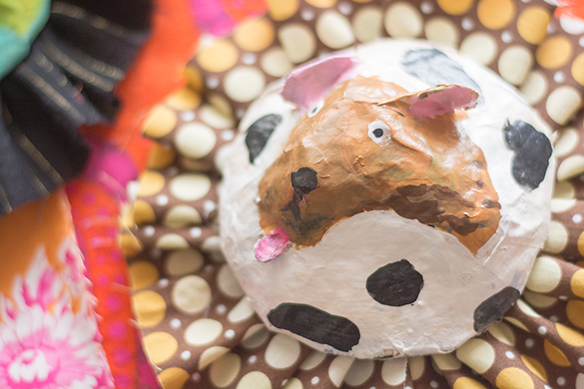
- Draw a picture that will fit within the cardboard circle. Keep it simple, you can add detail later. Cut out picture and set aside.
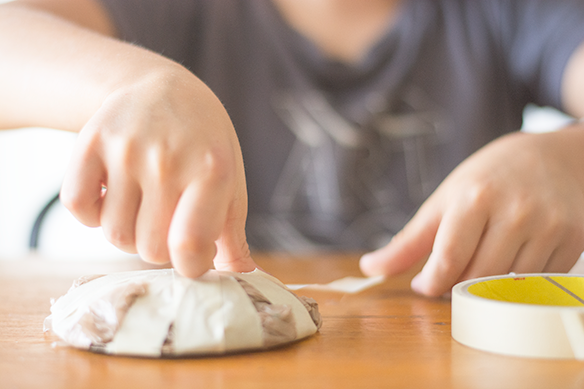
- Form the plastic grocery bag into a ball shape and press flat over cardboard circle. Begin taping, until the plastic bag is covered. There is no need to cover the back.
- Using the glue stick, glue your cut out picture in the center of the cardboard circle. Glue it to the plastic bag side.
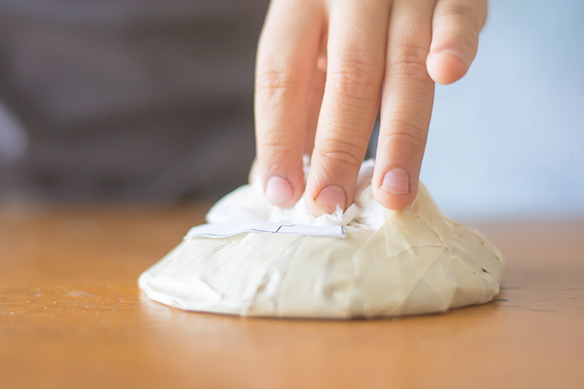
- With paper towels and masking tape, start to build up your design. The idea is to create a relief, so the picture can be distinguished from the plastic bag medallion. It helps to work in small sections. Keep doing this, until your entire design is covered.
- Now, paper mache the front of the medallion with newspaper strips and paper mache paste. For the paste, I mix equal parts flour and water. When completely covered, allow to dry thoroughly.
- After the medallion has dried, paint your design. Start with the background, this helps to see your design easily. Then, paint your design. Add second coats if necessary and allow to dry.
- Add a clear coat of Mod Podge as an optional step. I thought of this after the fact and really prefer it to just left plain.
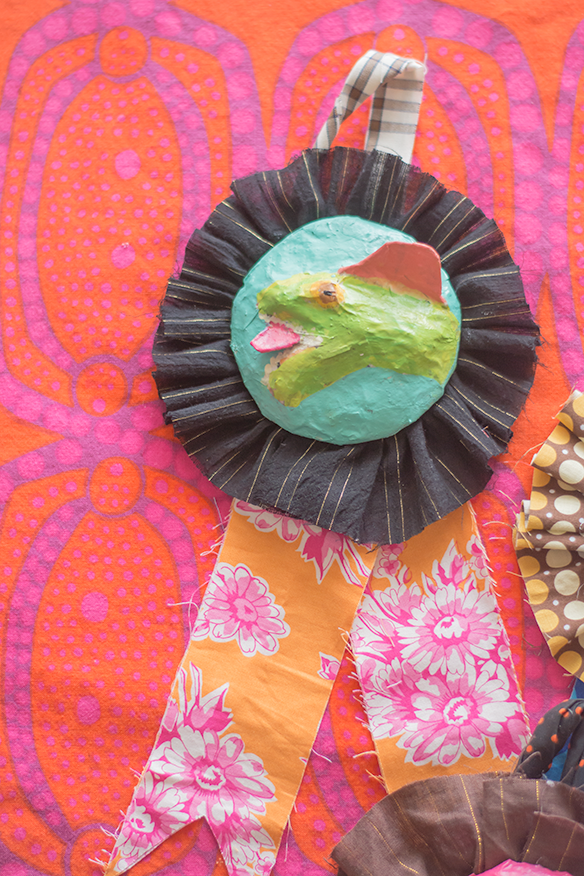
- Using some of the newspaper or other paper, make paper patterns (size will vary, depending on size of medallion) for the fabric portions of the ribbon. You will need one for the loop, the ribbon tails (cut 2), and the ruffle.
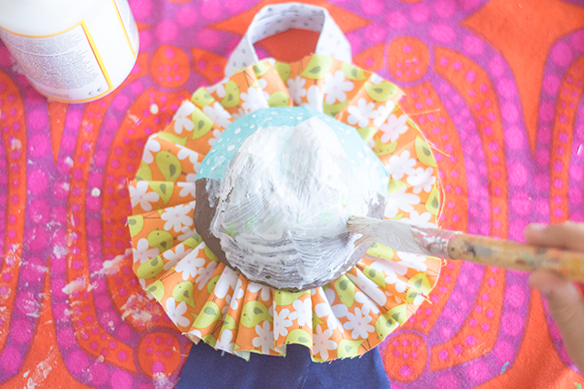
- For the loop, cover the wrong side of fabric with your glue stick, fold one side into center (lengthwise), then fold the remaining side on top of that one. Form into a loop and secure to the top of the remaining cardboard circle with glue gun.
- For the ribbon tails, cover the wrong side of fabric with your glue stick on one of the tails. Lay remaining tail on top, press and smooth until attached. Trim up edges if necessary. Fold tails over each other at center and secure with glue. Attach tails to bottom center of cardboard circle.
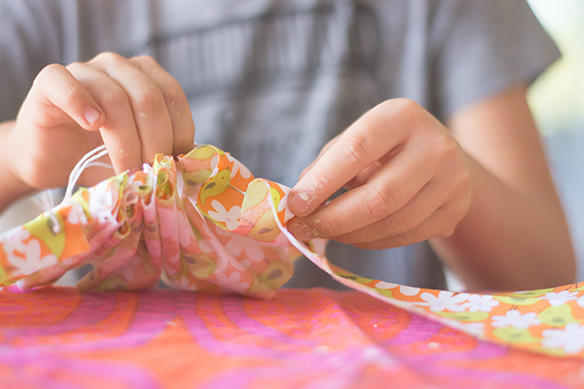
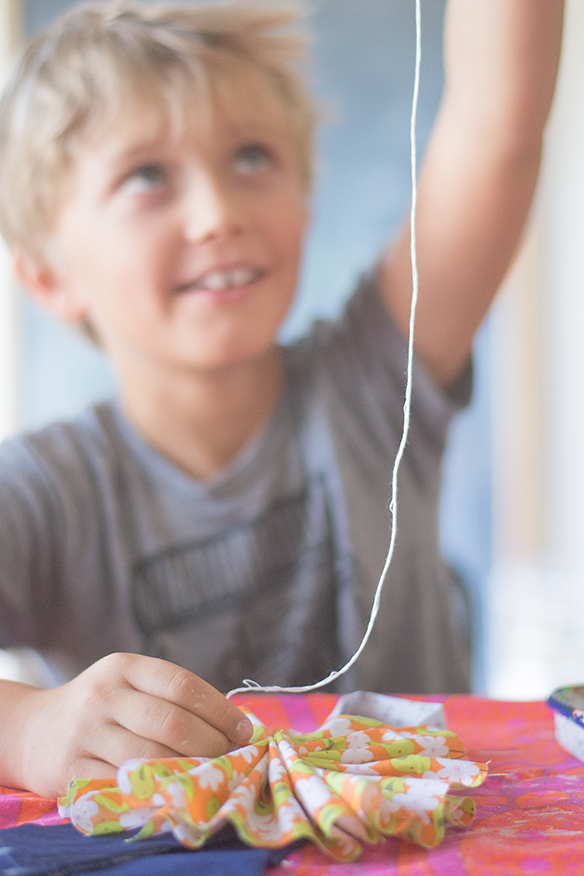
- For the ruffle, thread your needle, then run a basting stitch along the length of the ribbon. Pull end to create ruffle. Secure two ends with glue gun. Attach ruffle to cardboard circle with glue gun.
- Finally, attach paper mache medallion to the cardboard prize ribbon, using your glue gun.
It feels good to finally get this project out of my brain and onto the blog!
Mote Marine…
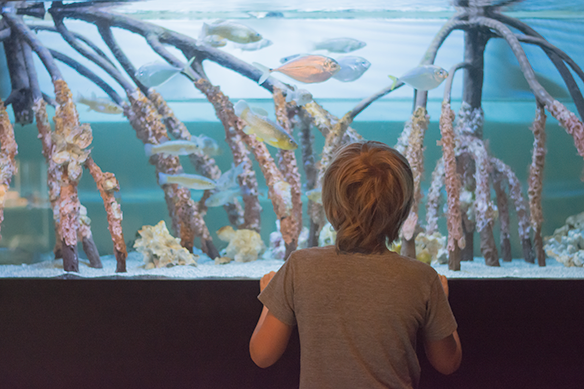

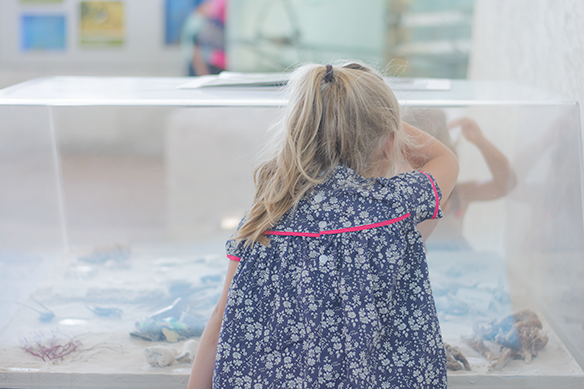

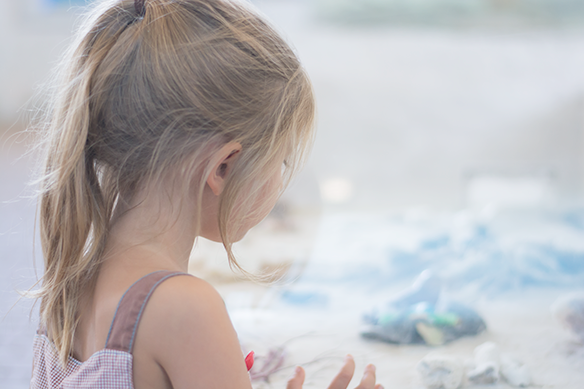


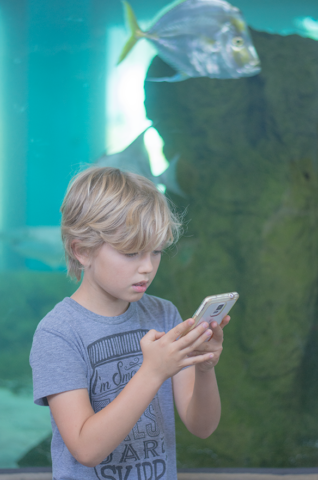

Besides the Rivs, as Savannah calls them, the manatees Buffet and Hugh, were the biggest hit. When we visited them, they were cruising through their tanks eating lettuce. There was someone outside their tank counting how many leaves they ate. I could not imagine sitting there for hours counting lettuce!
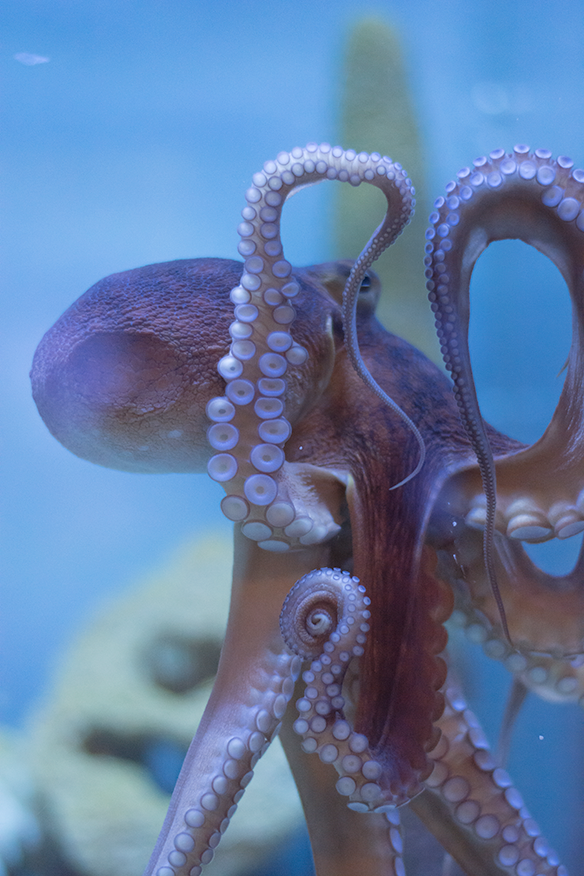
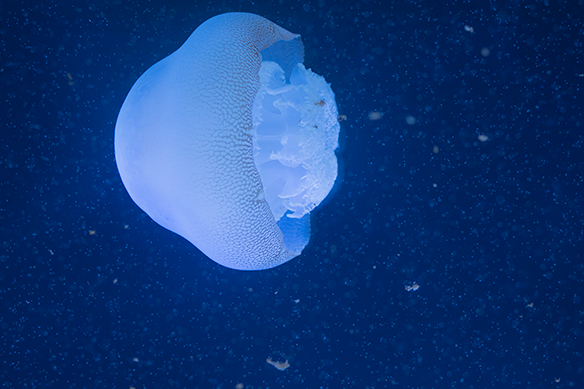
There were also sharks, sea turtles, seahorses, jellyfish, an octopus, lion fish, an eel, stingray touch tanks, and several other aquariums full of interesting sea life. The jellyfish were my favorite. They always appear to be doing a mesmerizing water ballet.
I think what I love most about Mote Marine, is the research that goes on behind the scenes. It’s not just a place to go and see marine life on display. In their research, they are helping to conserve and sustain marine life. Also, at the same time educating the public. We plan to go back soon. I’m sure we could learn something new every visit. If you are in the Sarasota area, make sure to stop by Mote and see all the wonderful things they are doing for marine life!
Highlight Reel…

 A friend of mine on Facebook, recently made a comment on the photos I post. She said it’s like looking at a highlight reel. I thought that was a perfect description of the daily snippets I share on my Instagram and Facebook accounts. If you follow me on Instagram, then you’ve likely seen all these photos. Sorry for the duplicity, but I wanted to also share them here on my blog. I’m horrible at printing photos. I take them, I edit them, I back them up, and I share them, but I never, hardly ever, print them! So, I thought I would put together a monthly highlight reel of sorts. Except, this first one covers January through March, only because, I just thought to do it!
In no particular order:
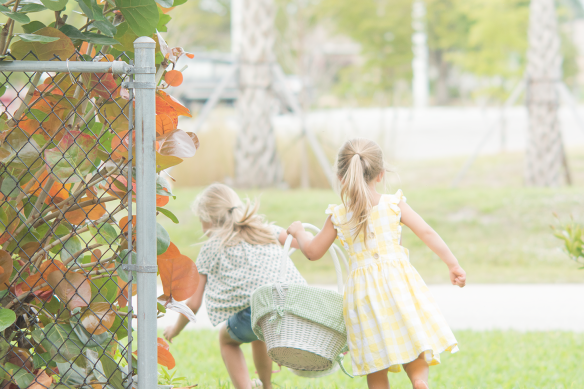
Easter egg hunt
Tea box veggie garden craft
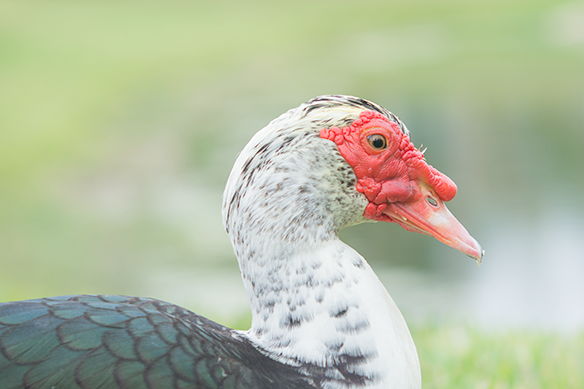
Drake, our neighborhood Muscovy duck
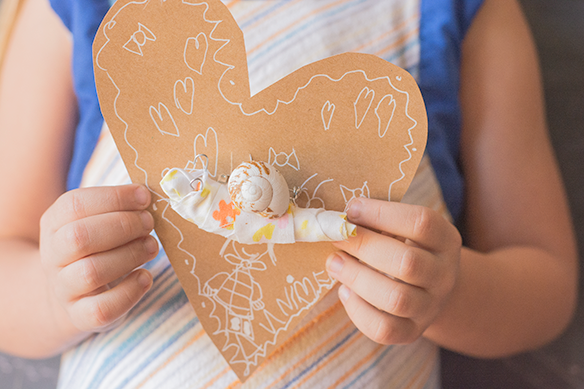
Snail pin valentine craft
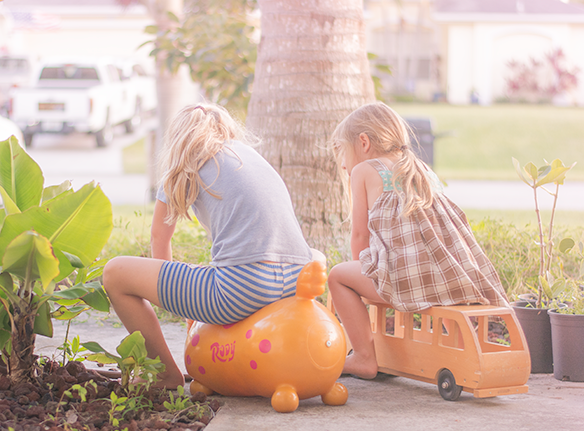
Sister driveway racing
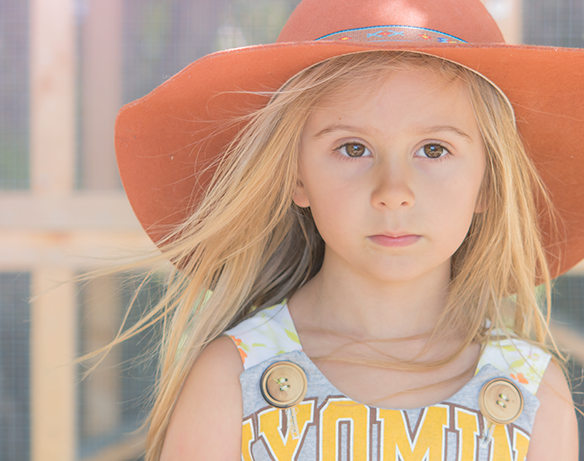
Backyard Annie
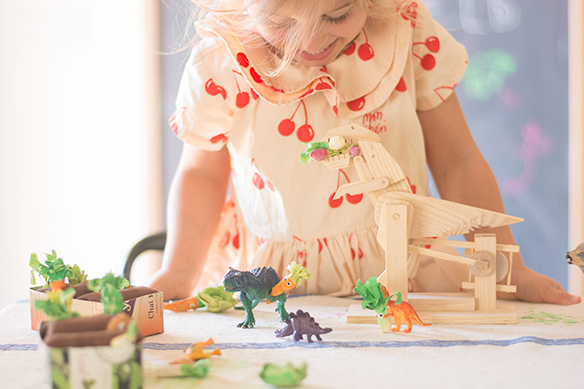
Sister dinosaur painting
Cardboard and embroidery necklace craft
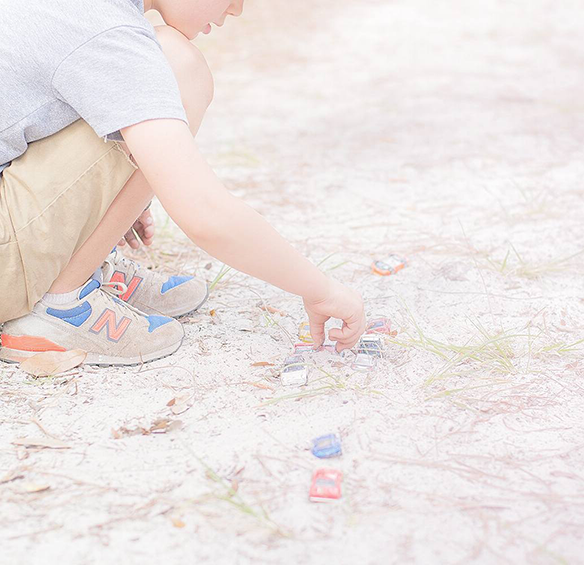
Jacks plays with cars
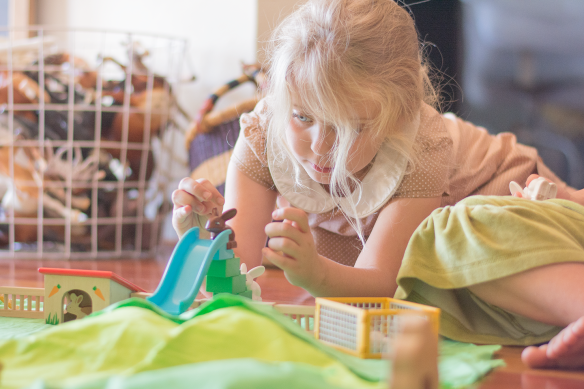
Savannah and bunnyland
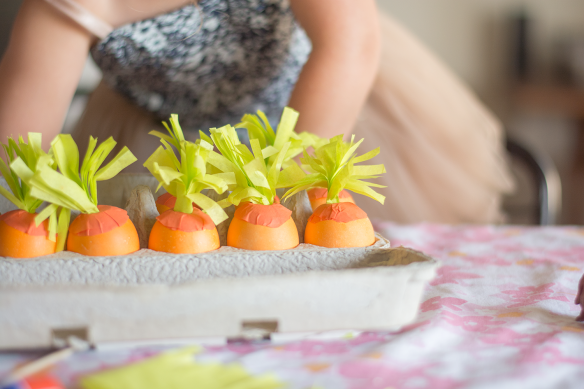
Carrot cascarones
Annie, Wyatt, and the Ferris Wheel
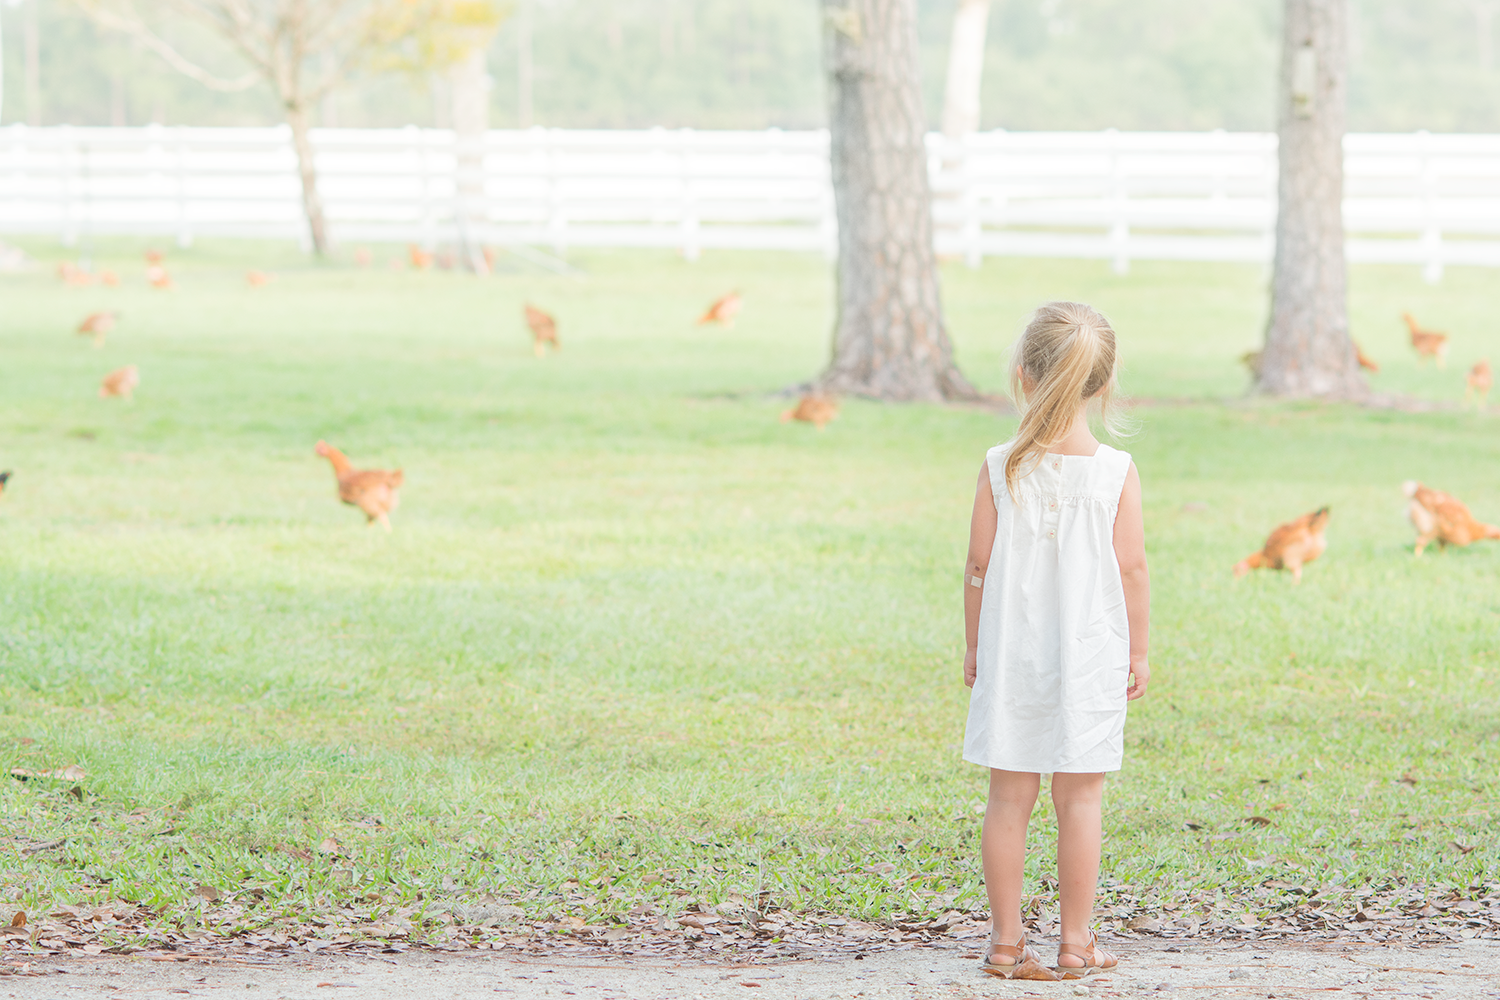
Field of chickens
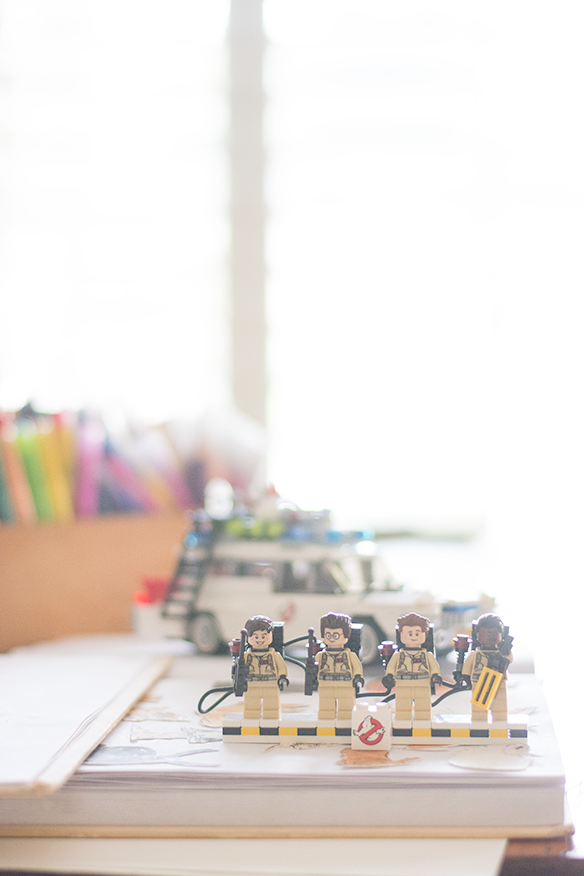
Introduction to the Ghosbuster’s franchise
Easter cake decorating
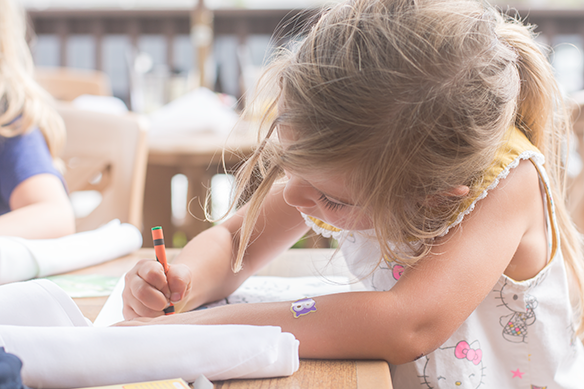
Out to lunch Annie
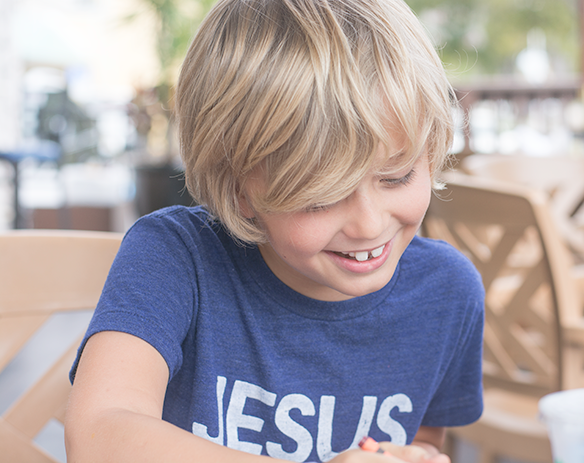
Out to lunch Jacks
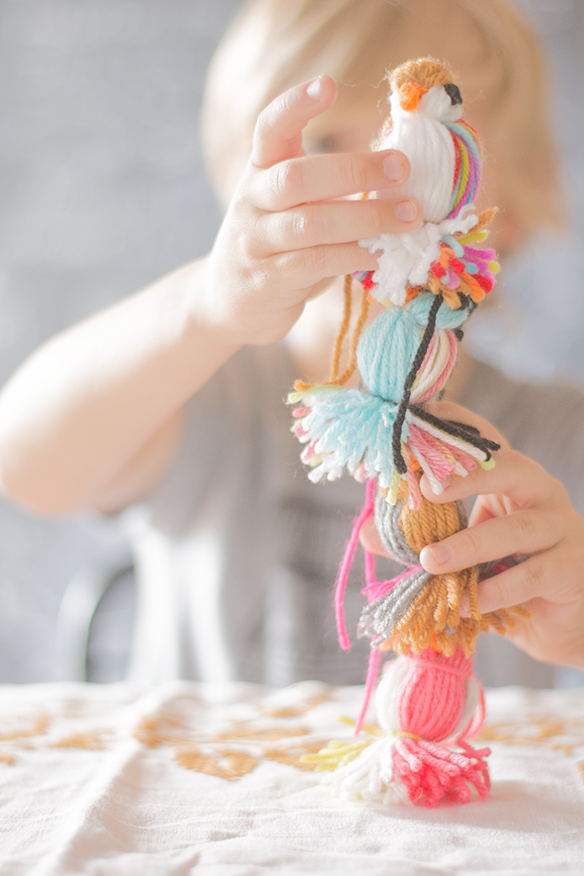
Yarn bird craft
Wyatt and a cow
Savannah’s photography lesson
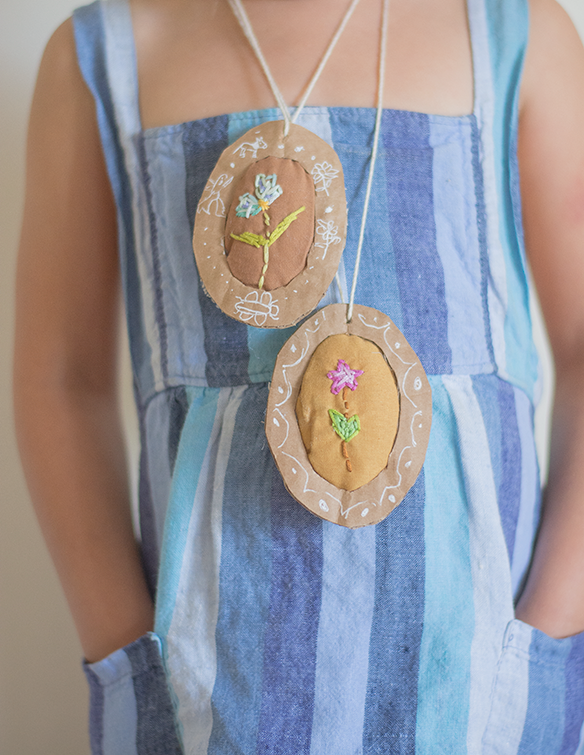
Cardboard and Embroidery Necklace…

There is always a never ending supply of cardboard around our house. Yes, I am a Prime junkie. I will order anything Prime, if it means I can avoid the fun that is, taking 4 kids shopping. My husband likes to call me, the Prime Minister. Whatever, he’s never shopped with 4 kids. When I’m not recycling cardboard, I’m dreaming up ways to use this glorious craft medium. It just so happens this craft combines three of my favorite craft supplies: fabric, thread, and cardboard!
Behind the scenes, I’ve been working on my own necklace project, which sort of inspired this kid made version. I’m not going to lie. Teaching basic embroidery to my 5 and 7 year old, requires a whole new level of patience. The kind that requires you to constantly re-thread the needle, even though you just explained to them how to hold the needle, so the thread doesn’t come off. After about 10 needle re-threads, we finally hit a groove. Whew.
First, gather your supplies:
Cardboard
Fabric
Embroidery thread
Embroidery needle
Batting/Stuffing
Art Pens
Sewing marker
Scissors
Craft glue
Hot glue
String/Twine
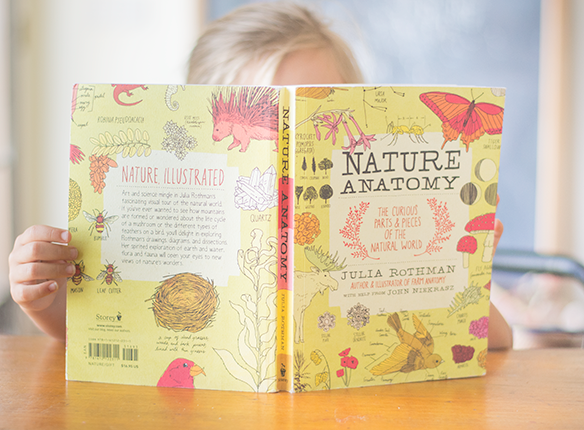
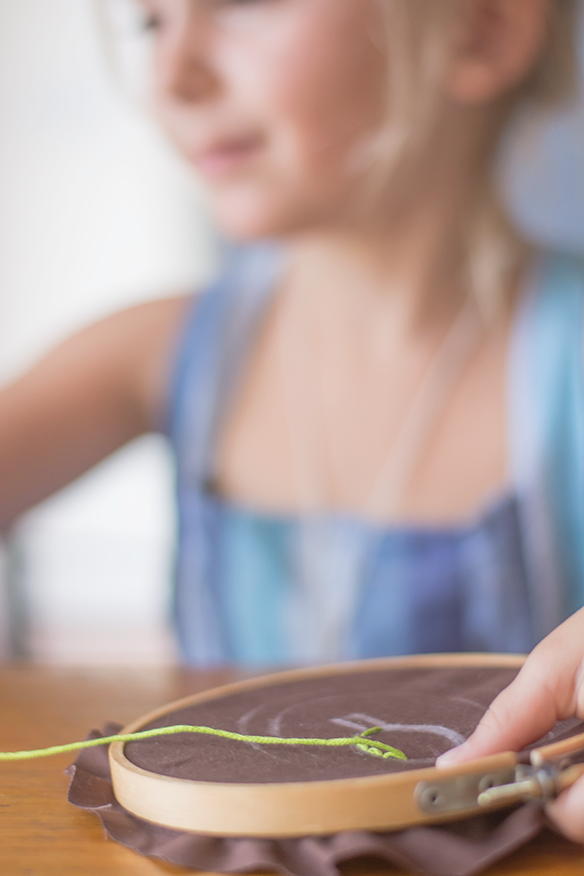
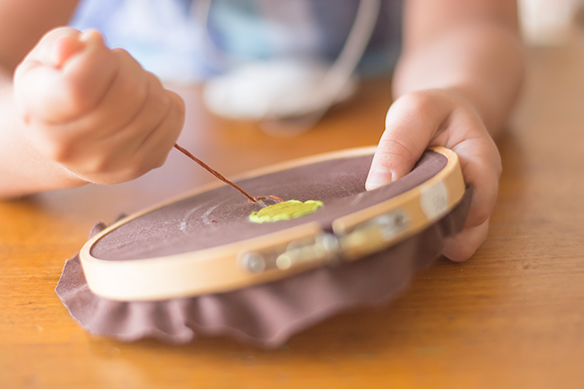
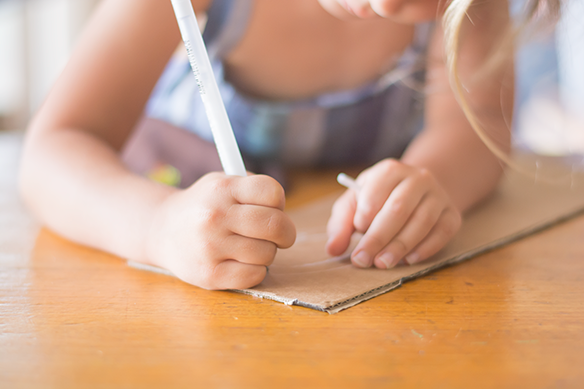
Before we started, I had them look through one of our favorite books for inspiration. Once they were settled on what they wanted on their necklace, I had them draw it onto fabric using a sewing marker. Next, I put their drawing in a small embroidery hoop, one that would be easy for little hands to handle. If you have a surplus of fabric hanging out, it’s a good idea to trim it up as closely to the hoop as possible. This helps to prevent getting the thread tangled up into the extra fabric.
This is not the first time I have exposed them to embroidery, but it is the first time that they primarily did it on their own. I still helped quite a bit, especially with Annie. I gave them a brief lesson on the directions the needle goes. For example, if the needle is under, you are going to go up through the fabric. If it is over, you go down through the fabric. If you’ve ever embroidered with kids, then you know they have a tendency to go the opposite way they need to, thus ending up with the thread wrapped around the side of the hoop. So, this quick reminder, repeated several times over, does help!
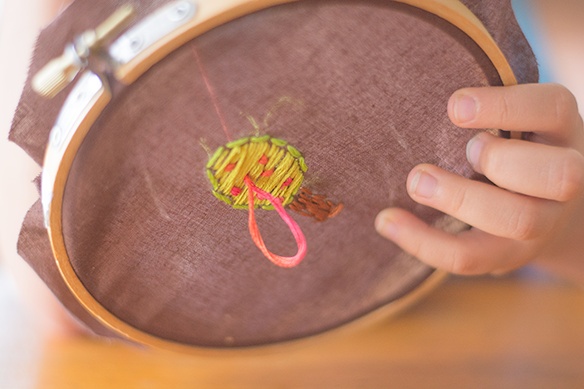
I did the knotting for them and did the first couple of stitches as an example. For the remainder of the project, I mainly verbally instructed or pointed to where the needle should go. After a while, I stopped pointing and asked them where they thought they should put their needle next. Once they got acclimated, I didn’t even need to ask them anymore, they had it down pretty well.
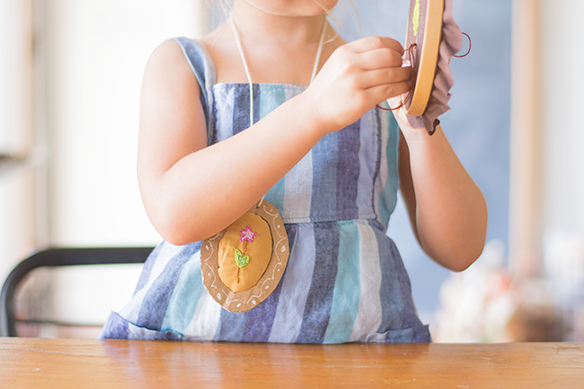
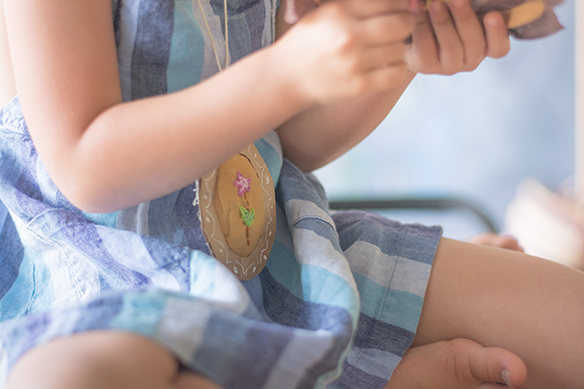
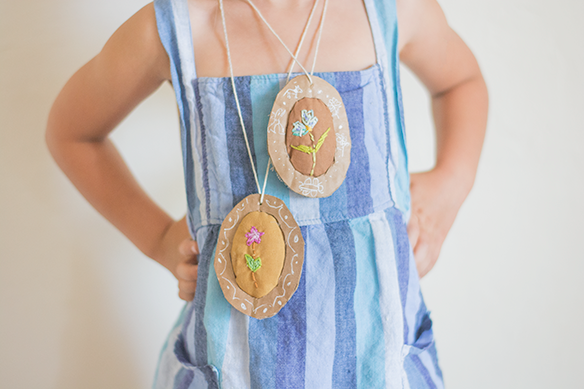
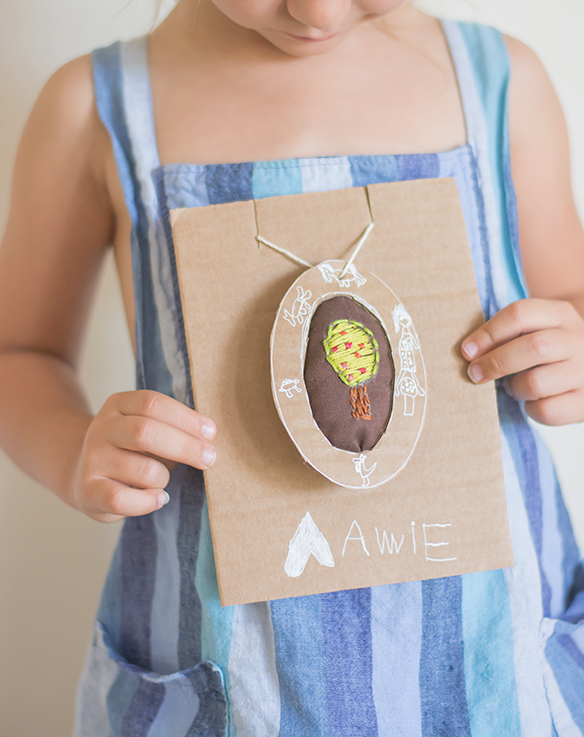
After their embroidery work is done, have them lay the embroidered fabric onto another piece of fabric, and cut out an oval shape. Or, any shape you wish really. Next, take the craft glue and put a small bead of glue around the edge of the fabric, leaving an opening for stuffing toward the bottom. Set aside to dry.
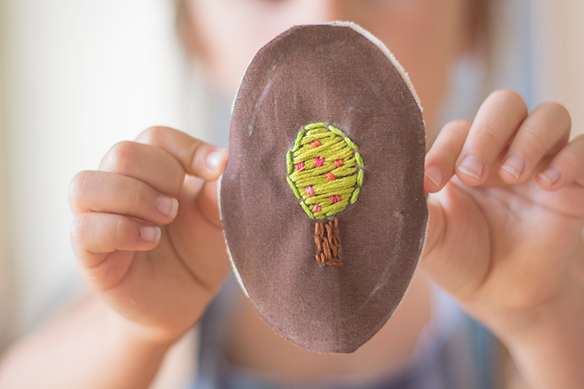
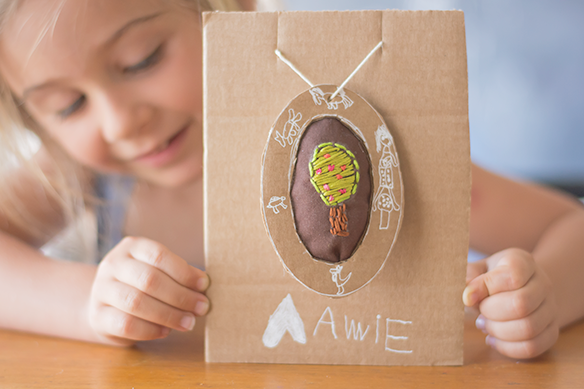
While the glue is drying, you can work on the necklace frame. Simply trace the shape of the necklace onto cardboard and add artwork along the frame, then cut out. If the glue is dried to a tacky touch, you can go ahead and stuff it. Don’t overdo it, just a little works fine. Then, add a bead of hot glue to the back of the frame and attach to the front of the necklace. If you are working with young children, please have an adult do the hot glue or use a low temp glue gun. Close up the stuffing opening with a bit of craft glue. Poke a hole near the top of the frame and thread with string. If they would like to make some for gifts, just cut out a piece of cardboard, and add two slits at the top to hold the necklace.
I do think these turned out really sweet. Even though we had a rocky start, it was fun and I very much enjoyed sharing embroidery with them. Savannah already has plans for a pillow. I will need to start building my patience reserve now, for that project!